Table of Content
Plastic motorcycle parts have better aerodynamics and give your motorcycle an aggressive look. However, they are less durable and can get damaged more easily. Like other motorcycle parts, you can paint plastic parts to give them a new look and improve your motorcycle’s aesthetics. However, painting motorcycle plastic parts is different from painting a motorcycle gas tank and frame. Read this article to learn how to paint plastic motorcycle parts.
1. Plastic Motorcycle Parts
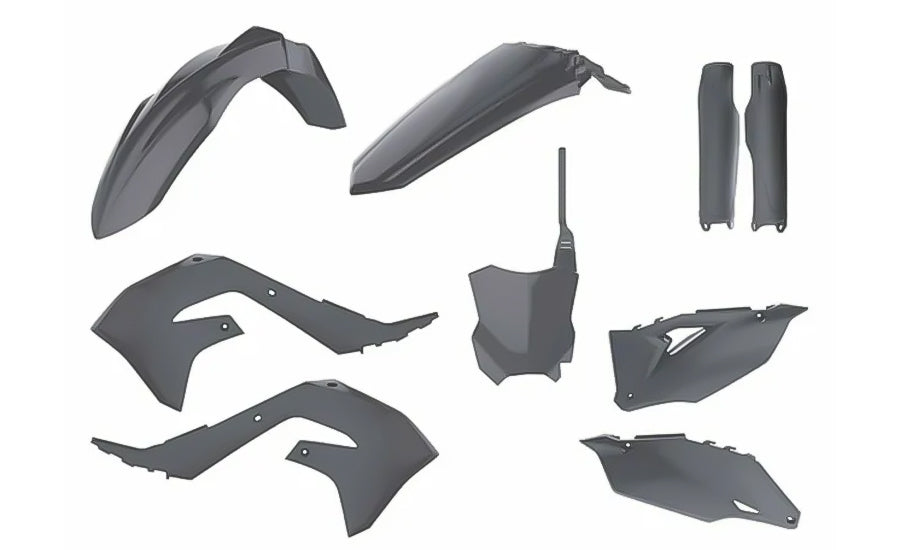
Plastic parts are often installed on dirt bikes and sports bikes. The plastic shells fitted over motorcycles, also known as fairings, help reduce air drag and improve a motorcycle’s performance. Modern sports bikes are installed with specially-designed lightweight fairings made of carbon fiber or avio fiber. However, most sports bikes are fitted with plastic fairings. Sports bikes are designed for aggressive and fast riding, while dirt bikes are designed for off-roading on dirt trails. Due to sports and dirt bikes being capable of high-speed performance and maneuverability, the plastic parts are more likely to get scratched.
2. Preparing Plastic Motorcycle Parts for Painting

There are different ways to approach painting plastic motorcycle parts. However, try to find the method that best suits you and ensures plastic motorcycle parts have a smooth finish.
If you want to paint plastic motorcycle parts at home or in the garage, make sure you have all the required equipment.
2.1 Equipment Required to Paint Plastic Motorcycle Parts
- Sandpaper
- Sanding blocks
- Dual-action polisher
- Microfiber clothes
- Tack cloth
- Primer
- Spray paint
- Spray gun
- Clear coat
- Degreaser
2.2 Removing Previous Paint from Plastic Motorcycle Parts
If you want to completely change your motorcycle’s look by painting the plastic parts, you should first learn how to remove the previous coat of paint since new paint will not stick onto another paint layer. The primer also does not stick on a surface with an enamel layer. So make sure you remove the previous coat of paint first before moving on to the next steps.
2.3 How to Remove Spray Paint from Plastic Motorcycle Parts
Remove the Stickers on Plastic Motorcycle Parts
Before removing paint from plastic motorcycle parts, make sure to remove the decals or warning stickers pasted on them.
Equipment Required to Remove Spray Paint
To remove spray paint from plastic motorcycle parts, you will need the following:
- Xylene paint remover/adhesive gunk remover (safe for plastics)
- Paper towels/microfiber clothes
- Rubber gloves
- Cardboard
Using Xylene Paint Remover
Removing paint from plastic motorcycle parts is a simple process. Wear rubber gloves for protection and place the plastic part on a cardboard strip. Take a paper towel and soak it in xylene paint remover until it is completely wet. Now open the soaked paper towel and spread it on the plastic part. Repeat the same procedure with multiple paper towels until they cover the entire plastic part.
Wait at least 15-30 minutes and check to see if the paint has started to come off by removing the paper towel. You will see wrinkles in the paint forming on the plastic. Start rubbing the paint with the paper towel and keep rubbing it to remove all the paint.
If the paint does not come off easily, soak the paper towel with more xylene paint remover and put it on the plastic for another 15-30 minutes.
Using Adhesive Gunk Remover
Remove the plastic parts from your motorcycle and place them on the cardboard. Make sure to clean the plastic and remove any dust using a microfiber cloth. Spray adhesive gunk remover on the plastic and start rubbing it with a microfiber cloth. You may need more than one microfiber cloth depending on the size of the plastic part. Keep spraying the gunk remover along the entire plastic surface and rub it in with a cloth. The gunk remover softens the paint and makes it come off more easily while rubbing it with a microfiber cloth.


2.4 Repair Plastic Motorcycle Parts
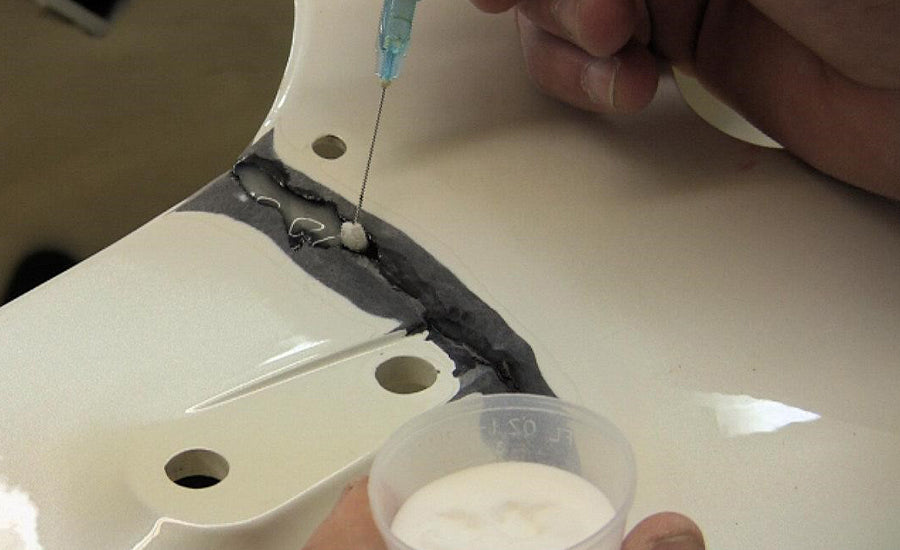
There are different ways to repair motorcycle parts made of ABS plastic, including plastic welding and using PlastiFix, PlastAid, and Oatey Medium Black ABS Cement. Repairing plastic motorcycle parts via plastic welding is best if the part is broken or has come off. However, to repair cracks and minor damages, applying the other three adhesives is best since it requires less time and effort. While repairing a plastic fairing, make sure that the cracked area is level to ensure the finish remains even after painting.
2.5 Preparing Work Area
Before you start painting plastic motorcycle parts, make sure you set aside space at home or in your garage. Cover the space with plastic sheets from the ceiling to the ground to keep paint from spilling everywhere.
2.6 Precautions
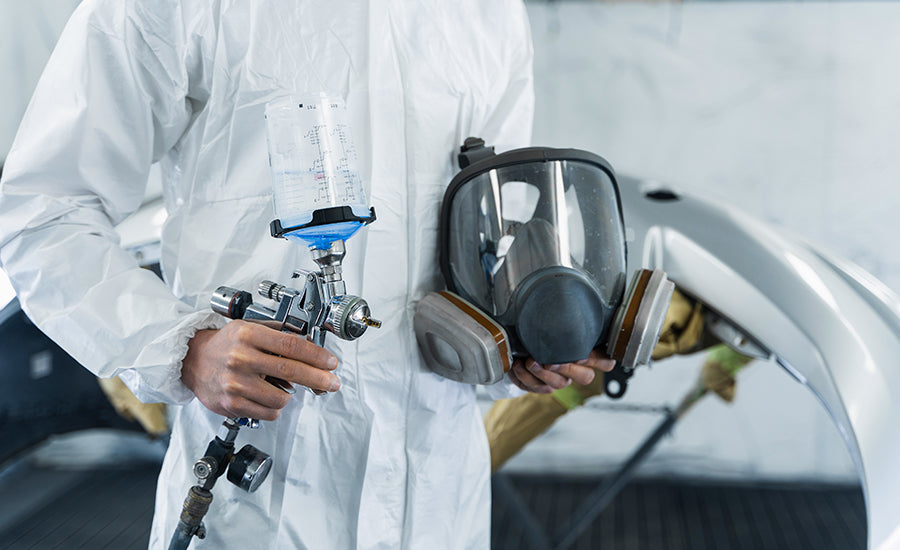
Before you start applying spray primer, paint, and a clear coat, make sure to wear gloves, a respirator, and long-sleeved clothes that leave no skin exposed.
3. How to Paint Plastic Motorcycle Parts
After you finish removing the old coat of paint from plastic motorcycle parts and repairing any broken pieces, prep the plastic parts that require painting.
3.1 Sanding the Plastic Motorcycle Parts
Using a Dual-Action Sanding Machine
To sand plastic motorcycle parts, you can either use sandpaper or a dual-action sanding machine. The dual-action sanding machine can save you a lot of time and effort. Otherwise, use 400-grit sandpaper if you are doing it manually. Sanding is done to create a smooth finish to make it easier for primer and paint to stick. Make sure to sand all the edges and corners.
Using Sandpaper Wrapped Around a Sanding Block
The second round of sanding must be done with sandpaper wrapped around a sanding block. The sanding block will help you identify the high and low points of the plastic surface and sand the edges and corners. This must be done carefully to achieve a glossy painted finish. Check the plastic motorcycle parts using light to check the high and low points of the surface.
3.2 Clean Plastic Motorcycle Parts
When you are done sanding, remove all the dust on the plastic using a tack cloth. After cleaning it with a tack cloth, use an air blower to remove any dust in hard-to-reach places.
3.3 Spray Primer on Plastic Motorcycle Parts
Shake the primer spray before applying it. Start spraying primer to cover the entire part, including the edges. Apply a light coat and wait at least 15-20 minutes before applying the second coat. After the second primer coat is applied, wait another 15-30 minutes to let it dry.
3.4 Remove Dust by Scrubbing
After the primer coat is completely dried, remove the dust on the plastic part by scrubbing it with tack paper. Pour some degreaser on the tack paper and scrub the plastic part gently to avoid scratching the primer coat. Use the air blower to blow any remaining dust off the plastic parts.
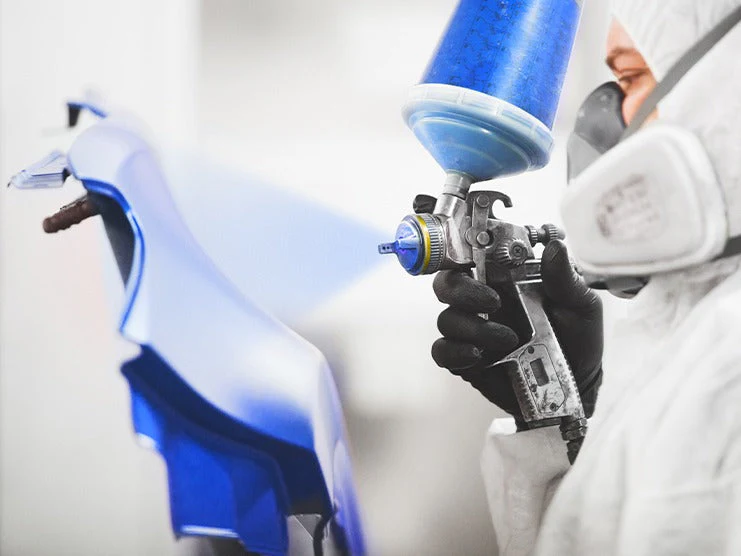
3.5 Apply a Coat of Paint
You can either use a spray paint can or a spray gun to apply paint to the plastic motorcycle parts. Make sure to paint the entire surface. Wait 15 minutes to let the first coat of paint dry before applying another coat of paint.
After waiting another 15 minutes, apply the final coat of paint by moving the spray can/spray gun uniformly in one direction to ensure the paint is spread evenly.
3.6 Apply a Clear Coat
Several clear coats from several brands are available on the market. Make sure to buy a clear coat that is compatible with the specific plastic parts.
Apply a clear coat to give the plastic part a glossy finish. Wait for the first clear coat to dry before applying another clear coat. Applying two coats of clear enamel is enough to ensure a better finish.
3.7 Note
Make sure to remove dust and clean the plastic parts between applying coats of primer, paint, and clear enamel using a tack cloth/microfiber cloth and an air blower.
4. Takeaway
Painting plastic motorcycle parts is slightly different from painting metal parts like the gas tank and frame. This requires skill, effort, and time if you want to paint the plastic parts like a pro. For the best possible outcome, make sure to follow the procedures listed above step by step. Make sure to wait until a coat dries completely to apply the next coat. Also, clean the plastic motorcycle parts after every coat dries. Painting your plastic motorcycle parts like a pro will give your motorcycle a completely new look.
If you want to transform your motorcycle into a more comfortable and aesthetically appealing motorbike, Viking Bags has a wide range of motorcycle parts for customization. You can find sissy bars, crash bars, fairings, handlebars, and sissy bar pads at Viking Bag’s online store. Viking Bags also offer a wide variety of good-quality luggage options to carry more stuff on long-distance rides, including motorcycle trunks, saddlebags, sissy bar bags, tour packs, and tank bags.
Popular Collections


Leave a comment
All comments are moderated before being published.
This site is protected by hCaptcha and the hCaptcha Privacy Policy and Terms of Service apply.