Table of Content
If you want to customize your motorcycle or restore an older motorbike, you will need to paint its frame. Painting a motorcycle paint is not an easy task due to the frame being difficult to access. If you are not a professional mechanic and have little experience painting a motorcycle, removing the engine and other parts can be difficult. However, the frame is not as visible as the motorcycle fuel tank and fairing. It is possible to paint a motorcycle frame at home or in your garage. Read this article to learn how to paint a motorcycle frame.
1. How to Prep a Motorcycle Frame for Paint
1.1 Equipment Required to Paint a Motorcycle Frame
- Rubber Gloves
- Respirator
- Sandpapers
- Sanding Sponges
- Glazing and Spot Putty
- Flat Blade Scrapper
- Plastic Plate
- Acetone/Wax and Grease Remover
- Etch Primer
- Fleet Coating
- Tack Cloth
- Clear Coating
- Masking Tape
- Cutter
- Scissors
1.2 Fixing the Imperfections on a Motorcycle Frame
Before you start painting the frame, it is important to look for any dents, scratches, and damage to the surface. You can fill these imperfections on the frame with glazing and spot putty to give it a cosmetic makeover.
Procedure
- Apply the acetone to the frame to remove any dust or grease from the surface to ensure better adhesion between the spot putty and frame
- Using a flat blade scraper, identify all the dents and imperfections on the frame
- Take the glazing and spot putty and smear it onto the plastic plate
- Mix it well before using it with the help of the blade scrapper
- Apply the spot putty on the imperfections
- Wait at least half an hour
- Take a 320 or 400-grit sandpaper
- When the spot putty gets hard, rub the sandpaper over it
2. How to Paint the Motorcycle Frame

Before painting the motorcycle frame, make sure you have a work area like a garage. Make sure to properly cover the work area with plastic sheets from the ceiling to the ground.
If possible, mount a rail to the ceiling to hang all the frame parts separately to make organization easier. Cover the parts of the frame you do not want to paint with masking tape. The different frame parts include:
- Swingarm
- Rear frame section
- Main frame
2.1 What Is an Etch Primer?
The etch primer is a chemical that contains acids that increase adhesion to a metallic surface. An etch primer ensures paint sticks firmly to a metal surface. Before painting the metal surface, a coat of etch primer is applied to make the surface rougher and stickier.
2.2 Spraying the Etch Primer
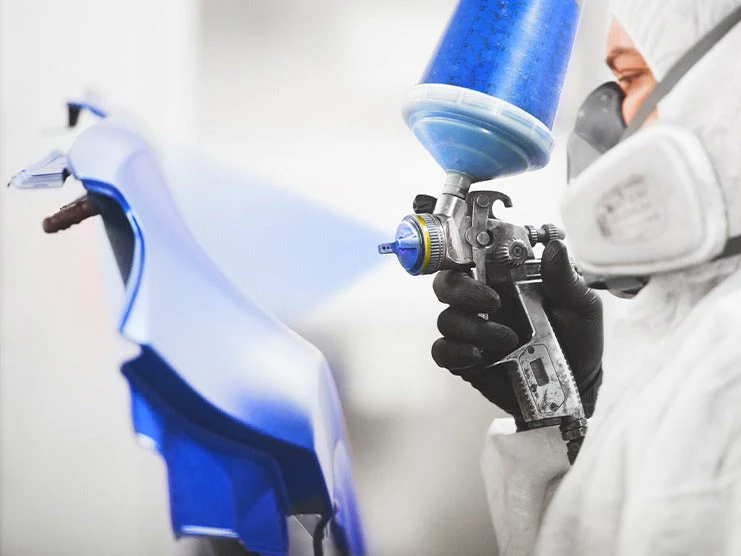
Before you spray on the etch primer and paint the frame, make sure to wear a respirator and gloves.
To paint a motorcycle frame, you will have to apply two coats of etch primer. It is mentioned on the etch primer spray can to wait at least 5 minutes before applying the second coat. After applying the etch primer, you will have to wait at least 45 minutes for it to dry.
Note: When using etch primer, make sure to only spray it onto a bare metal surface. Do not spray the etch primer on a previous coat of paint.
Also Read: TIPS TO REMOVE MOTORCYCLE SCRATCHES
2.3 Spraying the Top Paint Coat
After waiting at least 45 minutes to let the etch primer settle on the metal surface, spray on a light coat of paint. Wait at least 10 mins to let the top light coat dry and then spray on a second light coat of paint. After waiting another 10 minutes, apply the last medium wet coat. After applying two coats of etch primer and three coats of paint, you will have to let the frame parts dry for seven days.
2.4 Final Touch

After waiting for seven days to let the spray paint dry on the metal surface, you can then add a clear coat. Use a piece of tack cloth to clean the frame before applying the clear coat. Tack cloths are readily available at hardware stores and can cost between $2-5.
Applying the Clear Coat
Most clear coat cans have two liquids separated from each other. To mix them before using, there is an activator at the bottom of the can that must be pressed. After both liquids are mixed, the shelf life of the clear coat decreases by about 24 hours.
Note: When using a clear coat, make sure to take precautions as it contains isocyanate, a chemical that can damage your skin. Make sure to cover your skin completely by wearing long-sleeve clothes, gloves, a mask, and a hat. Take off the clothes after spraying and wash them thoroughly before wearing them again.
Procedure
Shake the clear coat can well for two minutes. After activating it, mix it again for another two minutes to ensure the two liquids fully mix. Then apply the clear coat on the motorcycle frame parts. The clear coat can take almost half a day to dry.
3. How to Paint a Motorcycle Frame without Removing the Engine

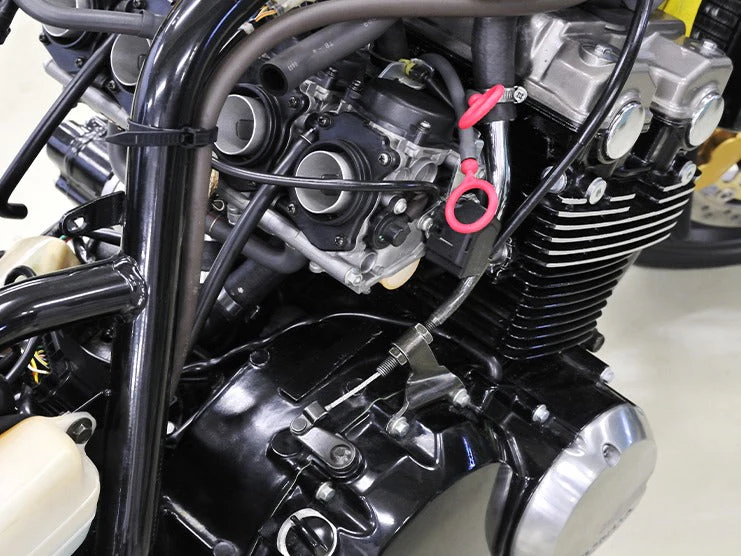
It is difficult to paint a motorcycle frame without removing every motorcycle part, especially if you are a new motorcycle rider. You also have to cover all the parts you do not want to paint, including the engine, front forks, wiring, cables, and mudguards using newspapers and masking tape. However, for a quality paint job, it is recommended to paint the motorcycle frame by removing the other parts.
4. How Much Does it Cost to Paint a Motorcycle Frame?
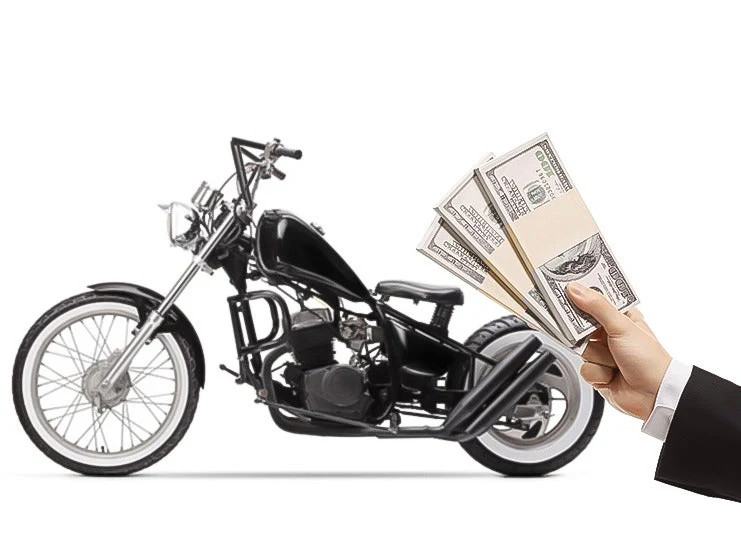
The cost of painting a motorcycle frame can vary depending on where you live. The average cost can be between $300-$550 if you hire a professional painter. If you outsource, this can result in varying price ranges. For example, if you hire a worker to do the preparation, painting a motorcycle frame can cost you around $250. If you outsource disassembling and reassembling the motorcycle again after painting, it will cost you another $200-300. However, if you do everything yourself, painting a motorcycle frame will only cost you around $100.
5. Final Words
If you want to restore an older motorcycle or give it a new look, you can do so by painting a motorcycle frame. However, it takes skill to disassemble every motorcycle part. You will not apply a proper finish to the frame unless you first remove the old coating and repaint it with a fresh coat. Make sure you have all the required equipment and products and have an available workspace. Follow the procedures mentioned above to ensure you apply paint on a motorcycle frame evenly.
If you want to further improve your motorcycle and make it ideal for comfortable long-distance rides, Viking Bags has several aftermarket parts available, including sissy bars, crash bars, fairings, and sissy bar pads. You can also replace your old handlebars and motorcycle seat. Viking Bags also has various luggage options to increase your motorcycle’s storage capacity, including saddlebags, backpacks, motorcycle trunks, and tank bags.


Leave a comment
All comments are moderated before being published.
This site is protected by hCaptcha and the hCaptcha Privacy Policy and Terms of Service apply.