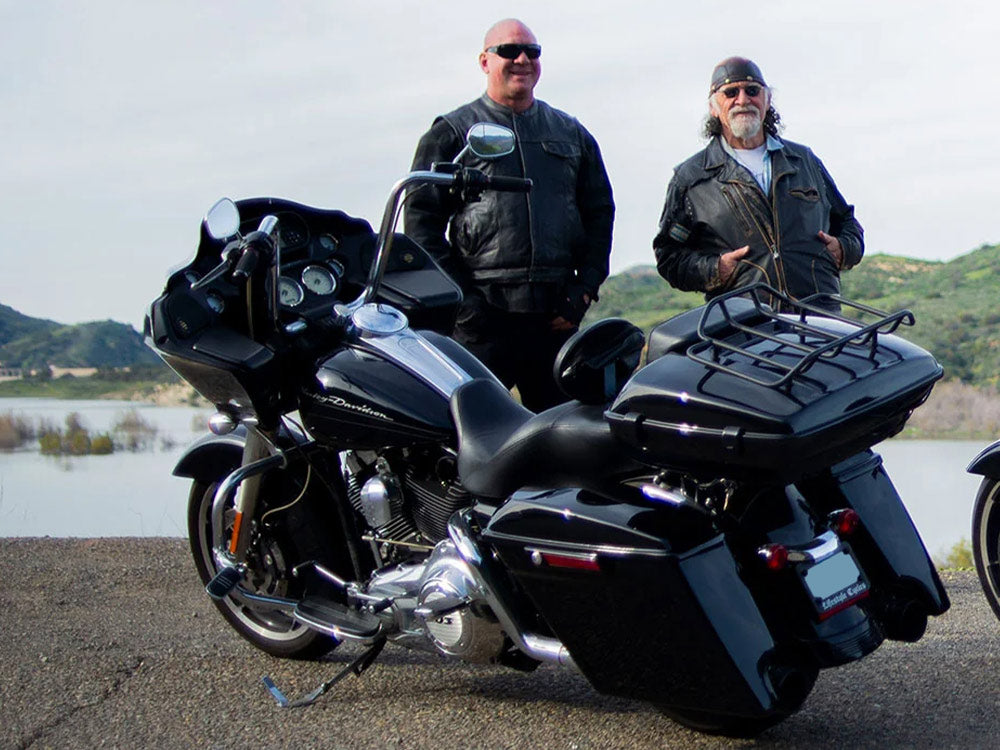
Harley Davidson is known for manufacturing exceptionally capable cruisers and grand American bagger motorcycles, decked with touring-oriented utilities and components, especially capacious and convenient motorcycle luggage pieces, such as a motorcycle Tour Pack. While some Harley motorcycles are equipped with standard tour packs, other models offer them as optional amenities. The introduction of the stock Tour-Pak® luggage carrier first occurred with the Harley Electra Glide Classic and the Ultra Glide motorcycles, as these bikes were the earliest fully decked members of the company’s bigger movement. Many Harley-Davidson enthusiasts took an instant liking to this additional accessory as it made packing for long-distance trips, camping trips, and cross-country trips a matter of mere minutes. Moreover, the Tour Pack’s classy, color-matched high-gloss finish further complemented the Harley motorcycles’ already refined stylistic elements, further enhancing their touring character and grandiose.
In 2014, Harley introduced the Project Rushmore upgrades for its renowned Electra Glide family of high-achieving touring motorcycles. Under this project, the bikes received many revised and improved parts, with the most prominent touring accessory being the premium Tour-Pak® designed to provide increased storage and act as a comprehensive luggage solution for a wide range of riding purposes and individualistic styles. As the motorcycle touring movement continued to experience exponential growth over the years, several aftermarket motorcycle luggage manufacturing companies also entered the market, offering high-quality Harley Tour Packs to riders at a comparatively lower price than the OEM Harley Davidson Tour Packs. A highly noteworthy example of such Harley luggage manufacturers is Viking Bags, which, in addition to Harley touring motorcycles, also offers stylish and versatile tour packs for Harley Dyna, Softail, Sportster, and street models. Since Harley Davidson motorcycles, such as cruisers, baggers, touring motorcycles, and lavish adventure motorcycles can be used to traverse well-paved roads and roadless regions, the installation of a touring pack on Harley motorcycles has become a necessity in the contemporary motorcycle scene.
Whether aftermarket or factory-made, Harley touring packs are designed to withstand harsh weather, even harsher landscapes, and prolonged rough use, and, if you opt for an aluminum rear motorcycle trunk, they can also provide much-needed crash resistance in the event of a fall, drop, or accidents. However, the painted fiberglass or ABS plastic Harley Davidson tour packs are highly susceptible to scratches due to exposure to debris, dust, gravel, and other damaging elements. Furthermore, when adding or removing items from the Harley tour packs, it is quite easy to damage or scratch the paint. Moreover, storing the motorcycle in the open air without a cover or a shed can also damage the touring pack paint. The fading or peeling paint can significantly diminish the bike’s allure and sophistication. In many cases, the bike’s resale value gets a hit if the original Harley tour packs are not properly maintained.
This article provides you with a comprehensive and easy-to-follow step-by-step guide on how to safely remove and disassemble the tour pack on your Harley Davidson motorcycle to restore its paint job and artistic charm. Though every Harley model is different and the steps may vary depending on your bike’s year and the tour pack you own, this guide will help you get started. Make sure to keep the owner’s manual with you and the installation/removal guide provided with the touring pack (in case it is aftermarket) while reading this article to compare the steps that might be different in your Harley Davidson tour pack’s process of removal and disassembly. However, the general method for painting the tour pack will remain essentially the same.
Table of Content
1. What is a Harley Davidson Tour Pack?

70 L Premium Extra Large Motorcycle Tour Pack for Harley Touring Motorcycle
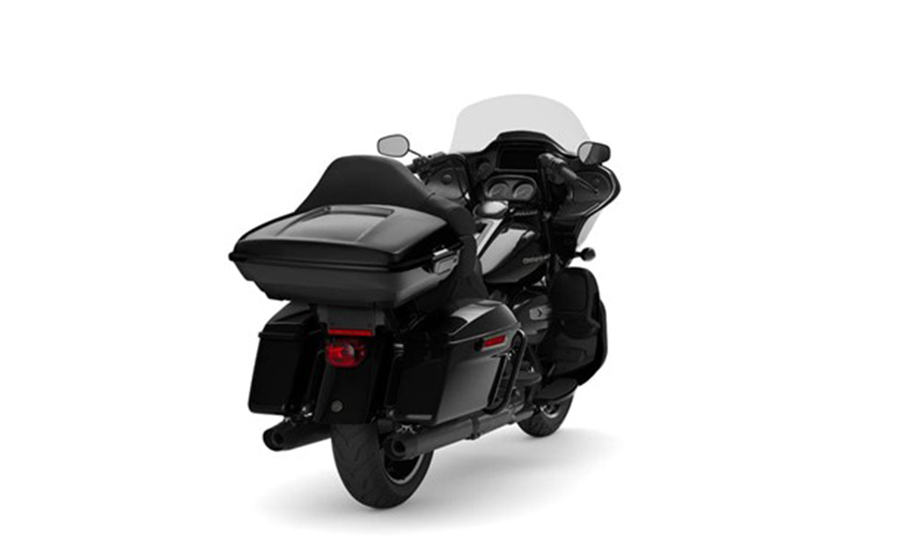
Located at the rear of your Harley motorcycle and securely placed on a metal luggage rack, the Harley Davidson tour pack, or the tour pack is a luggage system designed specifically for long hauls, cross-country trips, and any other riding styles that involve carrying large amounts of travel gear and possessions. From motorcycle tools to jackets, camera gear, and important documents, this large, lockable rear trunk or storage compartment on a Harley Davidson motorcycle is also used for everyday urban action, commutes, and short business trips. Harley touring packs come with either detachable quick-release systems or latches. Either way, removing the touring packs for packing and unpacking is quite easy. In addition to maximizing the bike’s storage capacity, the Harley Davidson tour packs also help with passenger comfort and entertainment as they come equipped with integrated speakers, lighting, and a passenger backrest.
If you own a Harley tour pack that is damaged beyond minor paint repair, it is recommended that you seek professional help for the repair. If you are looking for high-quality and affordable replacements, make sure to explore Viking Bags’ Harley Davidson tour pack collection or the universal fit motorcycle rear trunks collection. On the other hand, if you want to uninstall the touring pack from your Harley motorcycle to restore the damaged paint, follow the general guidelines provided infra.
2. How to Remove Harley Davidson Tour Pack?

Harley Davidson Touring Road Glide FLTR/I Tour Packs
As mentioned, the process of removing the Harley Davidson touring pack will vary depending on the Harley motorcycle you ride, the bike’s model year, and the type of touring pack you have installed. The functionalities offered by the tour pack, such as lighting and speakers, may require disconnection with the bike’s electrical system. The general instructions provided below will give you the confidence to get started on your DIY Harley Davidson motorcycle tour pack maintenance project.
2.1 Tools Required to Remove the Harley Touring Pack
- Allen Wrench
- Screwdriver
- Torx Wrench
- Wrench or Socket Set
- Clean Microfiber Cloth
For specific wrench sizes, check the instructional manual supplied with the instructional manual.
2.2 Quick Steps to Remove Bolt-on Harley Davidson Touring Pack
- Once you have all the tools with you, start by removing the motorcycle seat and saddlebags to easily access the mounting hardware of the Harley tour pack. Also, removing the seat will make it easier to fully open the tour pack’s lid and fold the internal flaps back to see the wiring properly.
- Next, if your touring pack has integrated speakers and lighting, such as in Harley Street Glide, Harley Road Glide, and Harley Ultra Limited Tour Paks®, make sure to disconnect all the wiring from the bike’s electrical system. The step is relatively easy, as all you have to do is locate connections and unplug them or simply remove the terminals.
- Usually, the mounting bolts of the tour pack are located at the bottom, and to remove the trunk, you must first unfasten all the bolts. In case your touring pack does not have the bolts at the bottom, check its sides. Once located, it is best to first loosen all the bolts and then remove them, as this practice reduces the chances of losing any of the mounting hardware. Once you have removed all the bolts and lock nuts, simply lift the tour pak off the luggage rack.
- Make sure you place all the nuts and bolts safely in a storage box or a drawer so you don’t lose them. Looking for the right hardware can be a huge hassle if the stock bolts get misplaced.
- Clean the tour pack with a lint-free microfiber cloth before disassembling it for paint prep.
2.3 Quick Steps to Remove Detachable Harley Tour Pack
- If your Harley motorcycle boasts a detachable touring pack setup, start with seat removal first. Usually, Harley Davidson touring motorcycles have a long one-piece seat for both rider and passenger, and it comes right off if you pull gently at the back of the seat.
- Once the seat is removed, you should be able to see all the wiring and connectors for speakers and lighting. Disconnect the wiring to ensure safe touring pack removal.
- To take off detachable Harley Davidson tour packs, there is a release mechanism on the bottom of the tour pack on each side. This release mechanism is secured on the motorcycle thanks to the docking hardware. Luckily, for detachable touring packs, you don’t need to unfasten and remove the docking hardware as the Harley Davidson touring pack will come right off with the quick-release system intact.
- Carefully lift the tour pack off the bike and set it up on a nearby workstation or table.
- Clean the detachable touring pak for the Harley motorcycle with a clean cloth after disassembling it.
Quick Note: Removing the Harley touring packs, whether detachable or bolt-on, is a simple one-man operation; however, Harley Davidson touring packs are heavy especially if they have attached passenger backrests. Therefore, it is recommended that you seek a helping hand when lifting it off the motorcycle. |
3. How to Disassemble a Harley Davidson Tour Pack?
54L - Voyage Extra Large Chopped Tour Pack for Harley Touring Motorcycles
After you remove the tour pack from your Harley Davidson motorcycle, you would have to disassemble some of its components, including the attached backrest, hinges, latches, lid, and inner storage compartments, if any. It is worth mentioning that the disassembling process may vary depending on the internal and external features of the touring pack. Therefore, you must always consult the motorcycle owner’s manual in case of stock Harley tour packs or the instruction manual provided with the OEM or aftermarket Harley Davidson touring packs.
3.1 Tools Required to Disassemble the Harley Davidson Tour Pack
It is the same as those required to remove the Tour Pack.
- Allen or Torx Wrenches
- Wrench or Socket Set
- Screwdriver


3.2 Quick Steps to Disassemble the Harley Davidson Tour Pack
- Ensure you always start with disconnecting any wiring or electrical connections for speakers, lighting, aftermarket USB charging kits, or aftermarket GPS systems.
- Remove the passenger backrest (if attached) by unfastening its mounting bolts. In addition, remove the quick-release brackets if you own a detachable tour pack, handles, lid strut/lid stay if any, internal organizers, dividers, and internal soft liner (if any). Be sure to spare some time to wash all the internal detachable organizers and liners during the entire DIY project.
- Some Harley touring packs come with attached luggage racks, so make sure you also locate and remove the mounting bolts of these luggage racks.
- Remove all the fasteners on the surface of the Harley tour pack, holding the lid in place. Once all the screws, hinges, and latches are removed from the lid section, make sure to store them safely.
- Avoid removing the rubber liner or weather seal on the edges of the tour pack. Even if it is easy to remove and put back on, the process might reduce its effectiveness, diminishing your touring pack’s weather resistance and vibration-damping capabilities.
- It is recommended that you take pictures of every step while disassembling the tour pack as it will help you repeat the process in reverse to assemble it correctly after painting. As for safely storing all the mounting hardware removed, make sure to put the hardware in separate ziplock bags and label them accordingly.
- Use a lint-free microfiber cloth to thoroughly clean the tour pack and inspect it carefully for any cracks and other similar signs of damage.
If disassembling the Harley Davidson touring pack for paint seems like a hectic and complicated task, it is best to seek professional help. However, you can also choose not to disassemble the tour pack for repainting, painting, and restoration. The only concern in this regard is that paint can get on the shiny chrome hinges and latches, but you can clean them using steel wool. On the other hand, it might be nearly impossible for you to correctly realign the latches and hinges. Therefore, if you want to save yourself the hassle of ensuring a perfect fit after painting the tour pack, simply avoid disassembling it.
4. How to Prep and Paint Harley Davidson Touring Pack?
Harley Davidson Touring Street Glide FLHX Tour Pack
Painting a Harley Davidson tour pack seems relatively easy and can be performed easily provided you master the surface prepping skills. To acquire the industry-grade finish and match your bike’s impeccable factory paint job, you must take your time with the sanding process. Also, make sure that the temperature and weather conditions are suitable for the paint adhesion and drying process. Paint in a controlled setting, such as a properly ventilated garage, with moderate temperature, ideally 60°F-75°F, and low humidity levels, about 65%-70% for the best results. It is also advisable to wear a protective mask to avoid inhaling paint droplets. Painting the Harley touring pack is a time-consuming process and you might have to repeat the prepping process several times before achieving just the right finish. However, painting the Harley touring pack yourself has many benefits, including reduced costs, a better understanding of your Harley motorcycle’s systems, and improved painting skills that will allow you to custom paint your bike at home whenever you want a different look.
4.1 Tools Required to Prep and Paint Harley Touring Pack
- Clean Cloth
- Soapy Water
- Water for Wet Sanding
- 800 Grit Sandpaper
- 1000 Grit Sandpaper
- Primer
- Spray Paint
- Clear Coat
4.2 Steps to Paint Harley Tour Pack
- Clean the Harley tour pack with a clean cloth and soapy water to ensure that there is no grease or grime present on the surface. This step helps preserve the adhesive properties of primer, paint, and clear coat.
- Prep the tour pack by wet sanding it using 800 grit sandpaper to remove the existing paint, and high-gloss finish, and smooth out any scratches. While preparing the tour pack with sandpaper, be sure not to rush this step as it determines the quality of the paint finish at the end. It may take you a couple of hours to properly sand either side of the Harley tour pack. Once done, use a fine 1000-grit sandpaper to create a smooth and even surface for primer and paint application.
- After sanding, thoroughly wipe down both sides of the tour pack with a dry, clean lint-free microfiber cloth.
- Next, apply an even coat of primer on the sanded surface to create a smooth finish. Allow the primer to dry completely before dry sanding it with a 1000 grit sandpaper to create a rough texture. This step will help the paint stick to the tour pack ensuring a sophisticated factory-standard finish.
- Apply the high-gloss lacquer paint using a spray gun or rattle can. Make sure to apply three thin coats of paint and let it dry completely before reassembling the reinstalling the tour pack.
- If the paint you are using does not come with a clear coat, apply two to three coats of clear separately and let it dry.
- To closely color-match the tour pack with your Harley’s original paint scheme, you can also apply flake if the factory paint job offers flake.
- Once the paint is dry, wet sand the surface again with 1000 grit or even finer sandpaper to remove any imperfections or irregularities in your DIY paint job. You can also use a rotary buffer machine to buff out your freshly painted Harley Davidson tour pack.
- Once the painting is done, reassemble the Harley Davidson tour pack by following the same steps you performed to disassemble it but in reverse order.
- Reinstall the newly painted blemish-free tour pack on your Harley Davidson motorcycle and embark on another exciting adventure.
Also Read: How to Paint Plastic Motorcycle Parts
5. Last Words
Harley Davidson Tour-Paks® has become an essential travel gear or part of the luggage system for many riders, whether they travel on long routes frequently or just use their Harleys to commute to work in style. Purposeful and sturdy, Harley Davidson tour packs offer many benefits when it comes to transporting your possessions on a two-wheeler. From organizers to weather seals, impact-resistant corner guards to key lockable mechanisms, Harley Davidson touring packs elevate your motorcycle touring experiences.
Though low maintenance, tour packs often get paint failures that can spoil the bike’s overall impression and attitude. Luckily, these paint fails can be fixed at home, provided you learn the different functionalities of the touring pack, such as its mounting systems, any electrical connections of the integrated audio and lighting systems, and their overall alignment and structure.
If you familiarize yourself with these operations of the tour pack, you can easily remove, disassemble, and paint your Harley Davidson tour packs anytime a need arises. Furthermore, learning these skills will also increase the aesthetic customization opportunities for you. Make sure to thoroughly read this guide, the Harley motorcycle owner’s manual, and the touring pack instructional guide before performing the removal and disassembly methods.
Also Read: Metal Flake Motorcycle Paint Jobs
Popular Collections


Leave a comment
All comments are moderated before being published.
This site is protected by hCaptcha and the hCaptcha Privacy Policy and Terms of Service apply.