
Table of Content
A metal flake motorcycle paint job is a creative way to decorate your motorcycle. Adding metal flakes to the paint can give your motorcycle a glittering look. You can be as creative and experimental as you like to help your motorcycle stand out. However, a metal flakes motorcycle paint job requires specialized tools and skills. Most motorcyclists prefer hiring a professional motorcycle painter for this job. You can only paint your motorcycle with metal flake paint if you have previous experience painting a motorcycle. Read this article to learn about metal flake motorcycle paint jobs.
Also Read: CAN YOU CHANGE THE COLOR OF YOUR MOTORCYCLE?
1. How to Paint a Motorcycle with Metal Flake Paint
The initial process of painting a motorcycle with metal flake paint requires the same steps as standard or DIY motorcycle paint jobs, including:
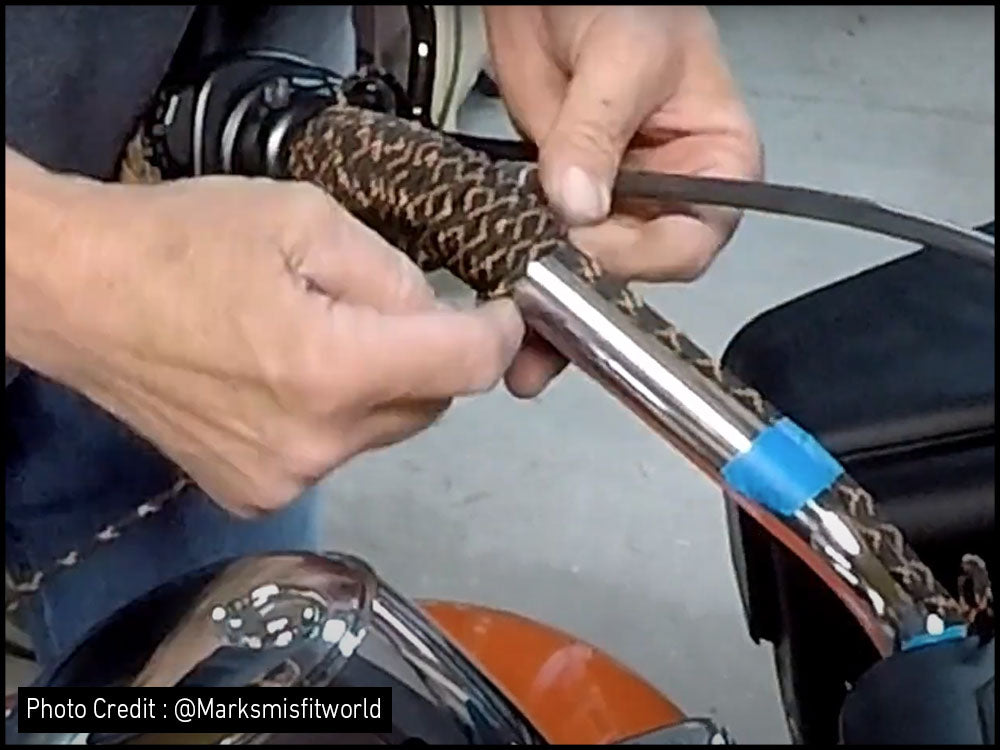
1.1 Remove the Motorcycle Parts You Want to Paint
The first step is to remove the motorcycle parts you want to paint. Make sure you do it safely without scratching or damaging the parts.
1.2 Remove Dust from the Motorcycle Parts
Use a microfiber cloth to wipe off any dust before starting. Keep cleaning the parts between every step and after the coats of paint have completely dried.
1.3 Prepare the Motorcycle Parts You Want to Paint
Preparing motorcycle parts for paint jobs involves removing the original paint, fixing any damage, sanding, and air-blowing to remove dust.
If you want to learn how to remove the original paint from a gas tank and how to fix any damage, including dents, scratches, and pinholes, you can read the articles listed below:
1.4 Sanding the Motorcycle Parts
After preparing the motorcycle parts, make sure to sand them down using sandpaper and a sanding machine to smooth the surface and eliminate any high or low spots. Clean the parts again with a microfiber cloth or an air blower after sanding them down to wipe off any dust.
1.5 Wear Personal Protective Equipment (PPE)
It is important to wear a respirator to avoid breathing in any chemicals and gloves and long-sleeved clothes to protect your skin from primers, spray paints, and clear coat. When you are done painting the motorcycle, make sure to dump the PPE in the wash and do not wear them again until they are properly cleaned.
1.6 Prepare a Work Area
If you have a garage or an empty space, make sure to cover the floor and walls with plastic sheets to prevent paint from splattering everywhere. You can also install a railing to hang the parts using chains to ensure a better finish.
1.7 Apply the Primer Coat
After the parts are properly sanded and cleaned, apply the primer coat. A primer is a chemical that reacts with metal and creates a rough surface that improves adhesion. They mainly come in spray cans that are easy to use. Read the instructions on the spray can to learn how to use and how much time it takes for it to dry.


1.8 Apply the Base Coat
After the primer dries, apply the base coat. You can choose any color you like. Make sure to use good-quality paint for the base coat to ensure a better finish.
1.9 How to Mix Metal Flakes with the Paint
Take the spray gun container and affix a disposable cup to it to mix in the metal flakes. The disposable cup prevents contamination and makes it possible to use the container again for painting.
How Much Metal Flake Per Milliliter of Clear Coat?
Carry 12 oz (360 ml) of clear coat in the disposable cup and add 4 oz (120 ml) of hardener. Add the full packet of Lime Line metal flake until it is about one pint (approximately 473.18 ml) of metal flake spray paint. Finally, mix it well using a stirrer.
Different metal flake paints are available in the market. Make sure to read the instructions before applying the paint. For example, if you are using the House of Kolor SG150 Intercoat Pearl & Flake Karrier, you must add two teaspoons of flakes per quart (946.35 ml) of clear coat.
Put the cap and retainer back on the container to keep the paint from leaking. Mount the container on the spray gun with a 1.3 mm nozzle size.
Also Read: How Much Does a Motorcycle Paint Job Cost?
1.10 Painting the Motorcycle Parts with Metal Flake Paint
Apply the first coat of clear glamor and metal flakes on the base coat after it has dried. Apply three coats of this mixture on your motorcycle parts and wait for at least 15-30 minutes between coats. Three coats will ensure better coverage and texture. Make sure to move the spray gun uniformly in one direction to avoid making high spots. After applying three coats of metal flake mixture, wait at least 24 hours for it to dry.
1.11 Sand the Motorcycle Parts
Sand the motorcycle parts again to remove any rough patches or high spots to smooth out the surface.
1.12 Apply the Clear Coat
You can reuse the spray gun container by removing the disposable cup. However, you will need to clean the spray gun using lacquer thinner to remove any metal flakes.
Make another container of clear coat by mixing 12 oz (360 ml) of clear coat liquid and 4 oz (120 ml) of hardener. Apply three clear coats and wait at least 15-30 minutes between coats. Let the clear coats dry before you touch or move the painted motorcycle parts.
2. Frequently Asked Questions (FAQs)
2.1 Do You Use Metal Flakes in a Base Coat or a Clear Coat?
Metal flakes are used in a clear coat to ensure they stick better to the metal surface and ensure a glossy finish.
2.2 Do Metal Flakes Go in Paint or Clear Coat?
Metal flakes are mixed with a clear coat and hardener, with the mixture being applied after the base coat.
2.3 Do Metal Flakes Hide Imperfections?
Yes, metal flakes can hide minor imperfections on a motorcycle due to being tiny metal particles.
3. Takeaway
Metal flake motorcycle paint jobs give motorcycles a unique custom look. It is easy to paint your motorcycle with a metal flake paint mixture if you are familiar with using different types of paint. Make sure to read the instructions listed on the back of the metal flake packet. For a better finish, make sure to mix the metal flakes with the exact amount of clear coat and hardener as mentioned in the packet.
If you love customizing a motorcycle, a metal flake motorcycle paint job is a good idea. If you want to restore your motorcycle, Viking Bags has several motorcycle parts including handlebars, seats, sissy bars, fairings, crash bars, and backrests. If you want to add luggage bags to make it ideal for touring, Viking Bags also has good-quality saddlebags, trunk bags, sissy bar bags, and tank bags.
Popular Collections


Leave a comment
All comments are moderated before being published.
This site is protected by hCaptcha and the hCaptcha Privacy Policy and Terms of Service apply.