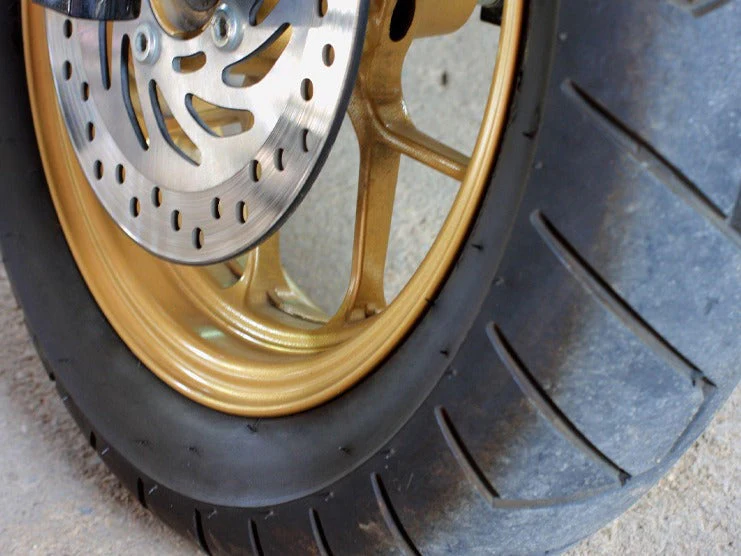
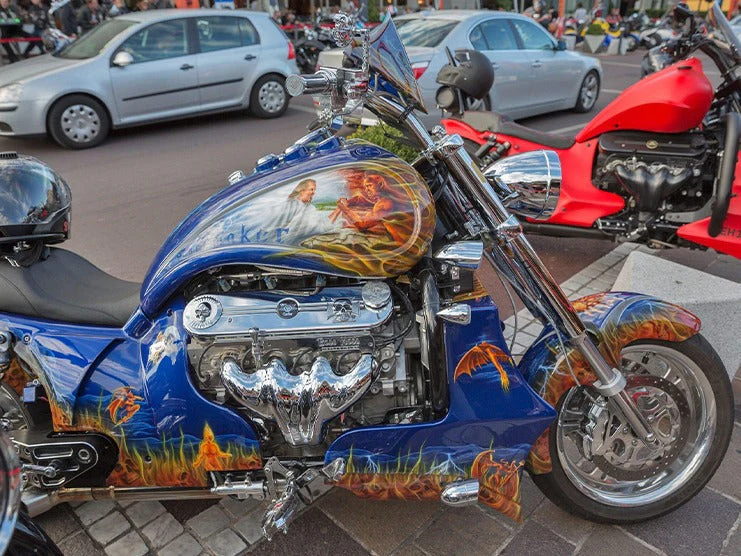
You can improve the look of motorcycle rims by applying or restoring paint. It’s the best option if you want to renew the paint or change the color of your motorcycle rims. Some riders get the rims painted by a professional but others prefer doing it themselves. To paint motorcycle rims, you must have the right tools and know the proper technique.
This article provides steps on how to paint motorcycle rims and lists some of the best paints for motorcycle rims.
Table of Content
1. Steps to Paint Motorcycle Rims
1.1 Materials and Tools Required
- Gloves
- Glasses
- Masking Tape or Paper
- Water
- Sandpaper
- Wire Brush
- Tools to Remove Rim
- Paint Stripper
- Paint Degreaser
- Paint
- Clear Coat
1.2 Procedure
Step 1: Set Up Your Work Space
You must set up an appropriate workspace to paint your motorbike rims. You’ll need an open and well-ventilated area because the aerosol sprays you’ll be working with have harmful chemicals. You will need a bucket to balance the wheels on so you can paint both sides and a table to set up the wheels.
Step 2: Remove the Wheels from Your Motorcycle
The next step is to detach the wheels from your motorcycle to keep them fom being covered in paint stripper or spray paint.
After removing the wheels, take them to your workspace. You can also balance the wheels on a bucket placed upside-down to have easy access to both sides.
Step 3: Cover the Tires or Remove the Rims
You can either cover the tires or remove the rims before painting. It is advisable to remove the rims but it is not mandatory.
Cover the Tires
If you choose to cover the tires, use paper or masking tape. Attach the paper or masking tape where the tires connect to the rims.
Remove the Rims
To remove tires from the rims, deflate the tires, lever off towards one side, then flip and lever off towards the other side.
Step 4: Clean the Rims
To prepare the rims for painting, clean them thoroughly. Use a rag to remove all the dirt and excess paint, wipe the surface with a clean cloth, and then wash it off.
Step 5: Apply Paint Stripper
Paint stripper removes excess paint and is available at any paint shop. Before using, read the instructions on the bottle.
Spray the paint stripper on the entire surface of the rim and let it dry for 10-15 minutes. Once the stripper has dissolved all the paint, scrub the surface with a wire brush or sandpaper. Be gentle while scrubbing to avoid scratching the metal. When you can see the metal surface, stop scrubbing.
Make sure to wear a face mask and gloves when using paint strippers since they contain harmful chemicals.
Step 6: Apply Paint Degreaser
Paint degreaser is used to remove dirt, leftover paint, and other contaminants before you start painting. Only use this if the stripper does not remove all the paint.
Apply the paint degreaser to the surface of the rim, leave it to dry for 15 minutes, and then wipe it off with a clean cloth. This will remove grease, stripper spray, and leftover paint, leaving a smooth and clean surface to paint.
Step 7: Apply Paint Primer
Apply a rust-resistant and self-etching primer evenly along the entire surface of the rim. Make sure to keep the primer at least one foot away from the surface to avoid spraying too much.
After spraying the first primer layer, let it dry for half an hour. Then, start scrubbing the surface lightly with wet sandpaper to create a surface that ensures the paint sticks better.
Dust off the surface, apply another primer layer and sand the surface to finish.
Step 8: Apply the Paint
Take a good-quality rim spray paint, hold it at a minimum distance of about one foot from the rim, and apply it evenly across the surface. After applying the first coat, let it dry for 30 minutes, then apply the second coat and wait an hour for it to dry and cure.
Make sure to read the instructions on the paint bottle and wait the full drying and curing times accordingly.
Step 9: Apply Clear Coat
Apply the clear coat once the rim has dried completely. The clear coat helps protect the paint from being scratched.
Apply the clear coat the same way you would apply the primer and paint. Wait 24 hours for the rim to dry and cure.
Step 10: Mount the Wheels
Reinstall the tires onto your motorcycle.
2. Best Paints for Motorcycle Rims
2.1 Dupli-Color Silver Wheel Coating
The Dupli-Color creates a reflective coating that provides protection from damage due to abrasions and impacts. The paint takes a short time to dry, and can be sprayed on as multiple layers onto metallic motorcycle parts.
Pros
- Reflective Coating
- Dries Quickly
- Top-Quality Finish
- Versatile
- Impact-Resistant
- Abrasion-Resistant
Cons
- Requires Cleaning More Often
- Difficult to Remove
- Expensive
2.2 Rust-Oleum Automotive High-Performance Wheel Paint
This high-quality spray paint provides long-lasting protection, a smooth finish, and better adhesion. This product usually comes at an affordable price. Its oil-based formula ensures it dries quickly and takes less time to be applied. This paint provides impact- and scratch-resistant finish that can be applied to any metal surface.
Pros
- Versatile
- Long-Lasting
- Dries Quickly
- Corrosion Resistant
- Impact- and Scratch-Resistant
Cons
- Only Available in One Color
- Non-Adjustable Spray Tip
- Lacks Plastic Extension for Hard-to-Reach Areas
2.3 Plastikote Black Truck Bed Liner
Plastikote Black Truck Bed Liner paint is specifically designed for truck bed liners but can be applied on any metal surface. It protects the rims from impacts and abrasions and creates a matte finish. The matte finish will hide dirt, grime, and scratches, reducing the need to frequently clean the rims.
Pros
- Matte Finish
- Durable
- Affordable -Price
- Easy to Use
- Dries Quickly
Cons
- Non-Reflective Finish
- Thick Consistency
2.4 Performix Plasti Dip
Performix Plasti Dip gives the motorcycle rims a smooth colored finish. This product is cheap, effective, and can be applied on any metallic surface. One major drawback of this paint is that it is easy to remove, so be careful when cleaning the rims.
Pros
- Cheap
- Easy to Remove
Cons
- Less Durable
- Includes a Pressure Washer
3. FAQS

3.1 How to Make Spray Painting Rims Last Long
To make the paint on the rims last longer, it’s important to apply the paint correctly or ask an experienced person to do the job. If the paint is applied evenly, it will not start to flake or peel off over time.
3.2 What Happens if You Skip Applying Primer Before Painting?
If you skip applying primer before painting, the paint will not stick to the surface and will peel off. Paint will come off more easily when wiping dirt off the surface. Also, cleaning the surface will become harder when the paint has dried completely due to the lack of adhesion.
4. Last Words
Painting the motorcycle rims is the best way to make them look brand new and last longer. Paint will protect the rims against abrasions and impacts, and also make the rims easier to clean. If you want to improve your motorcycle’s look, you can install saddlebags, tank bags, sissy bar bags, sissy bars, fairings, crash bars, luggage racks, and handlebars.


Leave a comment
All comments are moderated before being published.
This site is protected by hCaptcha and the hCaptcha Privacy Policy and Terms of Service apply.