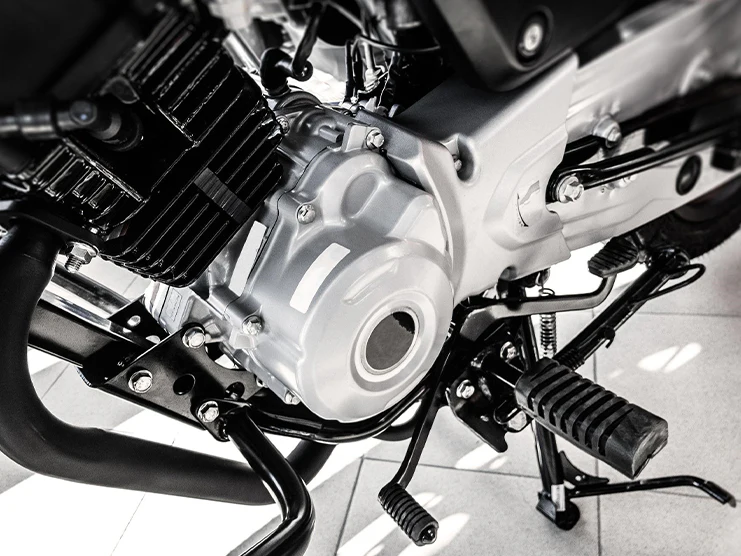
Motorcycle manufacturing companies have been launching blacked-out bikes with engines painted black in recent years. Unlike gray and chrome engines on classic bikes, black engines have a sleek silhouette that makes motorbikes look easy to handle.
If black spray paint offers a black oxide finish, then it will add to the luster of the bike and protect the engine from rust, corrosion, and scratches. Though it is yet to be proven, some motorcycle paint brands also claim that black paint can help engines dissipate heat faster and improve performance. Painting the engine black requires prepping, sanding, and priming, making it a lengthy and time-consuming project.
Table of Content
1. The Best Black Paint for Your Motorcycle Engine
When buying black paint for your motorcycle, make sure it has the following qualities:
- Can be applied on engine heads, cylinders, and cases
- Must be available in black gloss and black satin finish for greater variety
- Pre-made formulation; does not require the addition of a thinner or other solvents
- Easy to apply
- Dries quickly
- Minimum heat resistance of 500°F
- Offers durable finish
- Prevents peels, blisters, cracks, and micro scratches
- Can restore old paint if necessary
Also Read: How to Choose the Best Motorcycle Paint
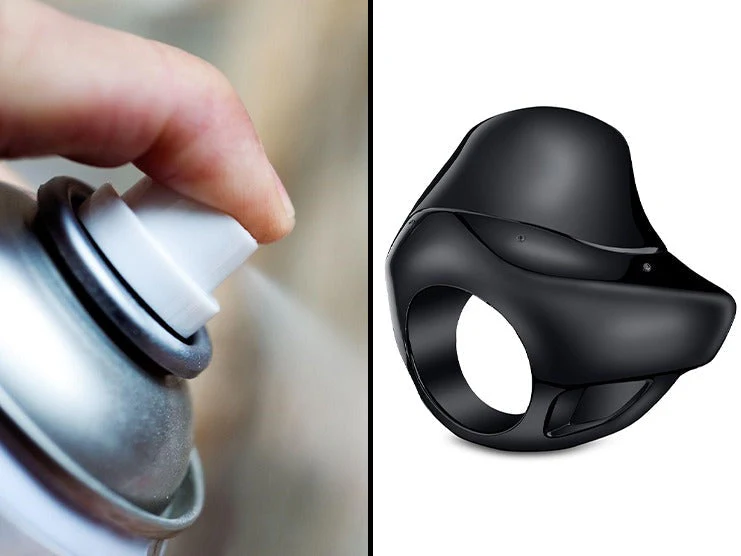
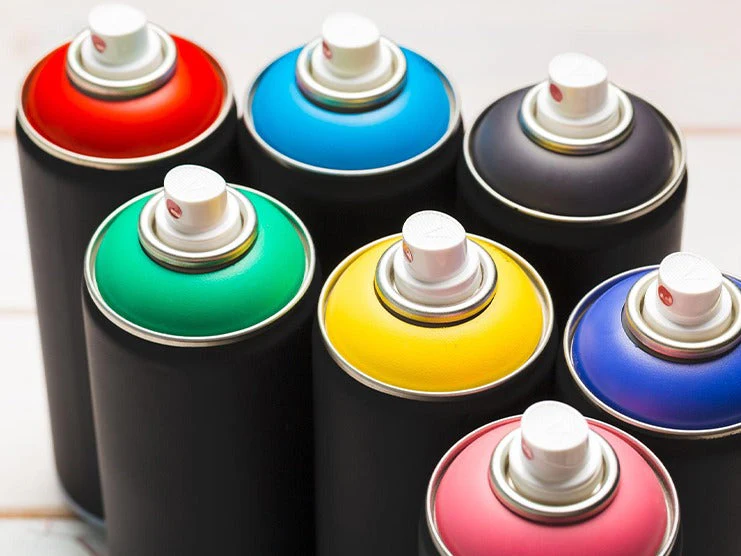
2. Cost of Black Engine Paint
The cost of a single 11-12 oz black engine spray paint can depend on the brand and the features of the paint. Listed below are widely used black engine spray paints and their prices:
| Black Engine Paint | Cost |
|---|---|
| PJ1 Fast Black Engine and Case Paint | $16.49 – 12 oz paint |
| PJ1 Fast Black High Temperature Paint | $17.49 - 12 oz paint |
| Duplicolor Gloss Black Engine Enamel with Ceramic | $17.01 - 12 oz paint |
| Rust Oleum Automotive Engine Enamel Paint | $8.33 - 11 oz paint |
| VHT Satin Black Engine Case Paint | $11.36 - 11 oz paint |
3. Paint Your Motorcycle Engine Black
You can paint your motorcycle engine black while it is still mounted to the frame or after being removed. For the most part, the steps on how to paint are essentially the same for both methods. The only difference is that if you keep the engine attached, you won’t have to perform the additional steps of removing and reinstalling the engine. On the other hand, the latter method allows you to thoroughly clean and sand the engine before applying paint, which is slightly more difficult when painting a frame-mounted engine.
3.1 Things You’ll Need to Paint a Frame-Mounted Engine
- Masking Tape
- Newspaper
- Degreaser
- Rust Remover
- 400 Grit Sandpaper
- Primer
- Black Engine Enamel Spray Paint
- Clear Coat


3.2 How to Get Started
- Clean the engine with a degreaser and rust remover. Scrub off any dirt and rust with a scouring pad or 400 grit sandpaper. Clean off any residue with a clean microfiber cloth.
- Cover the frame and motorcycle parts surrounding the engine with masking tape and newspaper.
- Apply a thin coat of primer on both sides of the engine. Check for areas that are left uncovered, apply primer, and leave it to dry for 15-30 minutes.
- Apply the heat-resistant black coat of paint on the engine. At least 3-4 light coats of paint should create a professional finish. Allow the paint to dry for two minutes between applying coats. Finally, leave it to dry for 2–3 hours before curing the paint.
- Apply the clear coat to seal the paint finish, then remove the masking tape and newspaper to inspect the paint job.
3.3 Things You’ll Need to Paint a Removed Engine
- Wrench
- Degreaser
- Rust Remover
- 400 Grit Sandpaper
- 800 Grit Sandpaper (optional)
- Primer
- Black Engine Enamel Spray Paint
- Clear Coat
- Wire Wheel
- Bungee Cords
3.4 How to Get Started
- Unfasten the mounting bolts and nuts to remove the engine from the frame. Store all the bolts and nuts in a safe place for later.
- Spray degreaser and rust remover on the engine and clean it with a scouring pad, 400-grit sandpaper, and 800-grit sandpaper. If the engine has thick rust, grease, or dirt build-up, you can also use a wire wheel to clean it.
- Once the engine is clean and dry, hang it with bungee cords in a well-ventilated room.
- Apply primer evenly along the engine and leave it to dry for 30 minutes or more.
- Once the primer is dry, apply the black paint all over the engine. Apply at least four coats of paint, waiting 2-3 minutes in between. Let the paint dry for at least 2-3 hours even if the spray can states only one hour is required to dry.
- Apply a clear coat on the engine and let it dry for 30-60 minutes.
- Finally, reinstall the engine using the bolts removed earlier. Make sure you apply Loctite threadlocker on the bolts for safe reinstallation.
- Cure the engine paint so it bonds with the surface. Curing methods differ between types of paint, so check the side of the paint can for instructions. It is also best you use a primer, color coat, and clear coat from the same brand to ensure the paint is cured successfully.
- Go on a test ride to ensure the engine is reinstalled properly.
For a detailed guide on how to paint a motorcycle engine after removing it from the frame, click here.
4. Takeaway
Other colors may look quirky on a motorcycle engine and your custom work may not get the recognition it deserves. On the other hand, black paint looks modern and expensive. Make sure you buy a high-quality black paint that is easy to maintain and restore. Do not park your bike in direct sunlight as the black paint can fade quickly due to being exposed to the sun. Apply polish and engine brightener every 3-6 months to protect the paint.
Also Read: How to Paint a Motorcycle Exhaust
Popular Collections


Leave a comment
All comments are moderated before being published.
This site is protected by hCaptcha and the hCaptcha Privacy Policy and Terms of Service apply.