Table of Content
A motorcycle helmet is an essential piece of equipment that has saved many riders' lives. However, if you do not provide maintenance regularly, the helmet exterior becomes filthy, the interior will start to smell, and its longevity will become shortened. This article provides a comprehensive guide on how to clean your motorcycle helmet.
1. Materials Required for Cleaning a Motorcycle Helmet
1.1 Warm Water
Warm water lets you gently remove dirt caked onto the helmet’s exterior without damaging it.
Using warm or cold water to wash your helmet usually does not make much difference. However, be sure to use warm water if you're using any kind of cleaning agent that requires mixing it with water. Heat and cleaning agents will effectively soften and break apart debris caked on your helmet.
1.2 Microfiber Rags
When using microfiber rags, make sure that they are clean. However, when wiping off the surface, watch how much force you apply since you could damage the helmet's exterior.
1.3 Baby Shampoo
Make sure to choose a cleaning solution that is not petroleum-based. The baby shampoo does not have ingredients that could scratch the helmet's visor. Just remember to avoid using shampoo with conditioner because this could cause the visor to fog up.
1.4 Toothbrush
A toothbrush can be used to clean the helmet's surface of dirt and debris. To clean the helmet, use a soft-bristled toothbrush or an old toothbrush. Toothbrushes can also be effective in cleaning the helmet’s vents and gaskets.
1.5 Air Compressor
Using an air compressor will help blow off any dust, dirt, and debris with high pressure bursts of air. Avoid using aerosol canister air since it can cause the lining in your helmet to freeze up.
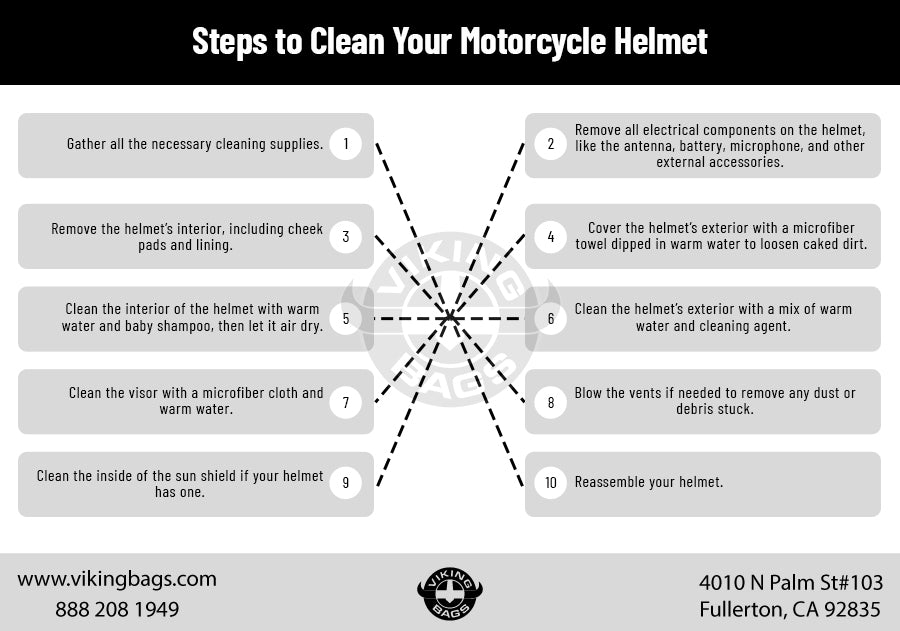
2. Steps to Clean Your Motorcycle Helmet
2.1 Gather Cleaning Supplies
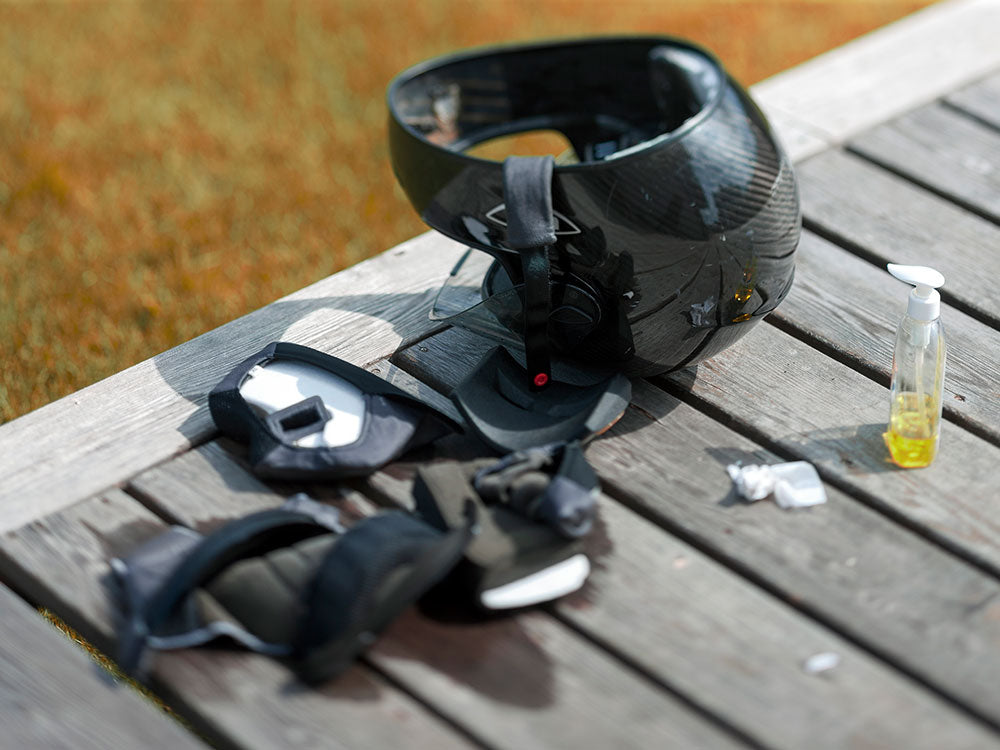
First, get all the things you need to clean your motorcycle helmet and gather them all in one place. Set up your helmet in a space where you won't mind spilling water all over. Additionally, you should find the owner's manual for your helmet and keep it nearby just in case you need information on its components.
2.2 Remove External Accessories and Electrical Components
Remove all internal electrical components, such as antennas, microphones, batteries, and Bluetooth devices before you wash a helmet. Additionally, if you are cleaning an off-road or dual sport helmet, it is much simpler to remove the peak and clean it separately.
2.3 Remove the Helmet’s Interior
After removing all the external accessories, move on to the helmet’s interior. It rarely takes more than a few soft pushes to remove the interior lining and cheek pads. Most of the time, comfort liners and pads are attached with snaps, magnets, or tape. Make sure to consult your owner's guide for details. Place the lining and cheek pads off to the side after removing them.
2.4 Prepare the Helmet’s Exterior
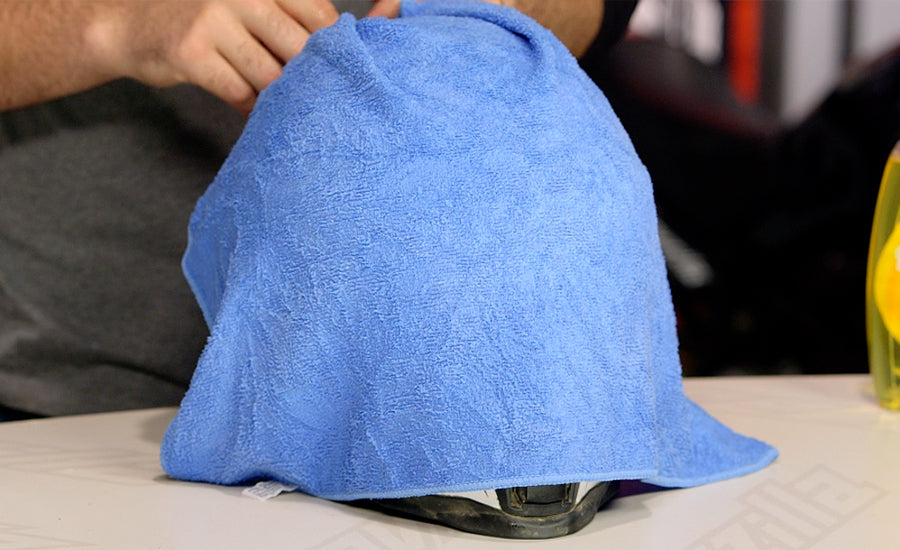
Cover the helmet’s exterior with a microfiber towel dipped in warm water to loosen up bugs and caked dirt. Soaking your helmet will help soften it and make it easier to remove any gunk, which will make it easier to clean it all off later without possibly damaging the helmet or face shield in the process. Move on to the next step while keeping the microfiber cloth over the helmet.


2.5 Clean the Helmet’s Interior
The part of a helmet that often needs to be cleaned the most is the interior. The interior of your motorbike helmet absorbs a lot of sweat and oil. Fill a basin or bucket with warm water mixed with baby shampoo, then submerge, scrub, and massage the helmet liner in soapy water.
When you are finished, let the cheek pads and helmet lining air dry. It's always better to do this the day before you intend to ride so that they have enough time to completely dry.
If the helmet liner cannot be removed, the interior can still be cleaned, but the time it will take to dry will be longer. You'll need some clean towels and a bowl of warm and soapy water. Remove any lining you can.
Then, start cleaning the helmet’s interior using a soapy cloth. As you scrub the lining, don't hesitate to saturate it. After cleaning each section, scrub it with clean rags dipped in warm water. Get every last bit of soap out of the padding and lining.
Use clean, dry rags to press the padding and lining until no more water comes out. The helmet should then be placed somewhere with excellent airflow to dry. Helmet manufacturers advise against leaving them to dry in the sun since it could wrap its shell. If you wish to safely speed up drying your helmet’s interior, place it in front of a blowing fan.
A final word of caution regarding helmet interior, use only cleaners made especially for helmets. Make sure you have the appropriate cleaner.
2.6 Clean the Helmet’s Exterior
There are two times you should clean your helmet’s exterior. Either a fast clean-up right after a ride or a deep cleaning done several times a season.
It is best to do a fast post-ride cleaning to prevent dead bugs and debris from becoming stuck to your helmet.
Luckily, caked-on debris can be softened by simply placing a damp microfiber cloth over the surface for a minute or two. The surface should then be lightly scrubbed with a towel until it shines.
In a similar way, deep cleaning your helmet’s exterior begins by rubbing it down with warm, damp microfiber towels to loosen the dirt. Take off the visor first and wash it separately. Holding your helmet under running water will help remove larger pieces of dirt.
Wipe away the dirt on the helmet's exterior using microfiber cloths dipped in water and a mild soapy solution. Frequently rinse the towel during cleaning. Dry the surface of the helmet with a fresh microfiber cloth after it has been cleaned. You can apply a coat of carnauba wax to the helmet to provide a protective coating and make it easier to clean in the future.
2.7 Clean the Visor
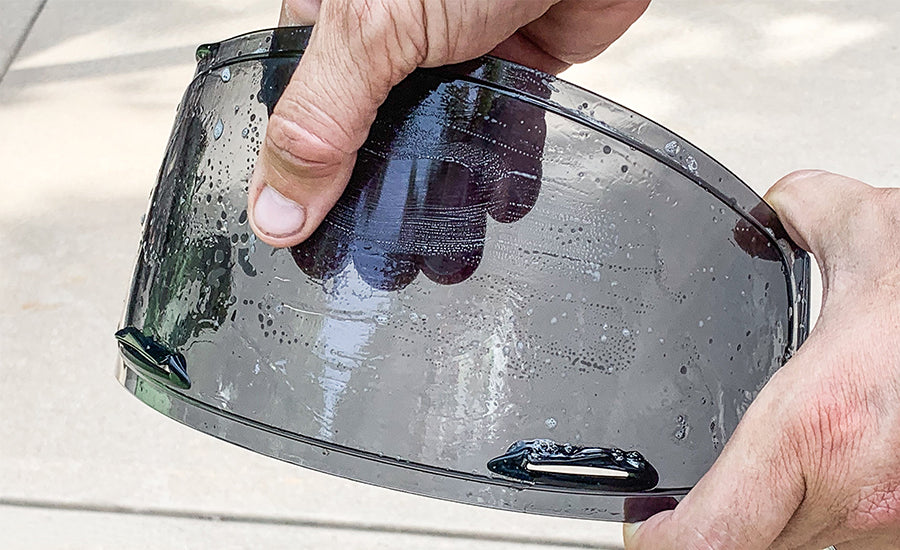
The most delicate component of your helmet is the face shield or visor. The visor can be cleaned with some water and a microfiber cloth.
Most modern face shields have a tinted screen that provides UV protection and anti-fogging. For this reason, only use warm water to clean a visor.
Wipe off the visor’s surface by first soaking the microfiber cloth. You can use a mild soap solution to help eliminate any remaining dirt or grime. Once you've cleaned the entire surface, rinse the soapy solution off with fresh water before using a clean microfiber cloth to dry the visor.
Keep in mind that using chemicals or solvents of any type on the visor can potentially damage the surface. Use a hair dryer to help make any decals or stickers less sticky before peeling them off.
You should wash the face shield in the same manner if it has a Pinlock Visor. However, you should be extra cautious because the Pinlock Visor is easy to scratch. However, avoid drying it with a cloth; instead, use a hairdryer to get rid of any remaining moisture.
How to Remove Scratches on the Visor
Toothpaste Therapy
You can use toothpaste to remove scratches from your helmet’s visor. Because toothpaste is a moderate adhesive, it can help remove scratches and make them less noticeable.
Take a soft cloth and put a little amount of toothpaste on it before rubbing it on the scratches in a circular motion. Once you've rubbed the surface covered with scratches, wash and dry the region with clean water. Before the scratches are removed entirely, you might need to repeat this procedure several times.
Use a non-abrasive toothpaste, such as Colgate Toothpaste, if you need to remove scratches from the helmet’s visor. Additionally, you should refrain from using toothpaste with whiteners because this could potentially mar the visor.
After removing the scratches, apply a clear coat or polymer sealant. This will act as a protective layer to prevent the visor from being marked with scratches, fingerprints, and other stains.
2.8 Blow the Vents
Your helmet’s vent passages may sometimes become clogged with mud or an insect while riding. To clear the channels and allow air to flow freely, pump a quick burst of air from a compressor into them.
2.9 Clean the Inside of the Sun Shield
If your motorcycle helmet has an interior sun shield, a quick mist of water and gentle wiping with a microfiber cloth will help get rid of any dust. Leave the sun visor in place during and after cleaning as it is difficult to re-attach it after it has been removed.
2.10 Reassemble the Helmet
After you have finished cleaning, reassemble and re-attach all the helmet’s parts. Make sure that every part of the helmet is completely dry. Start with the interior of the helmet, placing back the cheek pads and lining. Then, re-attach the face shield or any other part you removed before cleaning.
3. What to Avoid When Cleaning a Motorcycle Helmet
When cleaning your motorcycle helmet, you should avoid the following:
- Never clean the visor or any other part of the helmet with alcohol. Alcohol will damage your helmet's EPS liner and destroy its protective layers. The EPS liner can only be cleaned with water.
- Never clean a helmet with glass cleaner or dish soap.
- Don't use Windex cleaner. They contain ammonia, which can permanently damage the helmet and visor.
- Avoid cleaning your helmet with a dirty rag.
- Never clean the lining with fabric softener.
- Never scrub the helmet with a harsh, abrasive cloth.
4. Last Words
A helmet is the most important piece of gear for motorcyclists. Cleaning your motorcycle helmet is as important as cleaning your motorcycle and it is a simple task, but necessary to ensure a helmet lasts longer. There are a few things to keep in mind while cleaning a helmet: it is a delicate process, don’t use harsh cleaning chemicals, and clean the visor with extra care. Keep it in your motorcycle saddlebags or in a sissy bar bag when you are not riding. when you are not riding. After reading this guide, you are now better informed of what to do and not do when cleaning a helmet.
Popular Collections


Leave a comment
All comments are moderated before being published.
This site is protected by hCaptcha and the hCaptcha Privacy Policy and Terms of Service apply.