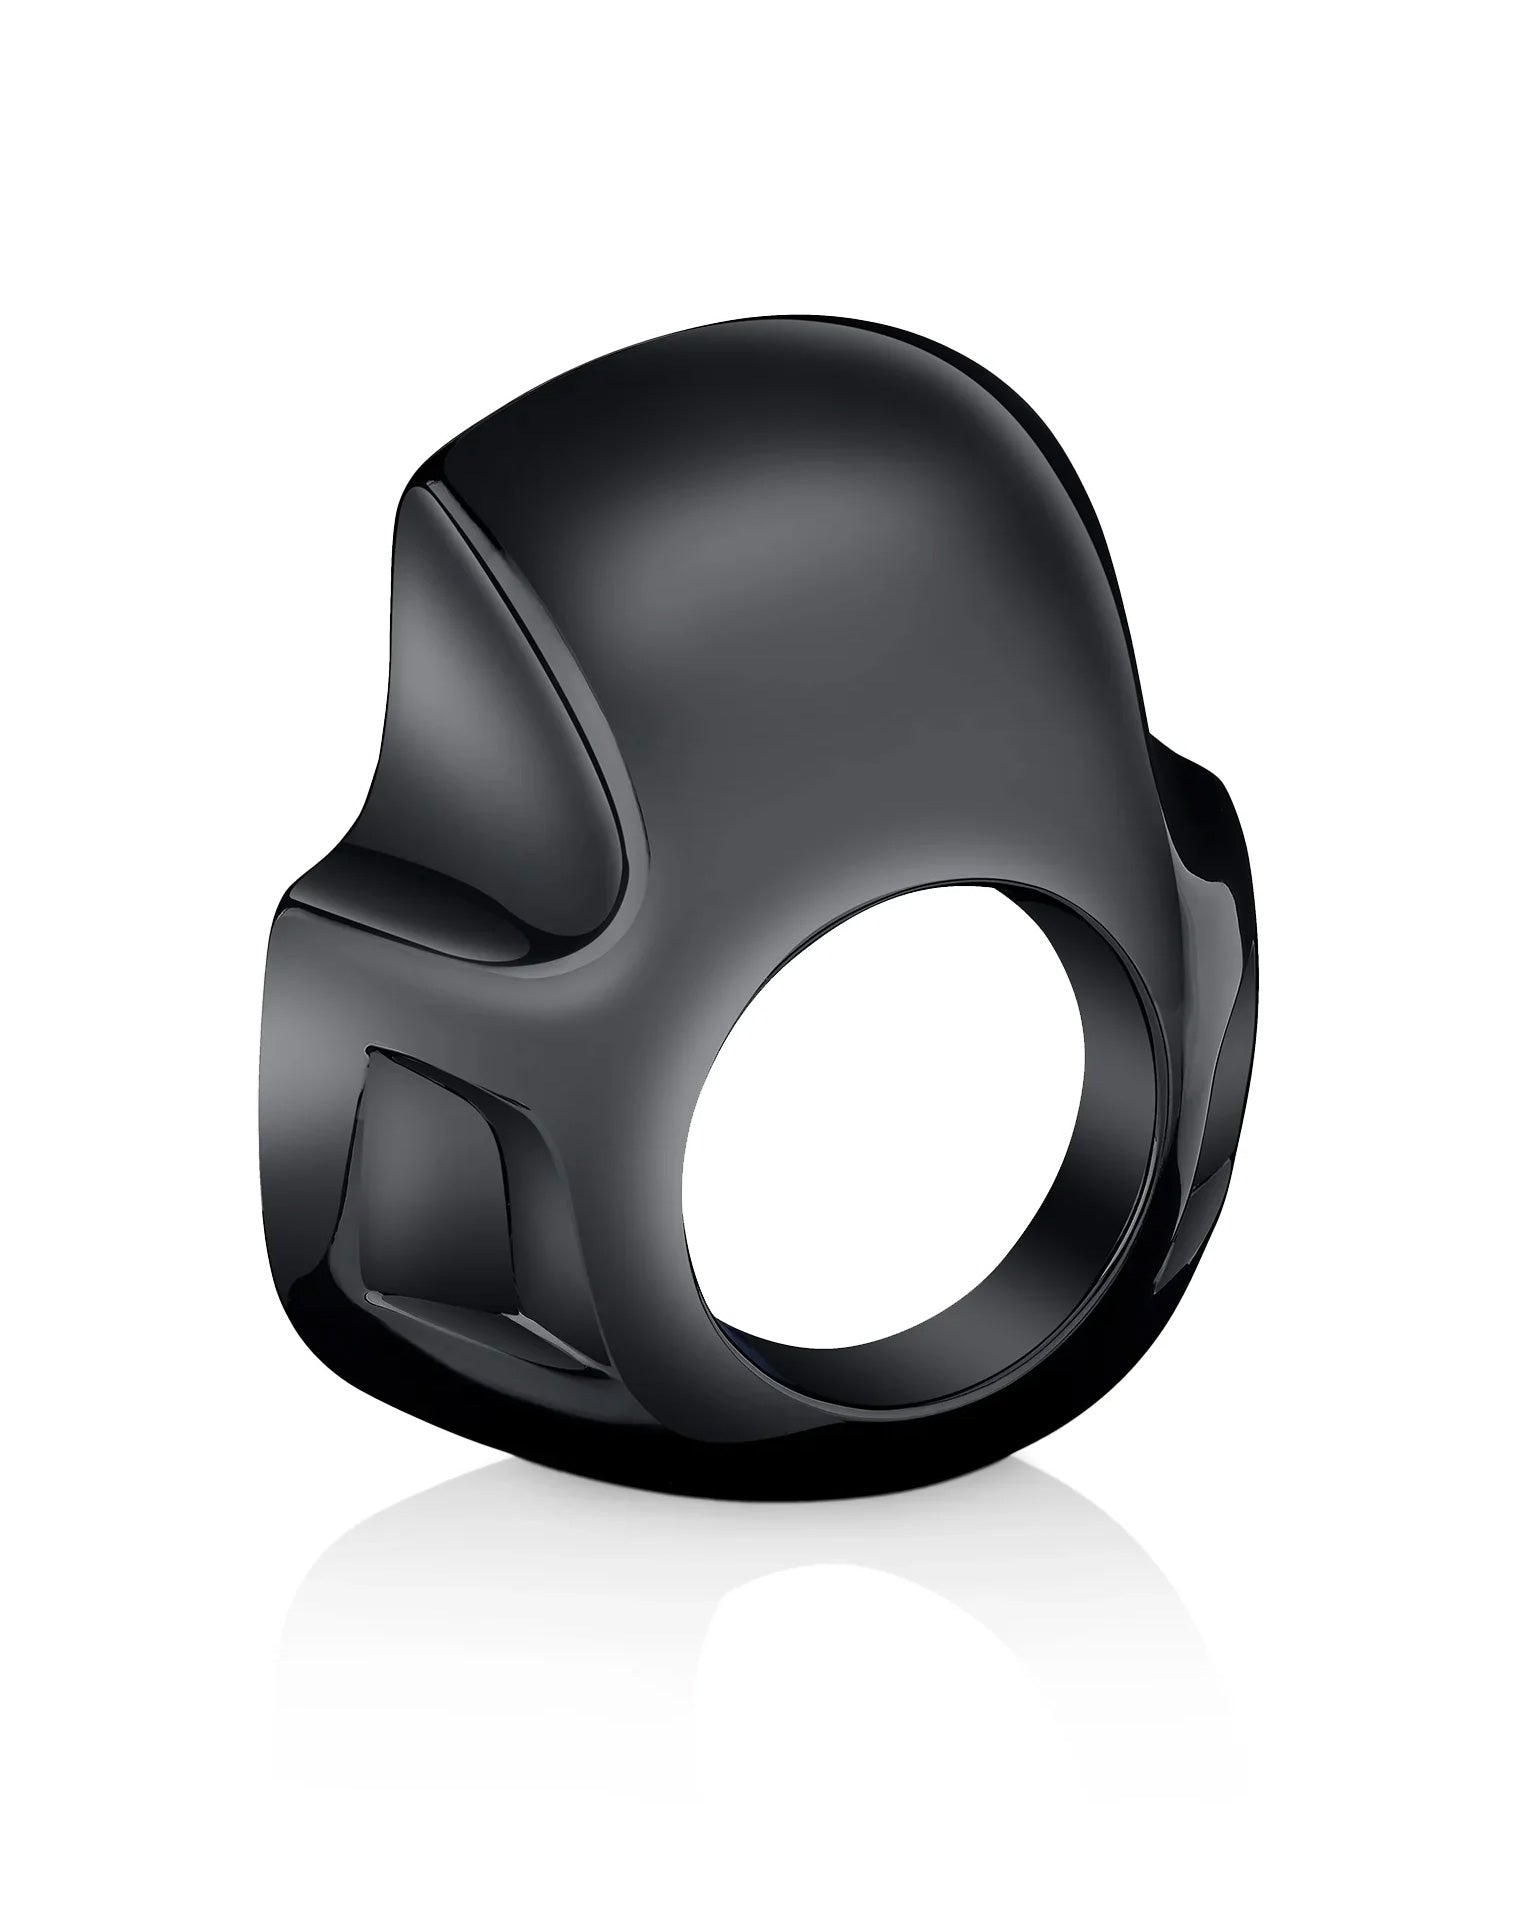


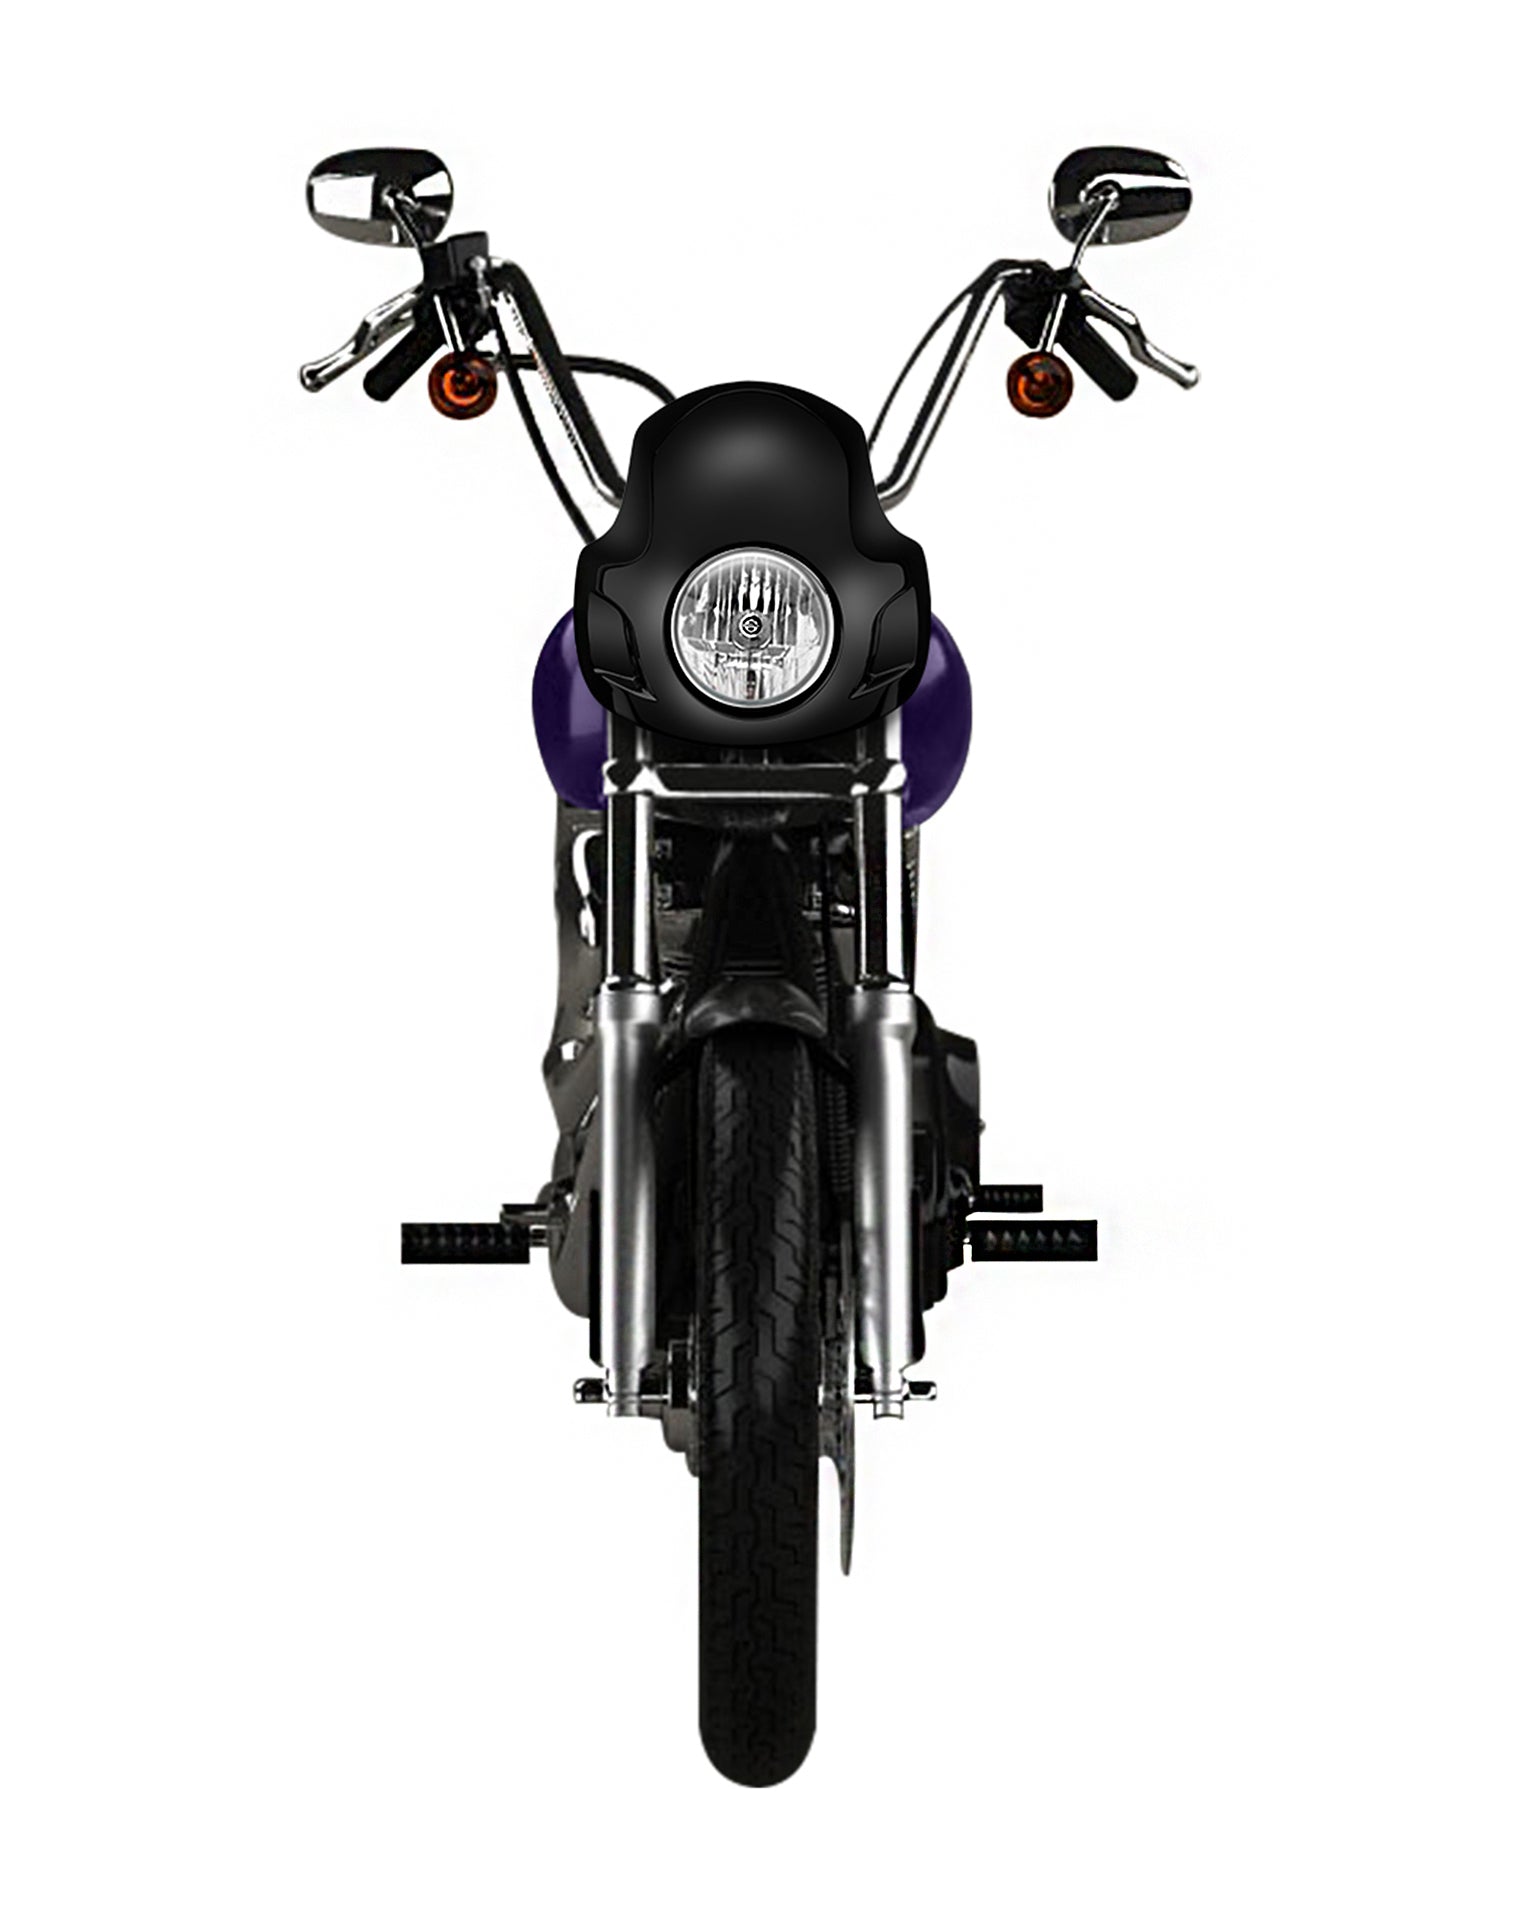
Viking Strider Sport Motorcycle Fairing For Harley Dyna Street Bob FXDB Gloss Black
 Ships within 2 Days & 45 Day Returns
Description
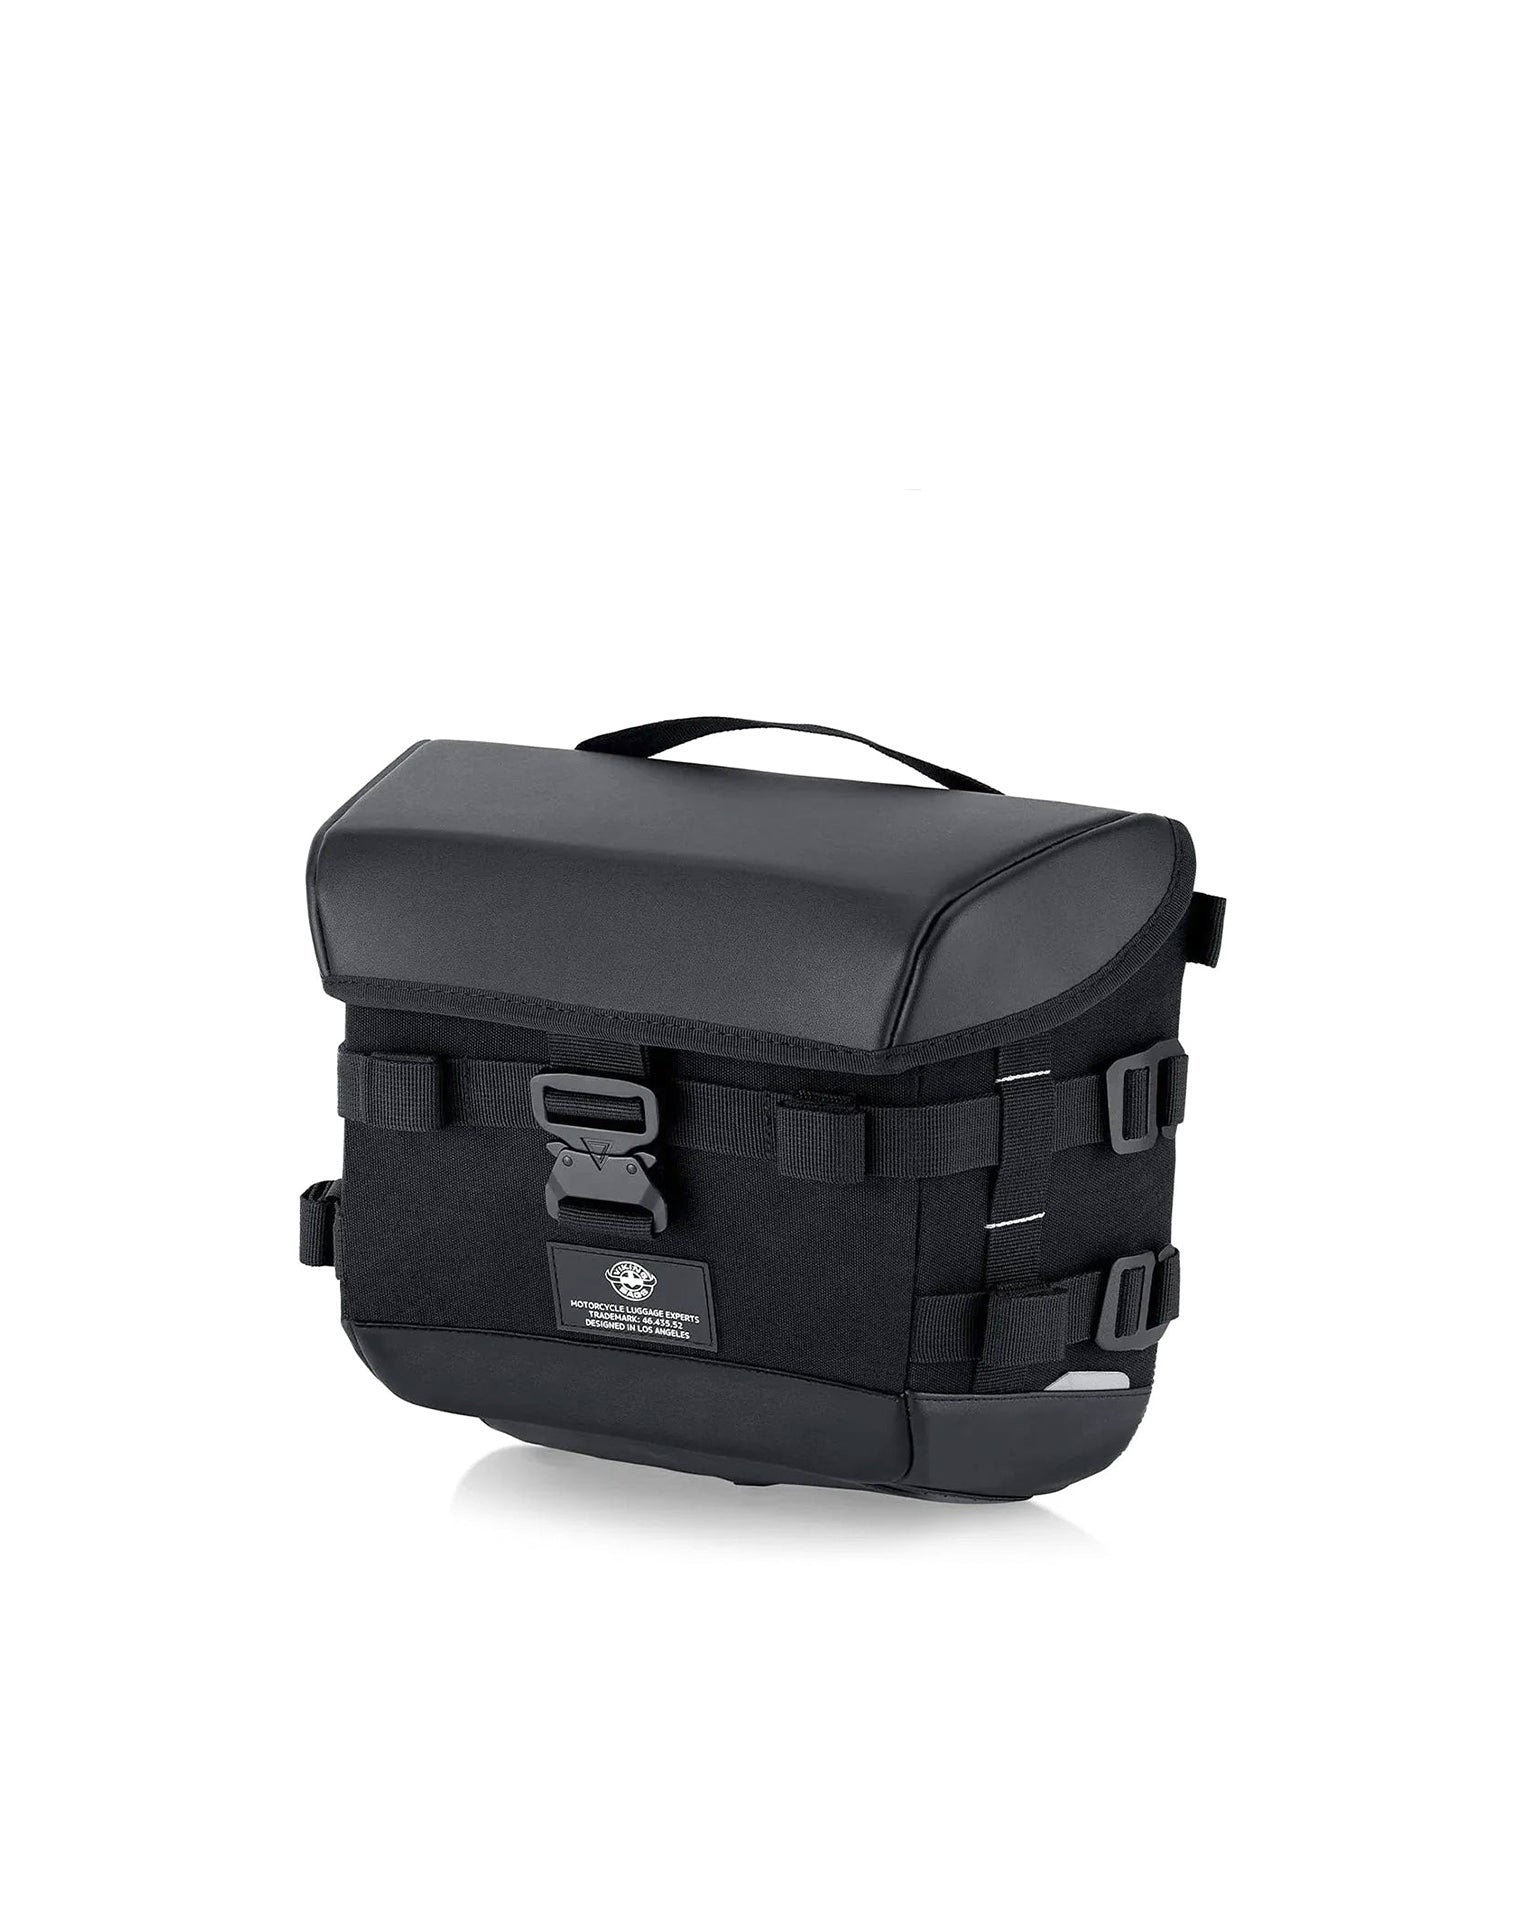
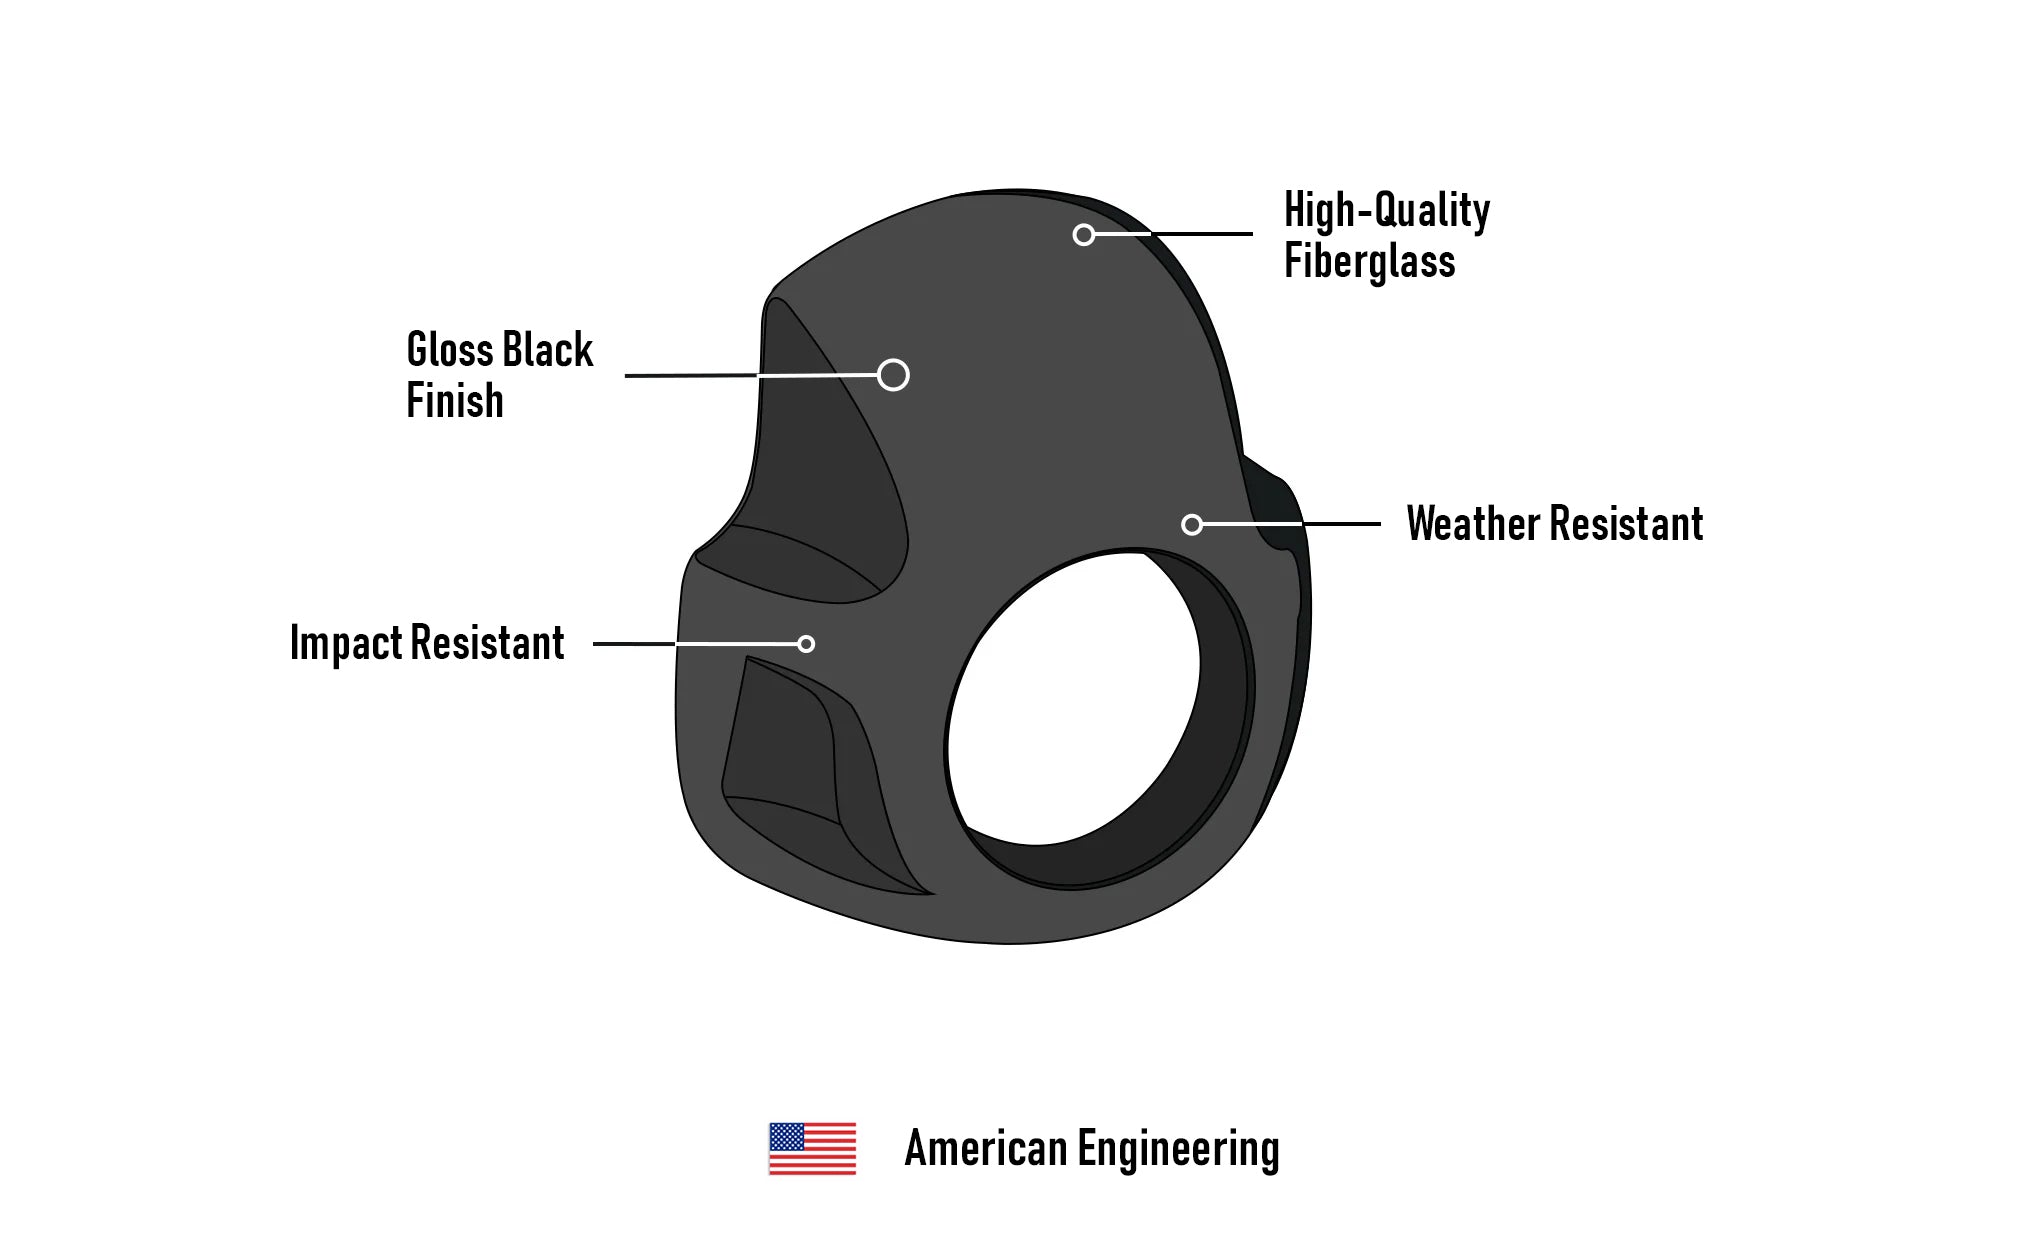
- Material: ABS Plastic
- Universal Hardware: Included
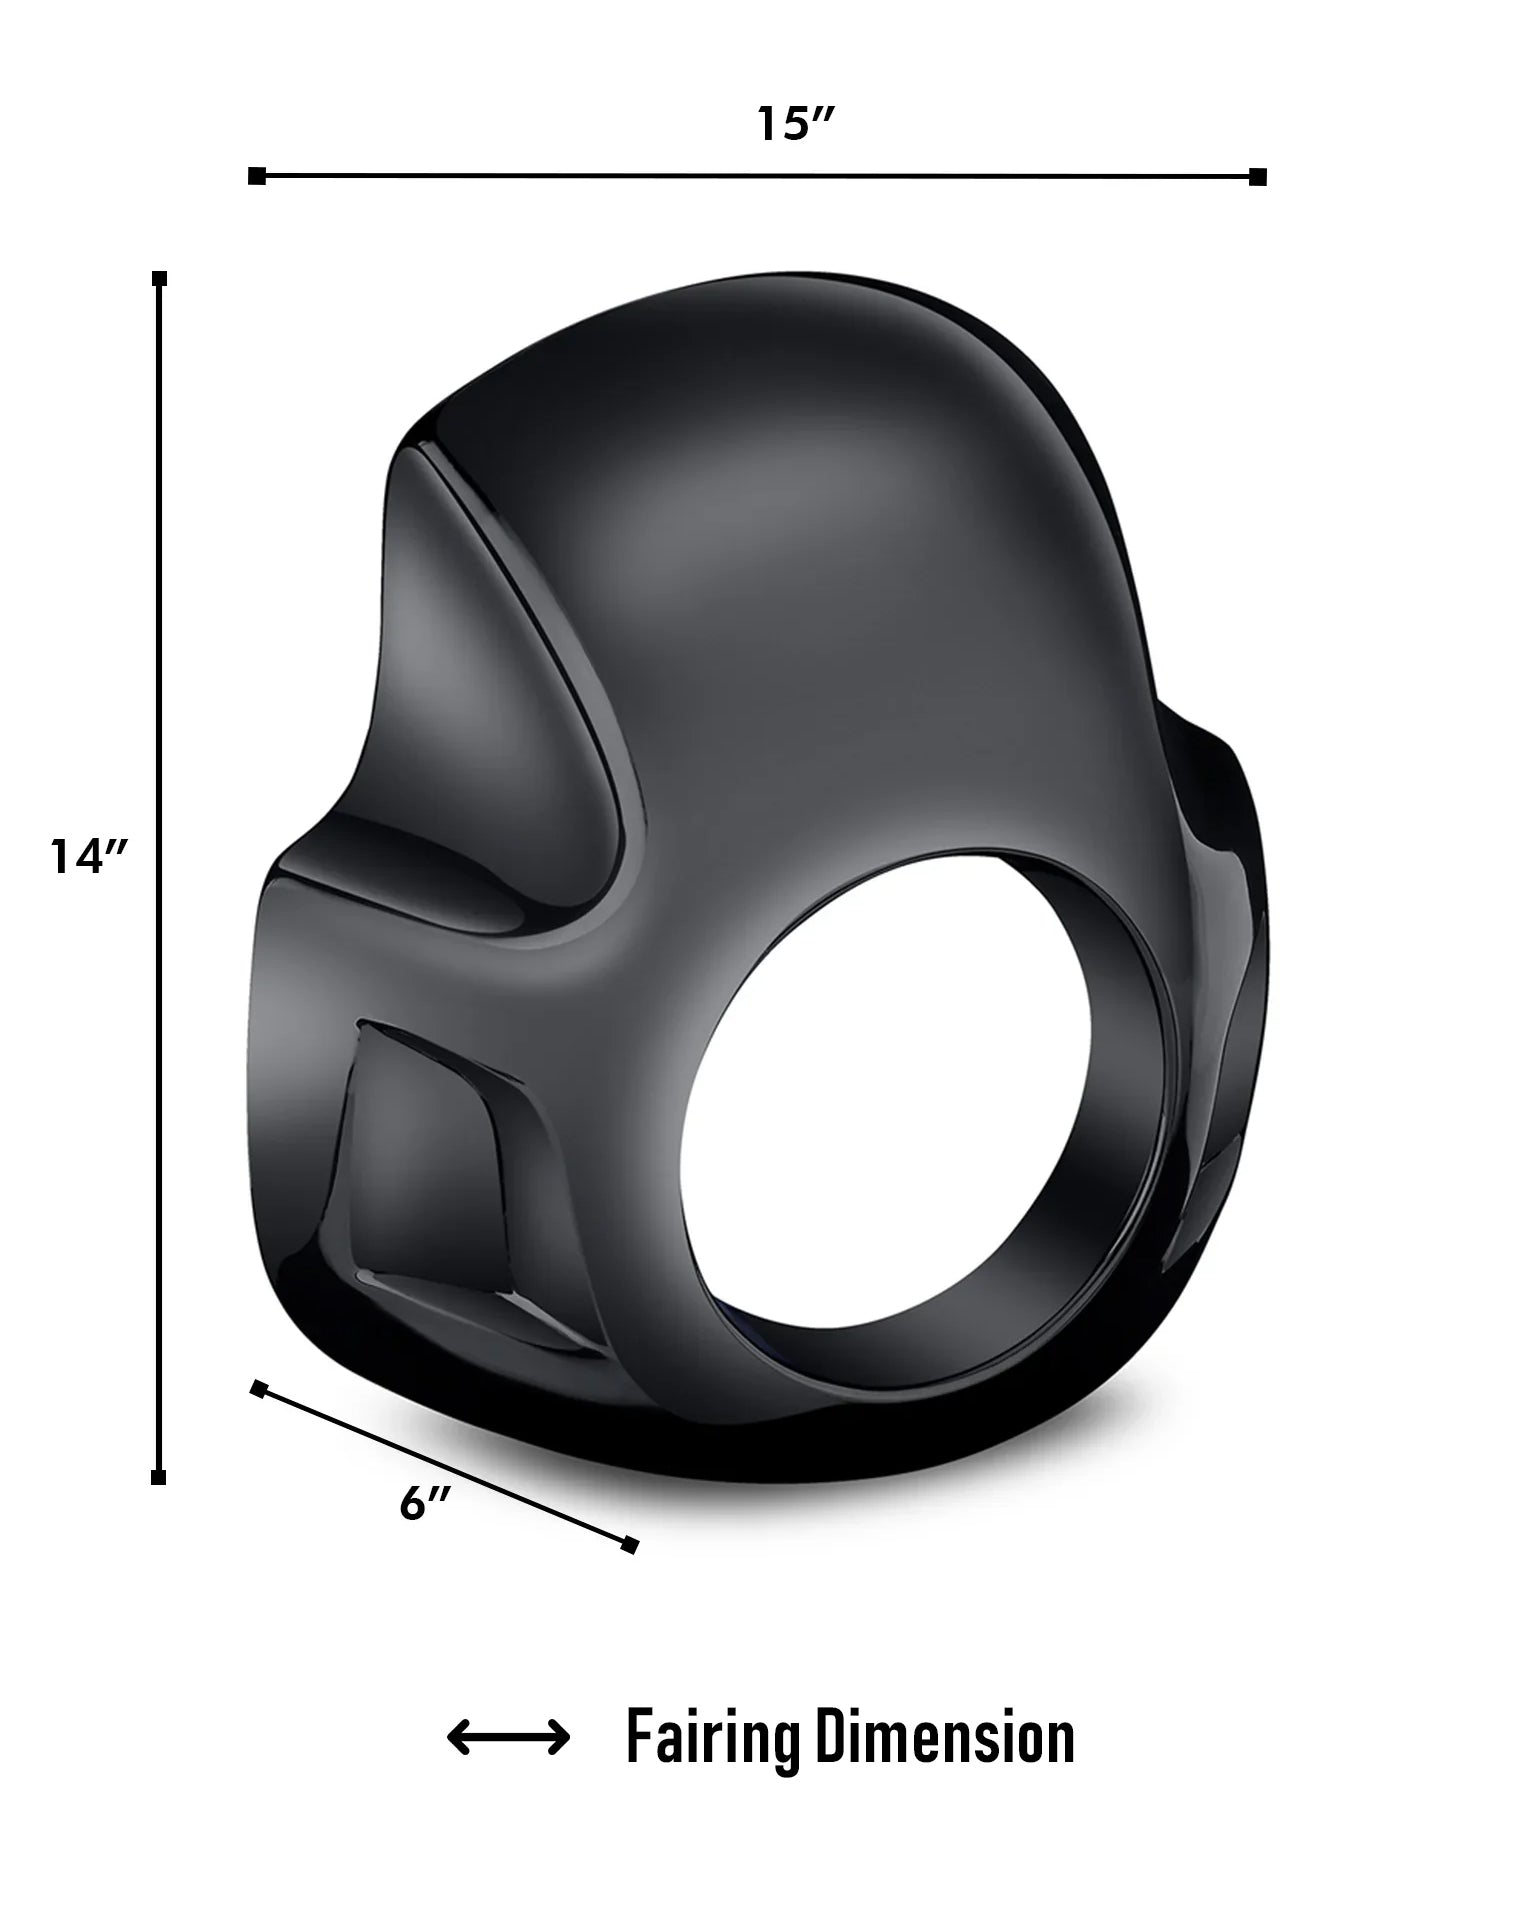
- Fairing Dimensions: 14" x 15" x 6" (H x W x D)
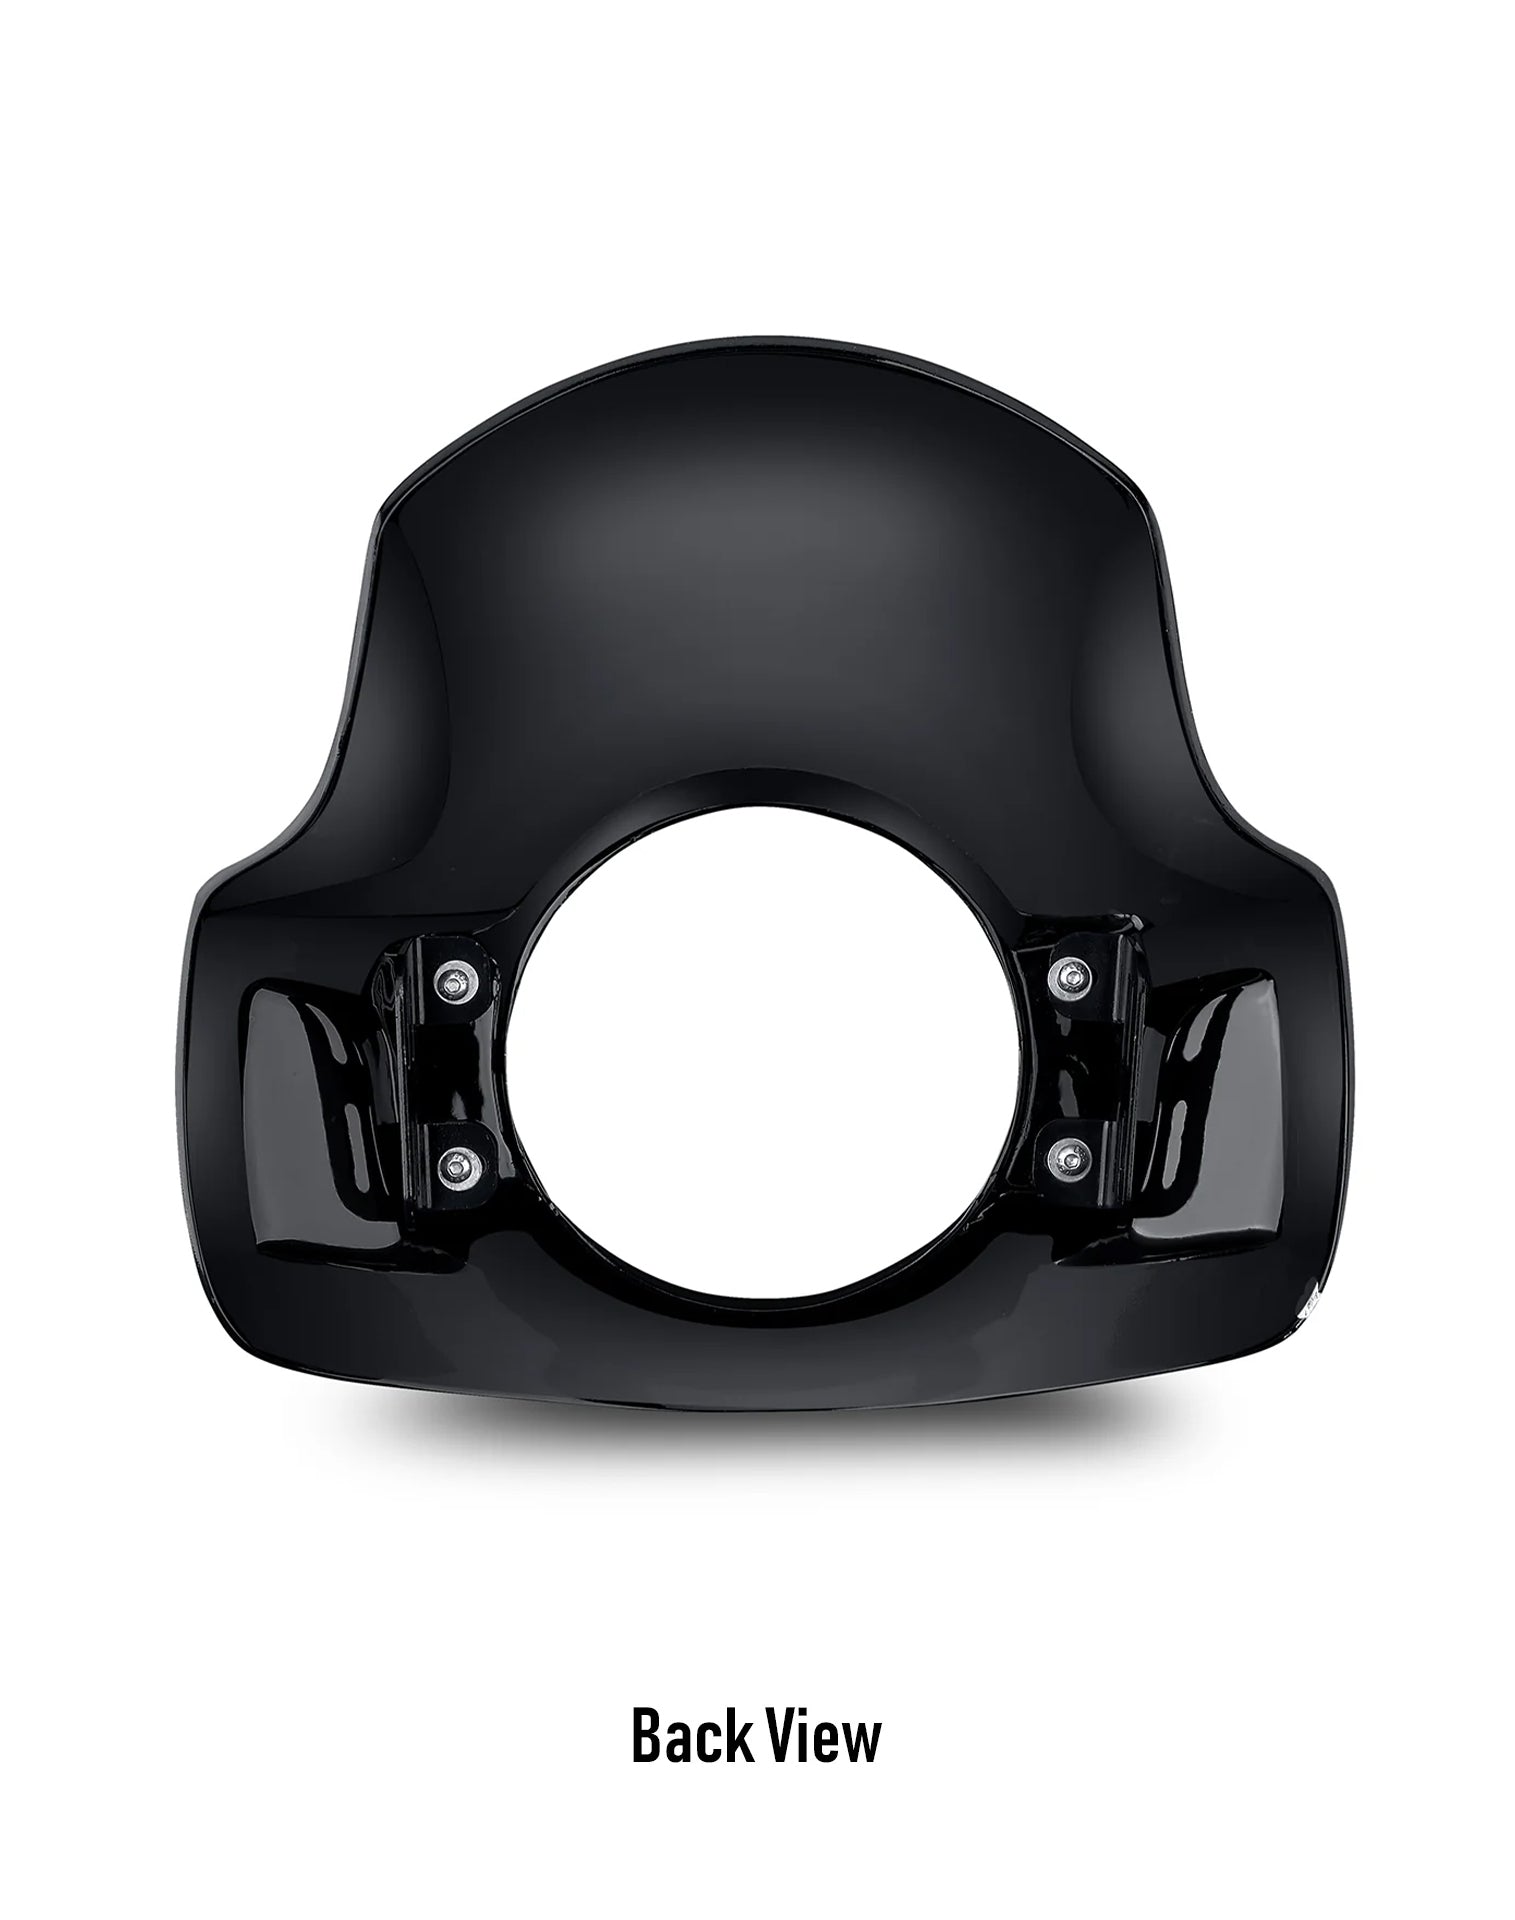
- Adjustable clamps fit 35mm-49mm fork
- Opening fit most 5 3/4" headlights
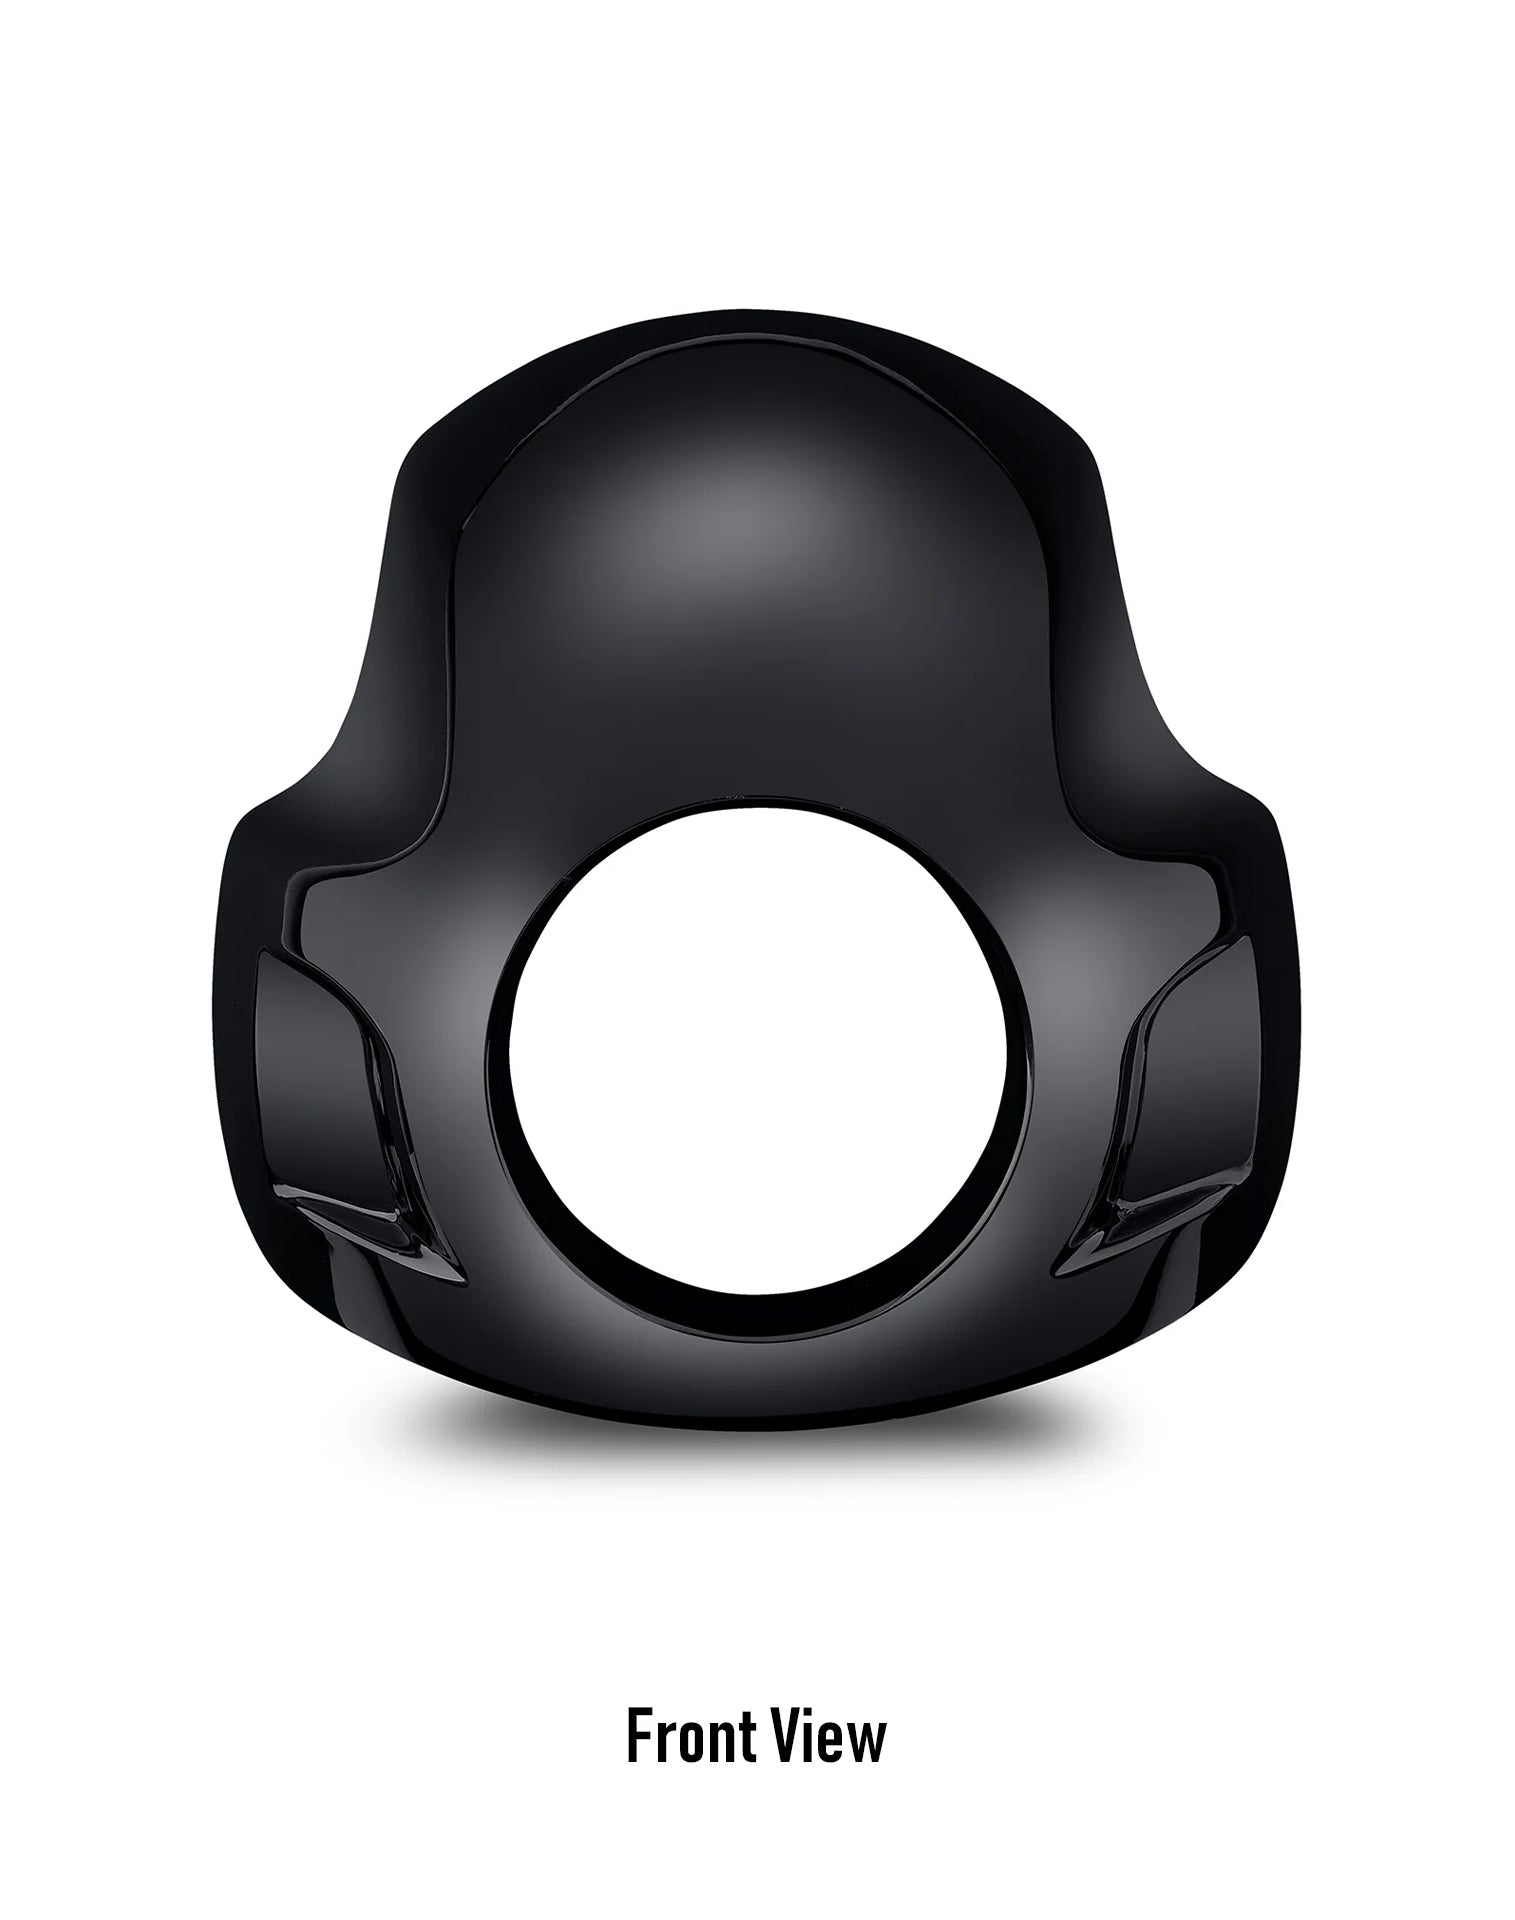
- Finish: Gloss Black
Installation Guide
Feel free to reach out if you have any questions about installation.
Additional Details
Shipping
We will ship out the product within 48 hours of the order. Please allow 3-5 business days for the delivery.
Returns & Exchanges
You may return/exchange any of our product within 45 days of purchase. Visit our return center for hassle-free returns.

Questions? Talk to an expert | Phone: 888.208.1949
Gloss Black Strider Fairings
ABS Plastic
14" x 15" x 6" (H x W x D)
fit 35mm-49mm fork
5 3/4" headlights
People Are Asking
Is hardware included with my product?
Yes, any required hardware is included with all our luggage and parts. You don't have to worry about buying any extra hardware, unless explicitly stated.
Is this product covered by warranty?
Yes, all our products are covered by 1 year warranty. If you have any problem, give us a call and we'll be glad to help.
How long will it take for me to get my product?
We will ship out the product within 48 hours of the order. Please allow 3-5 business days for the delivery.