
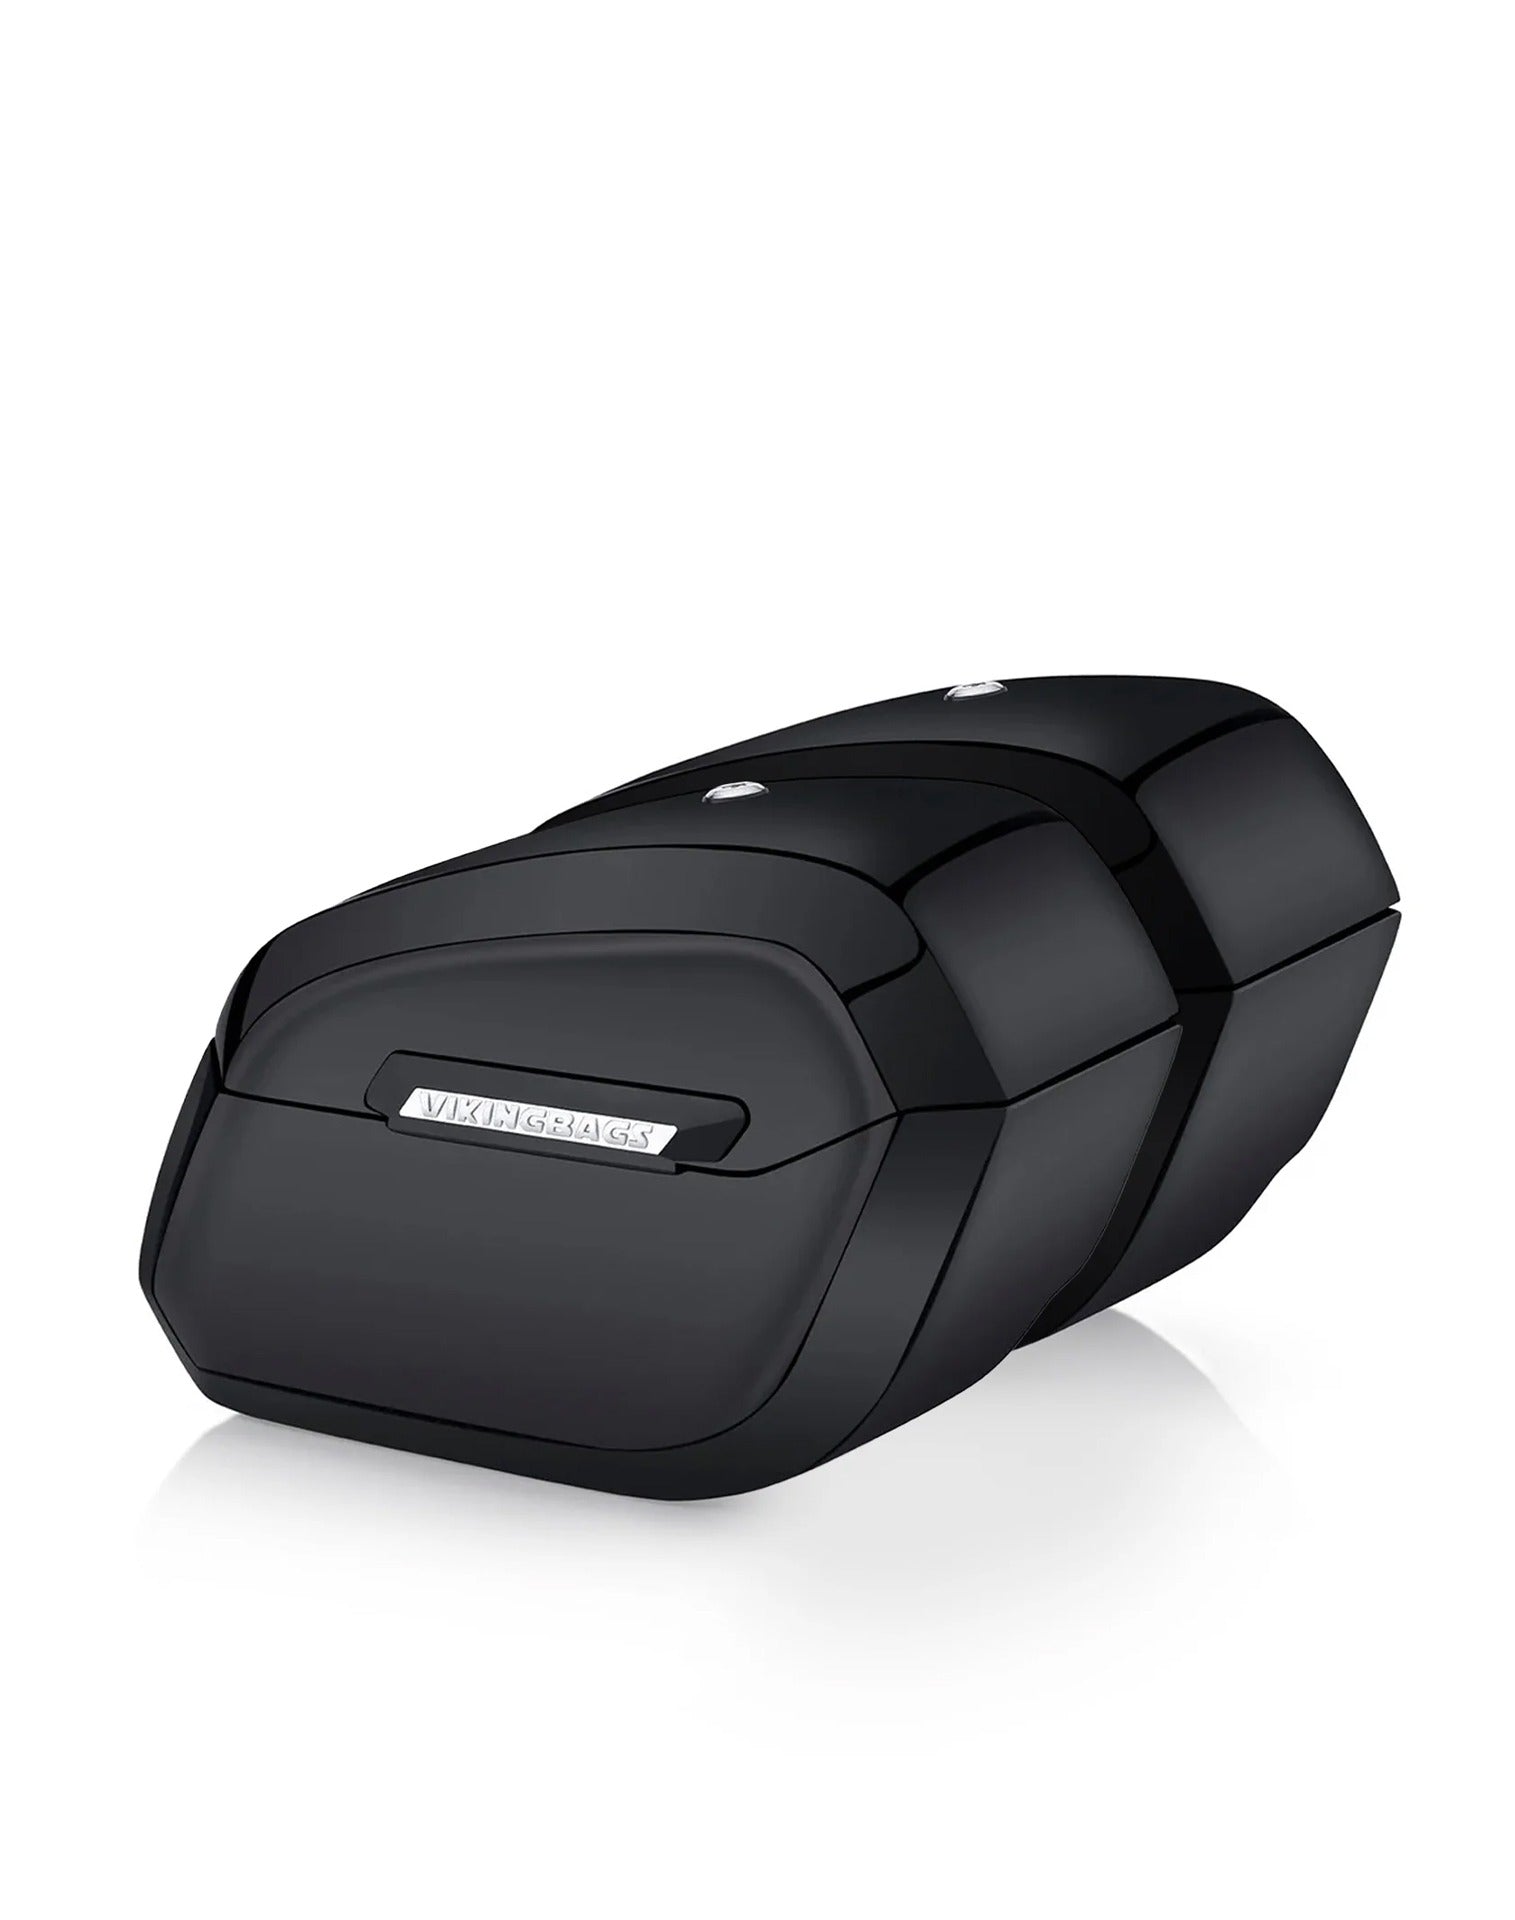
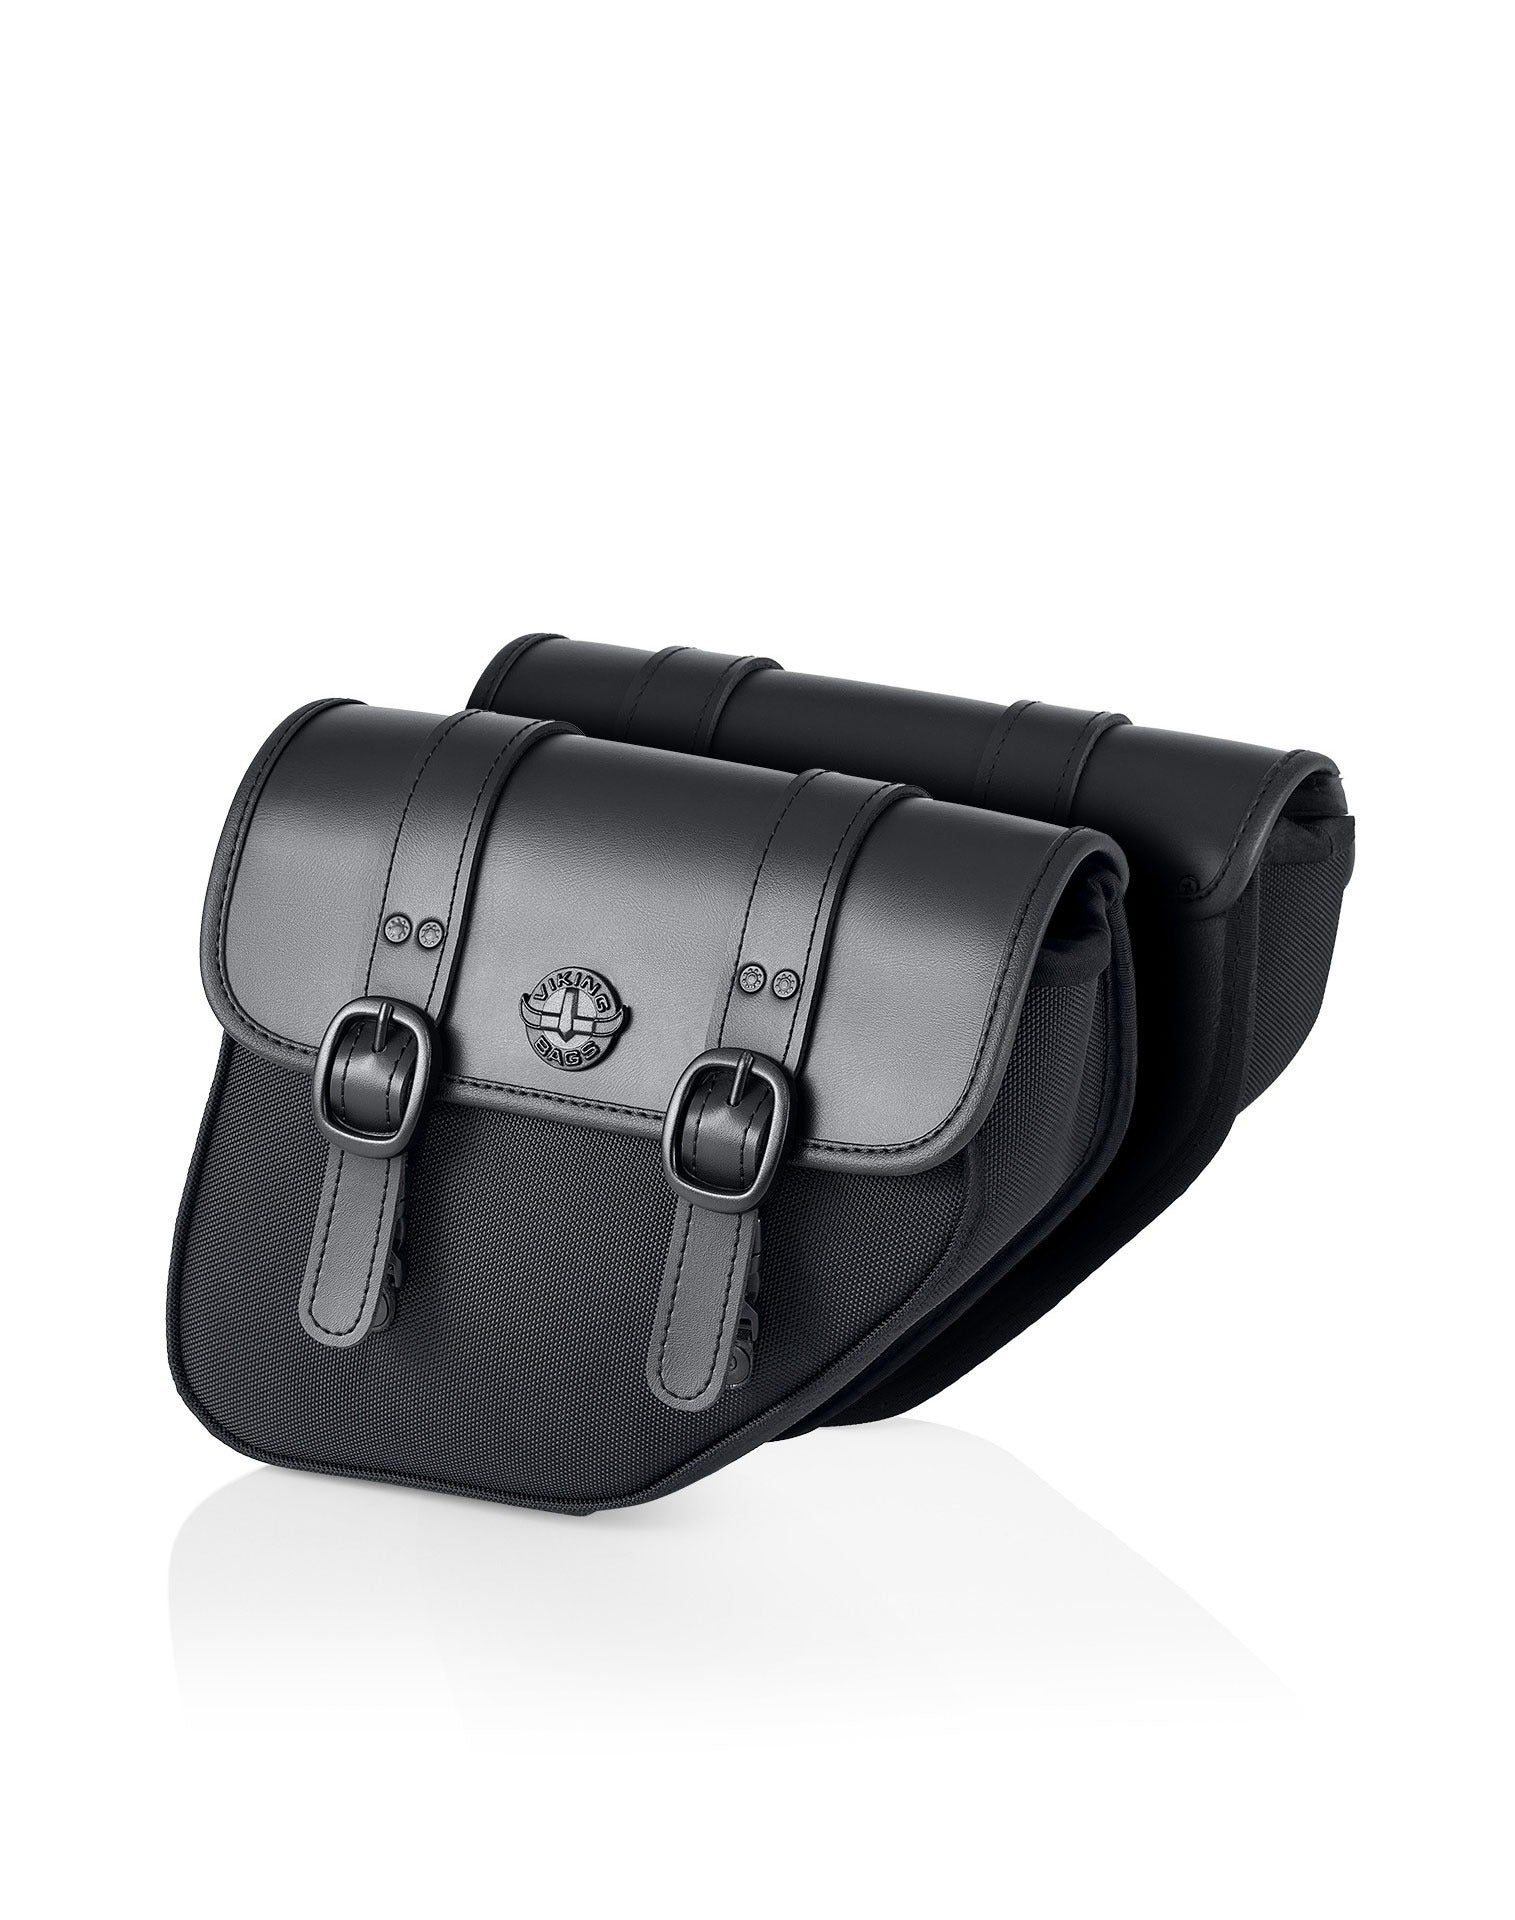
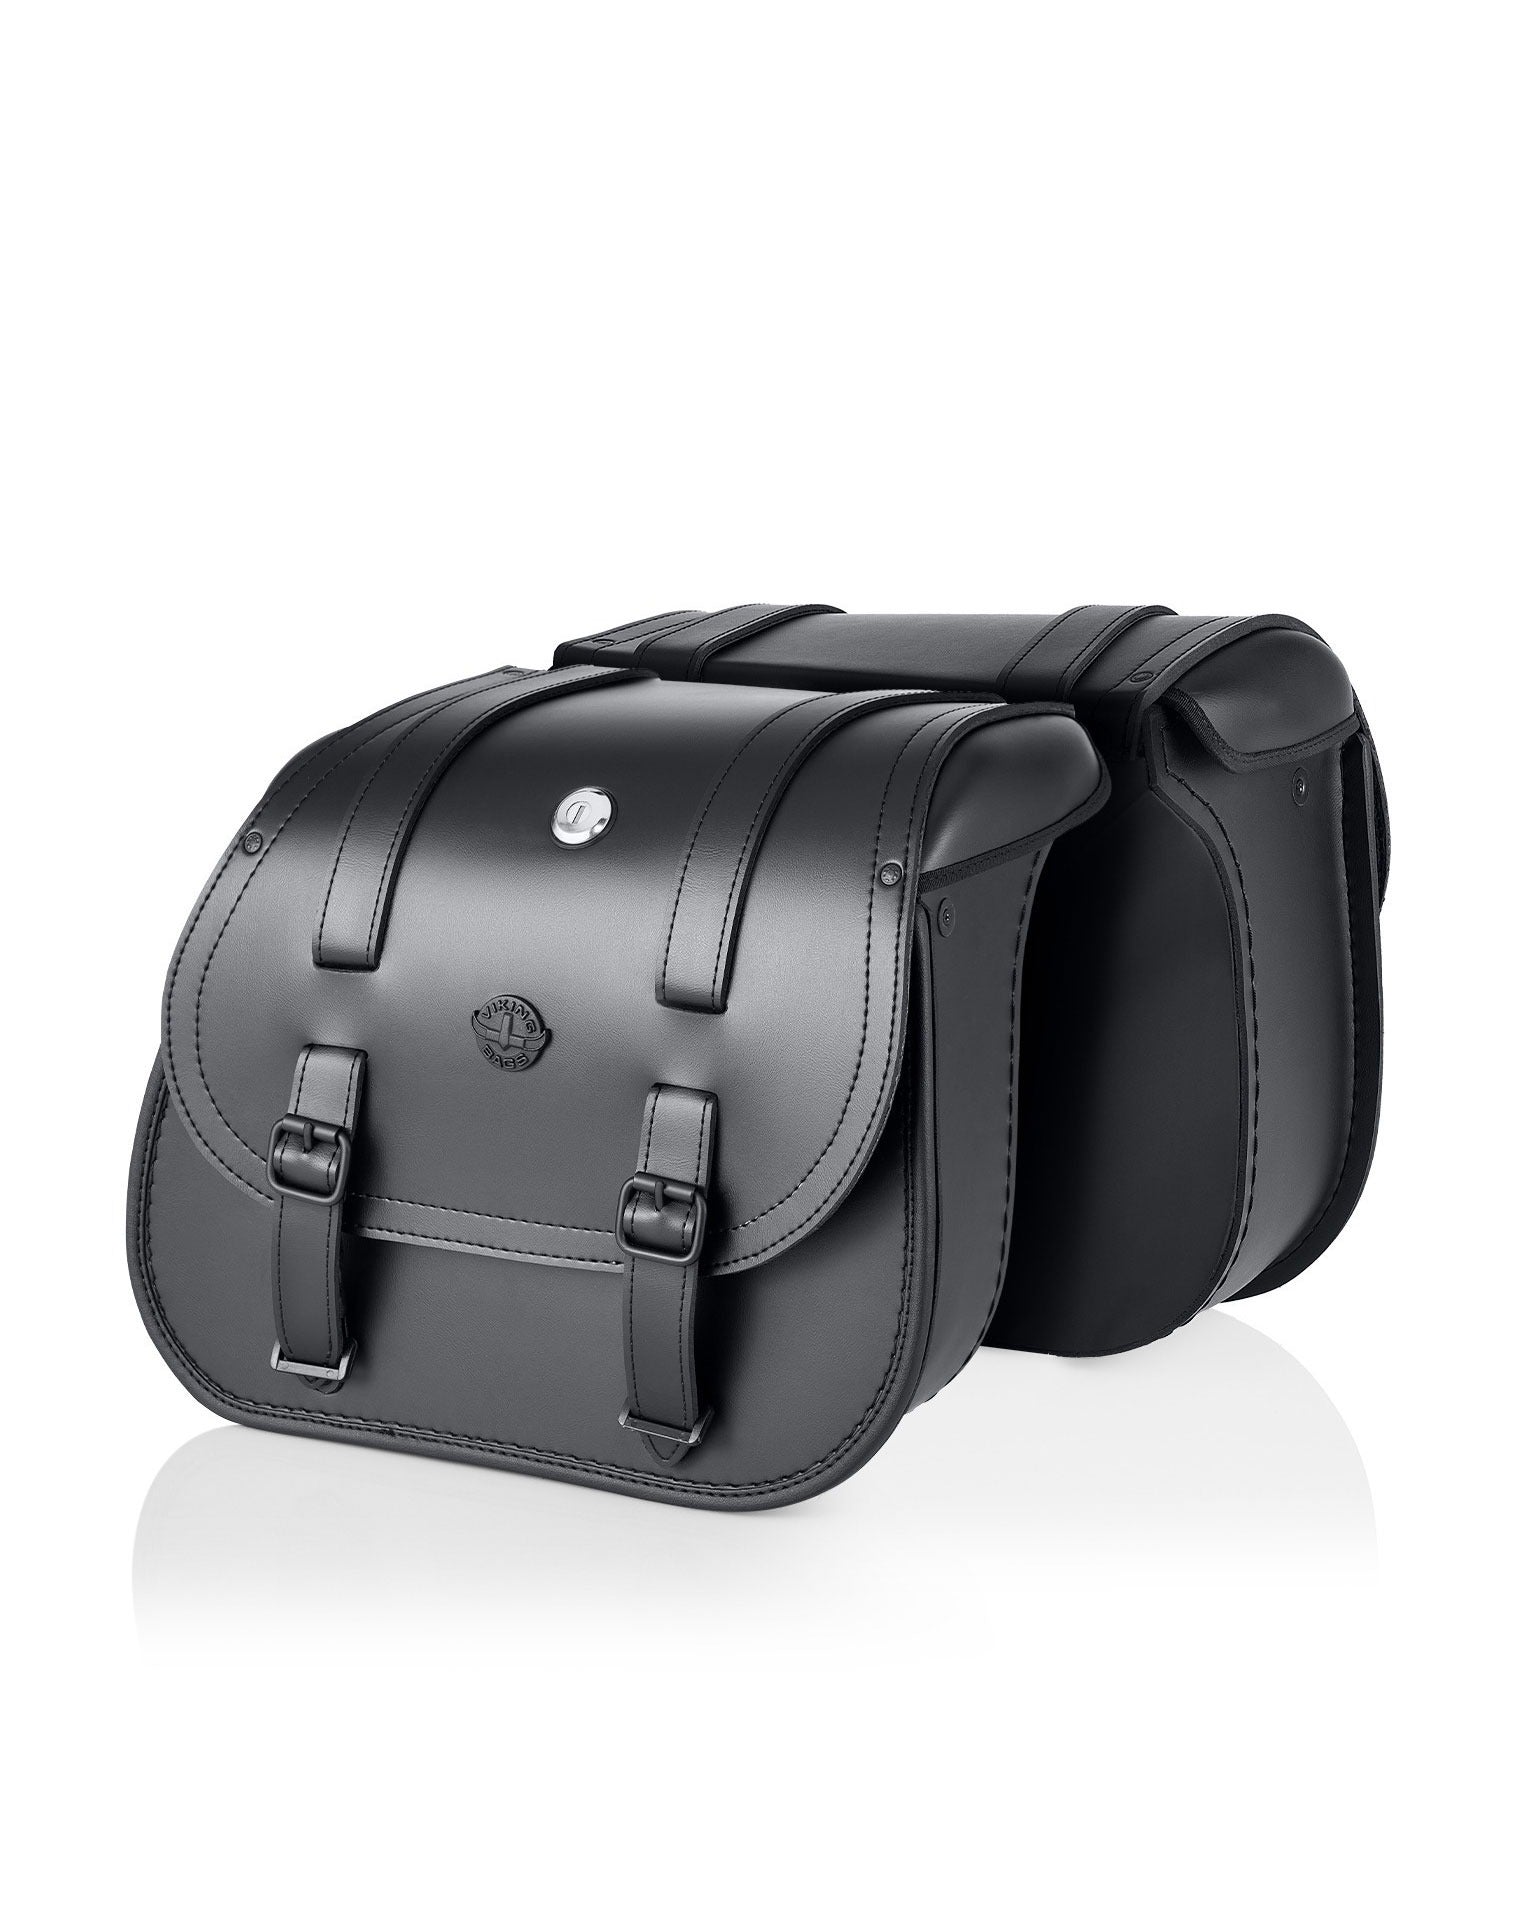
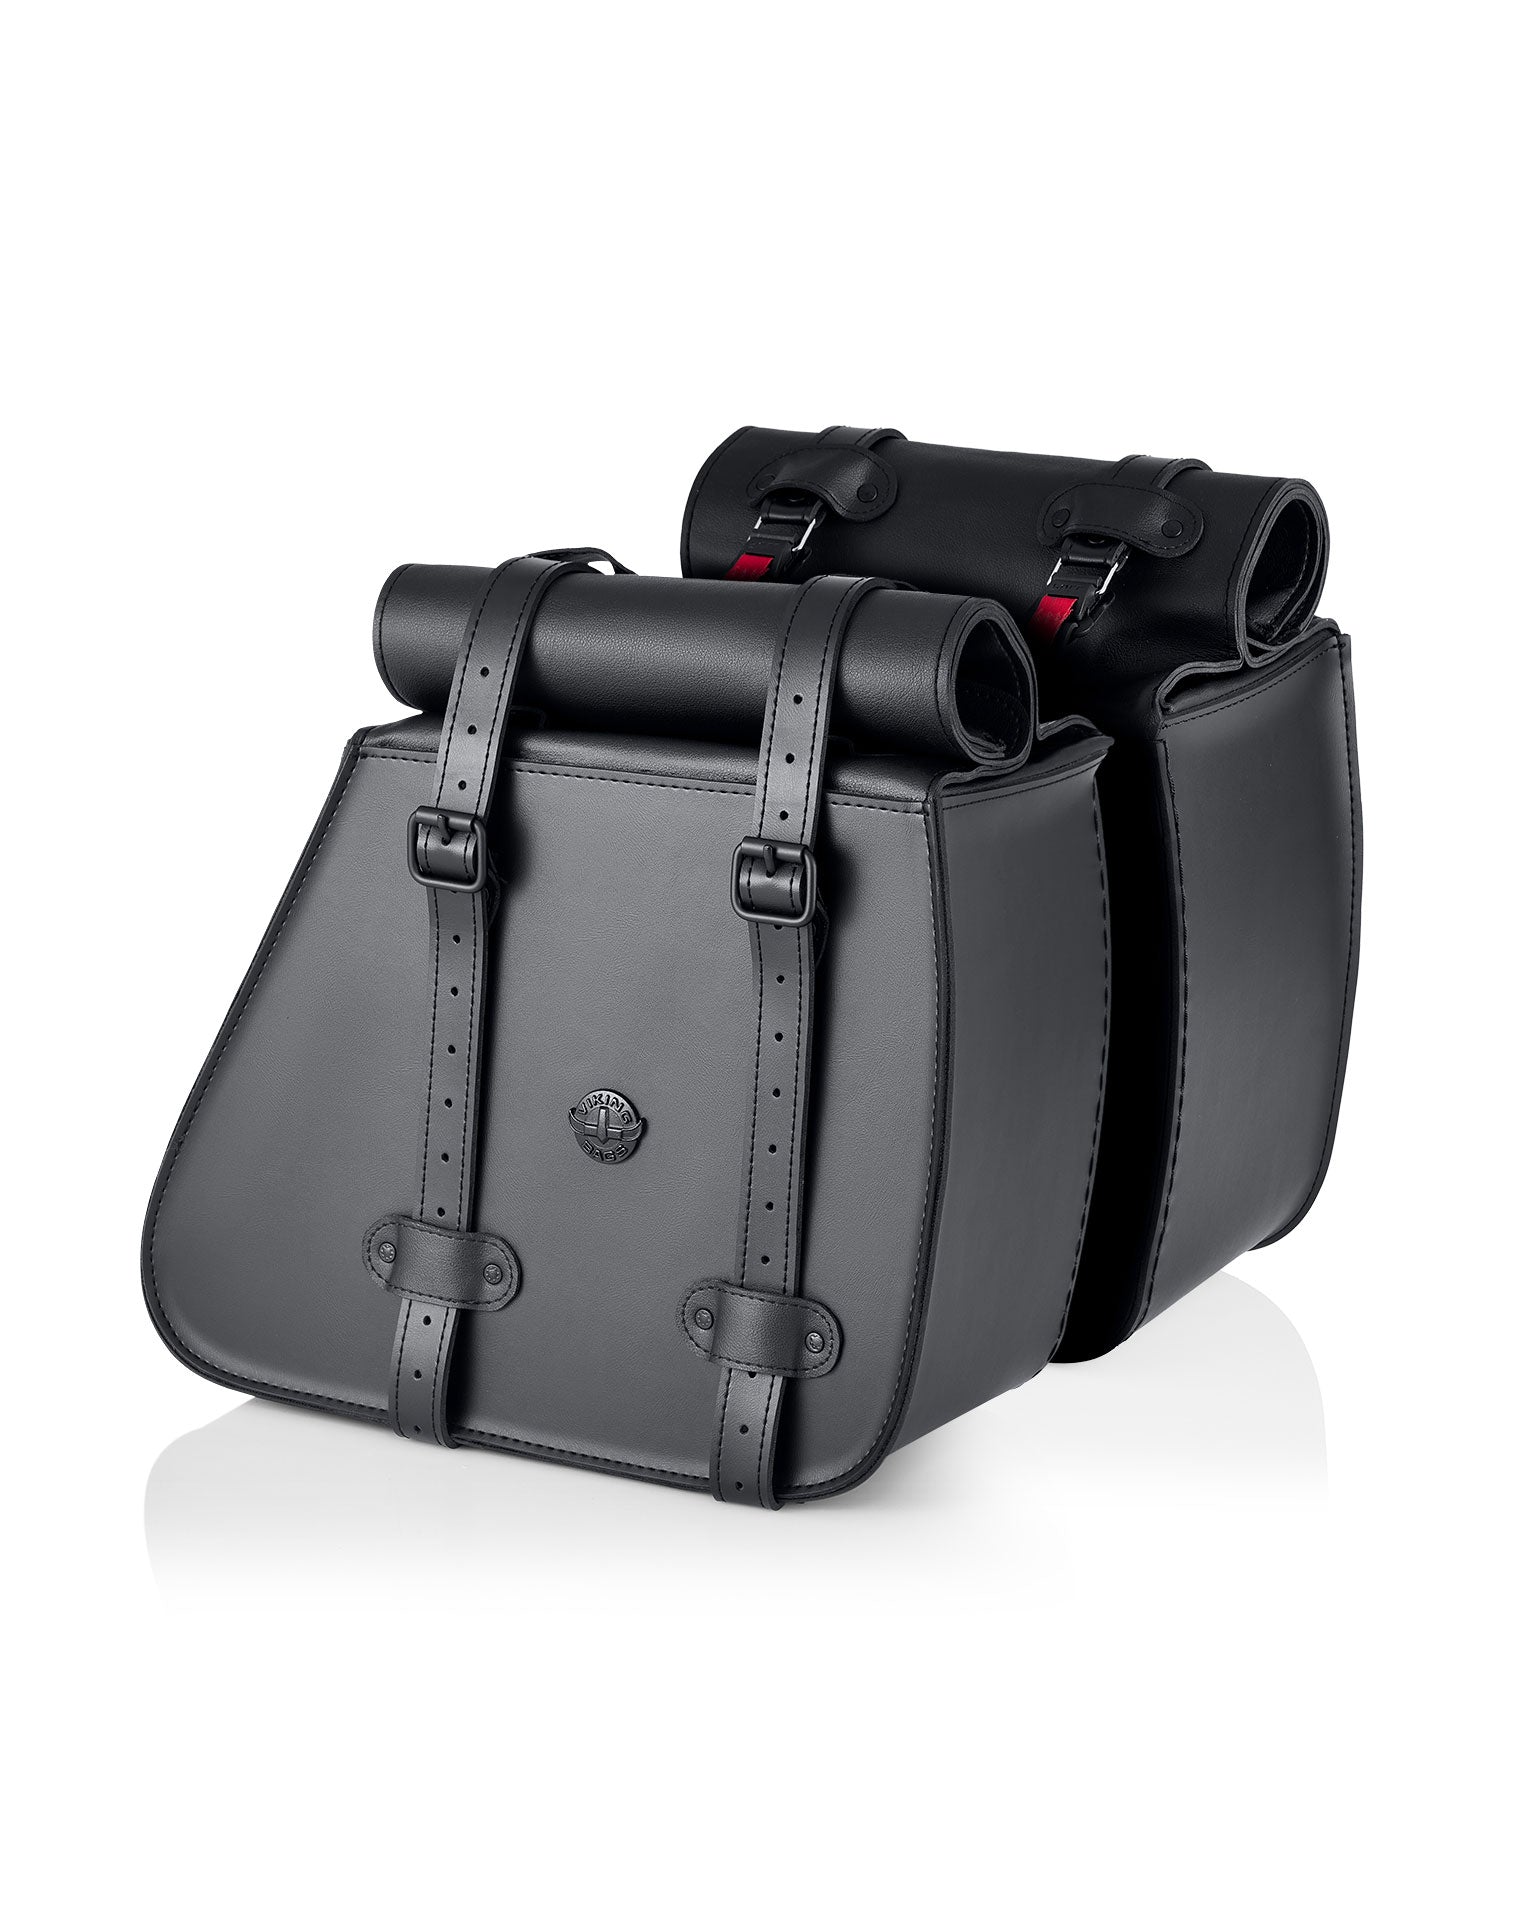
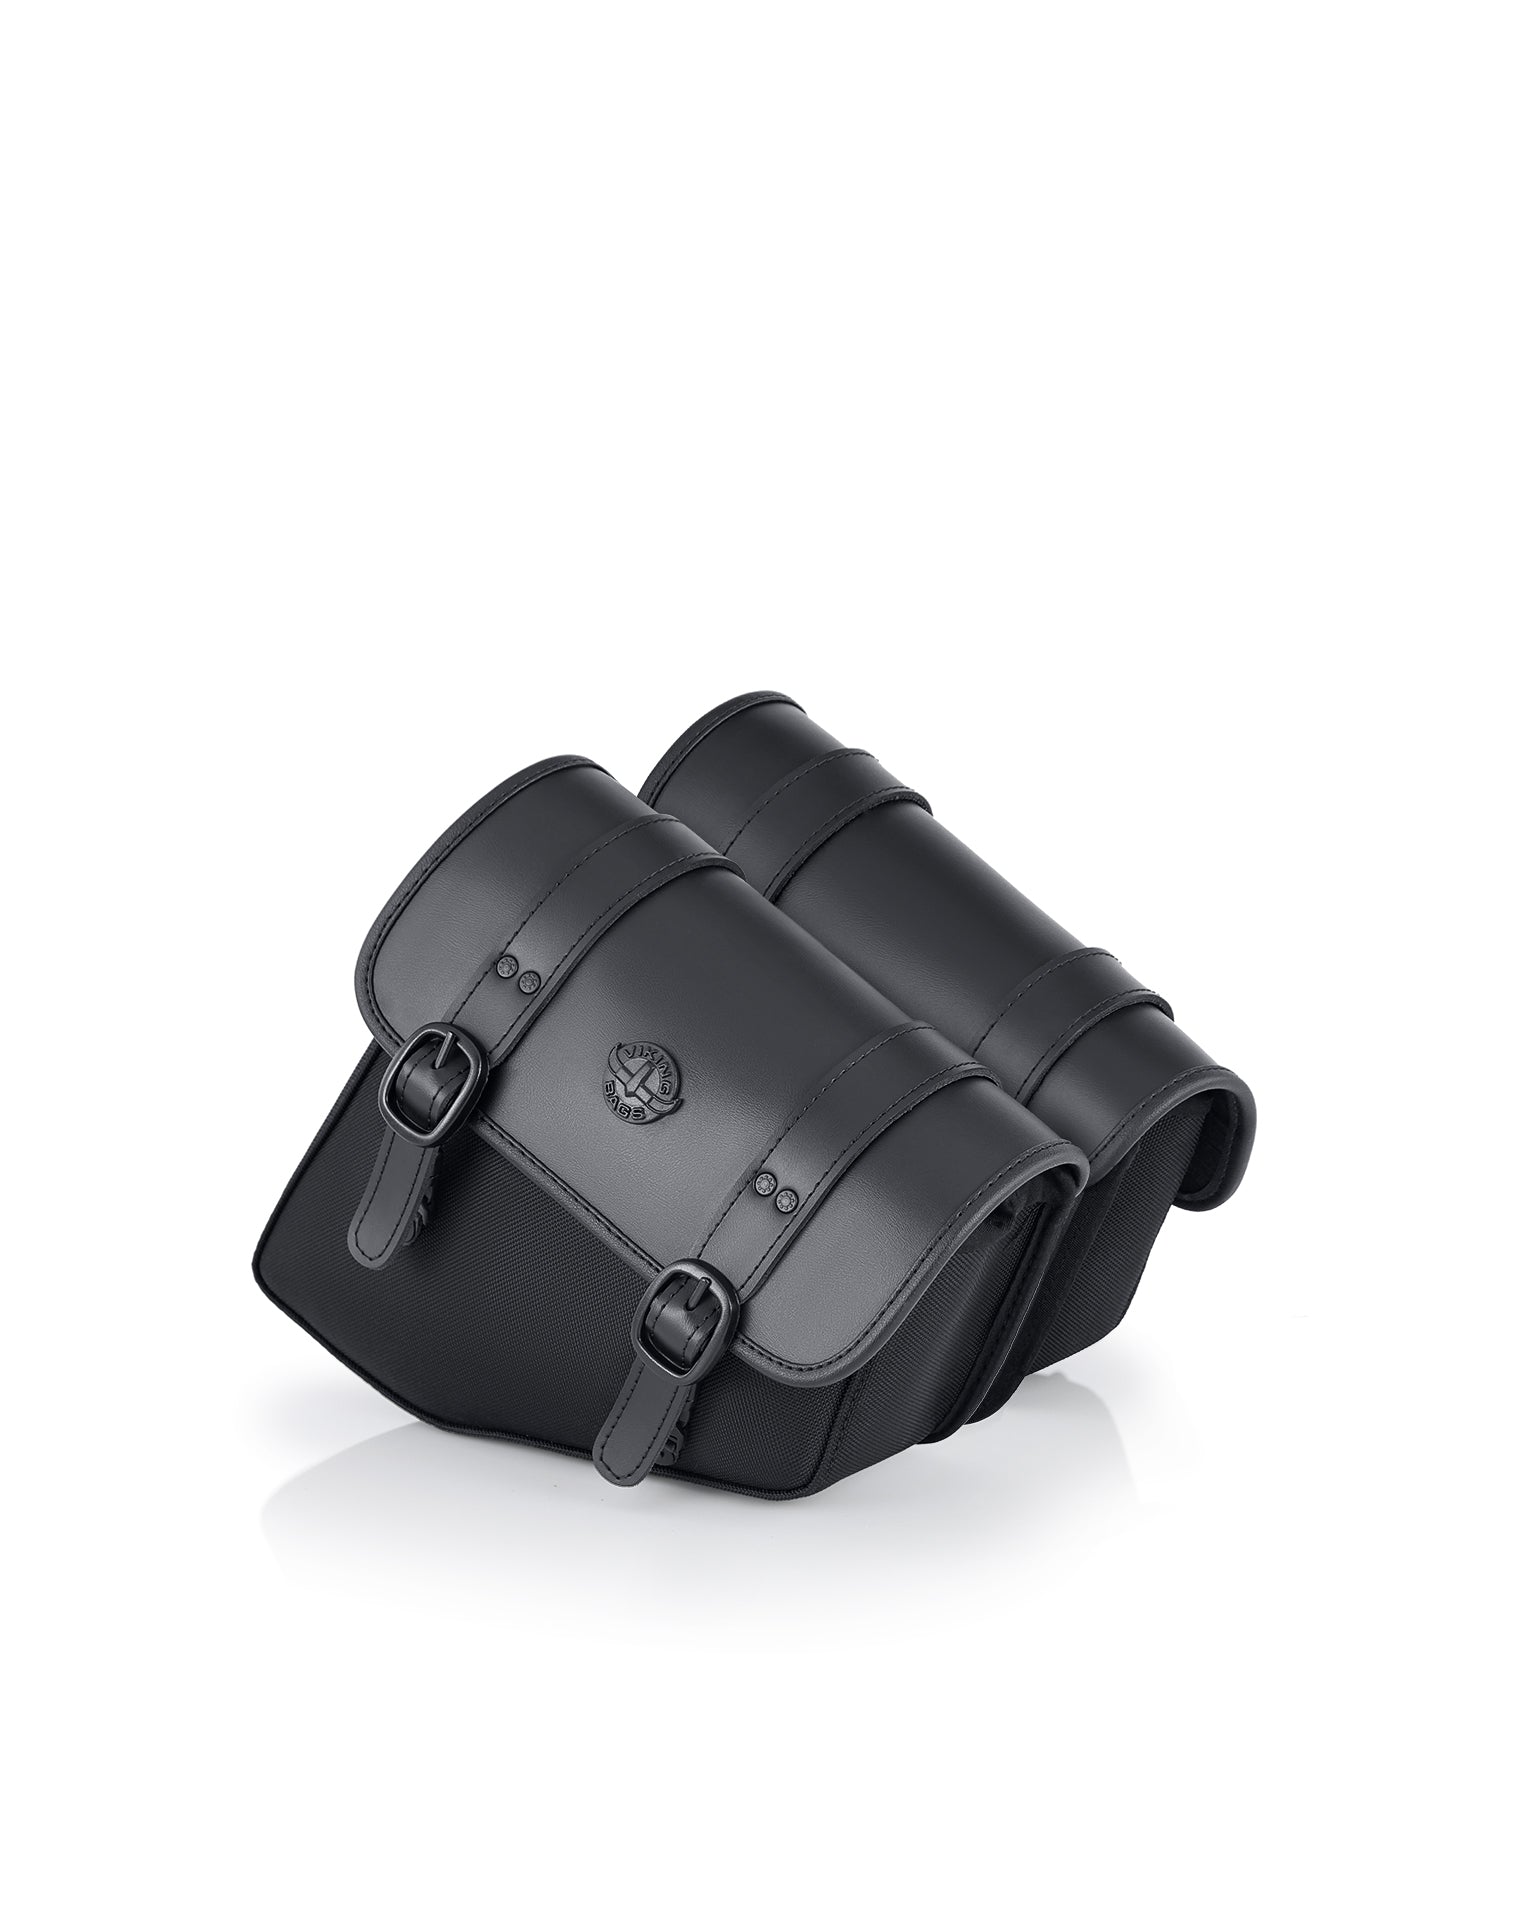
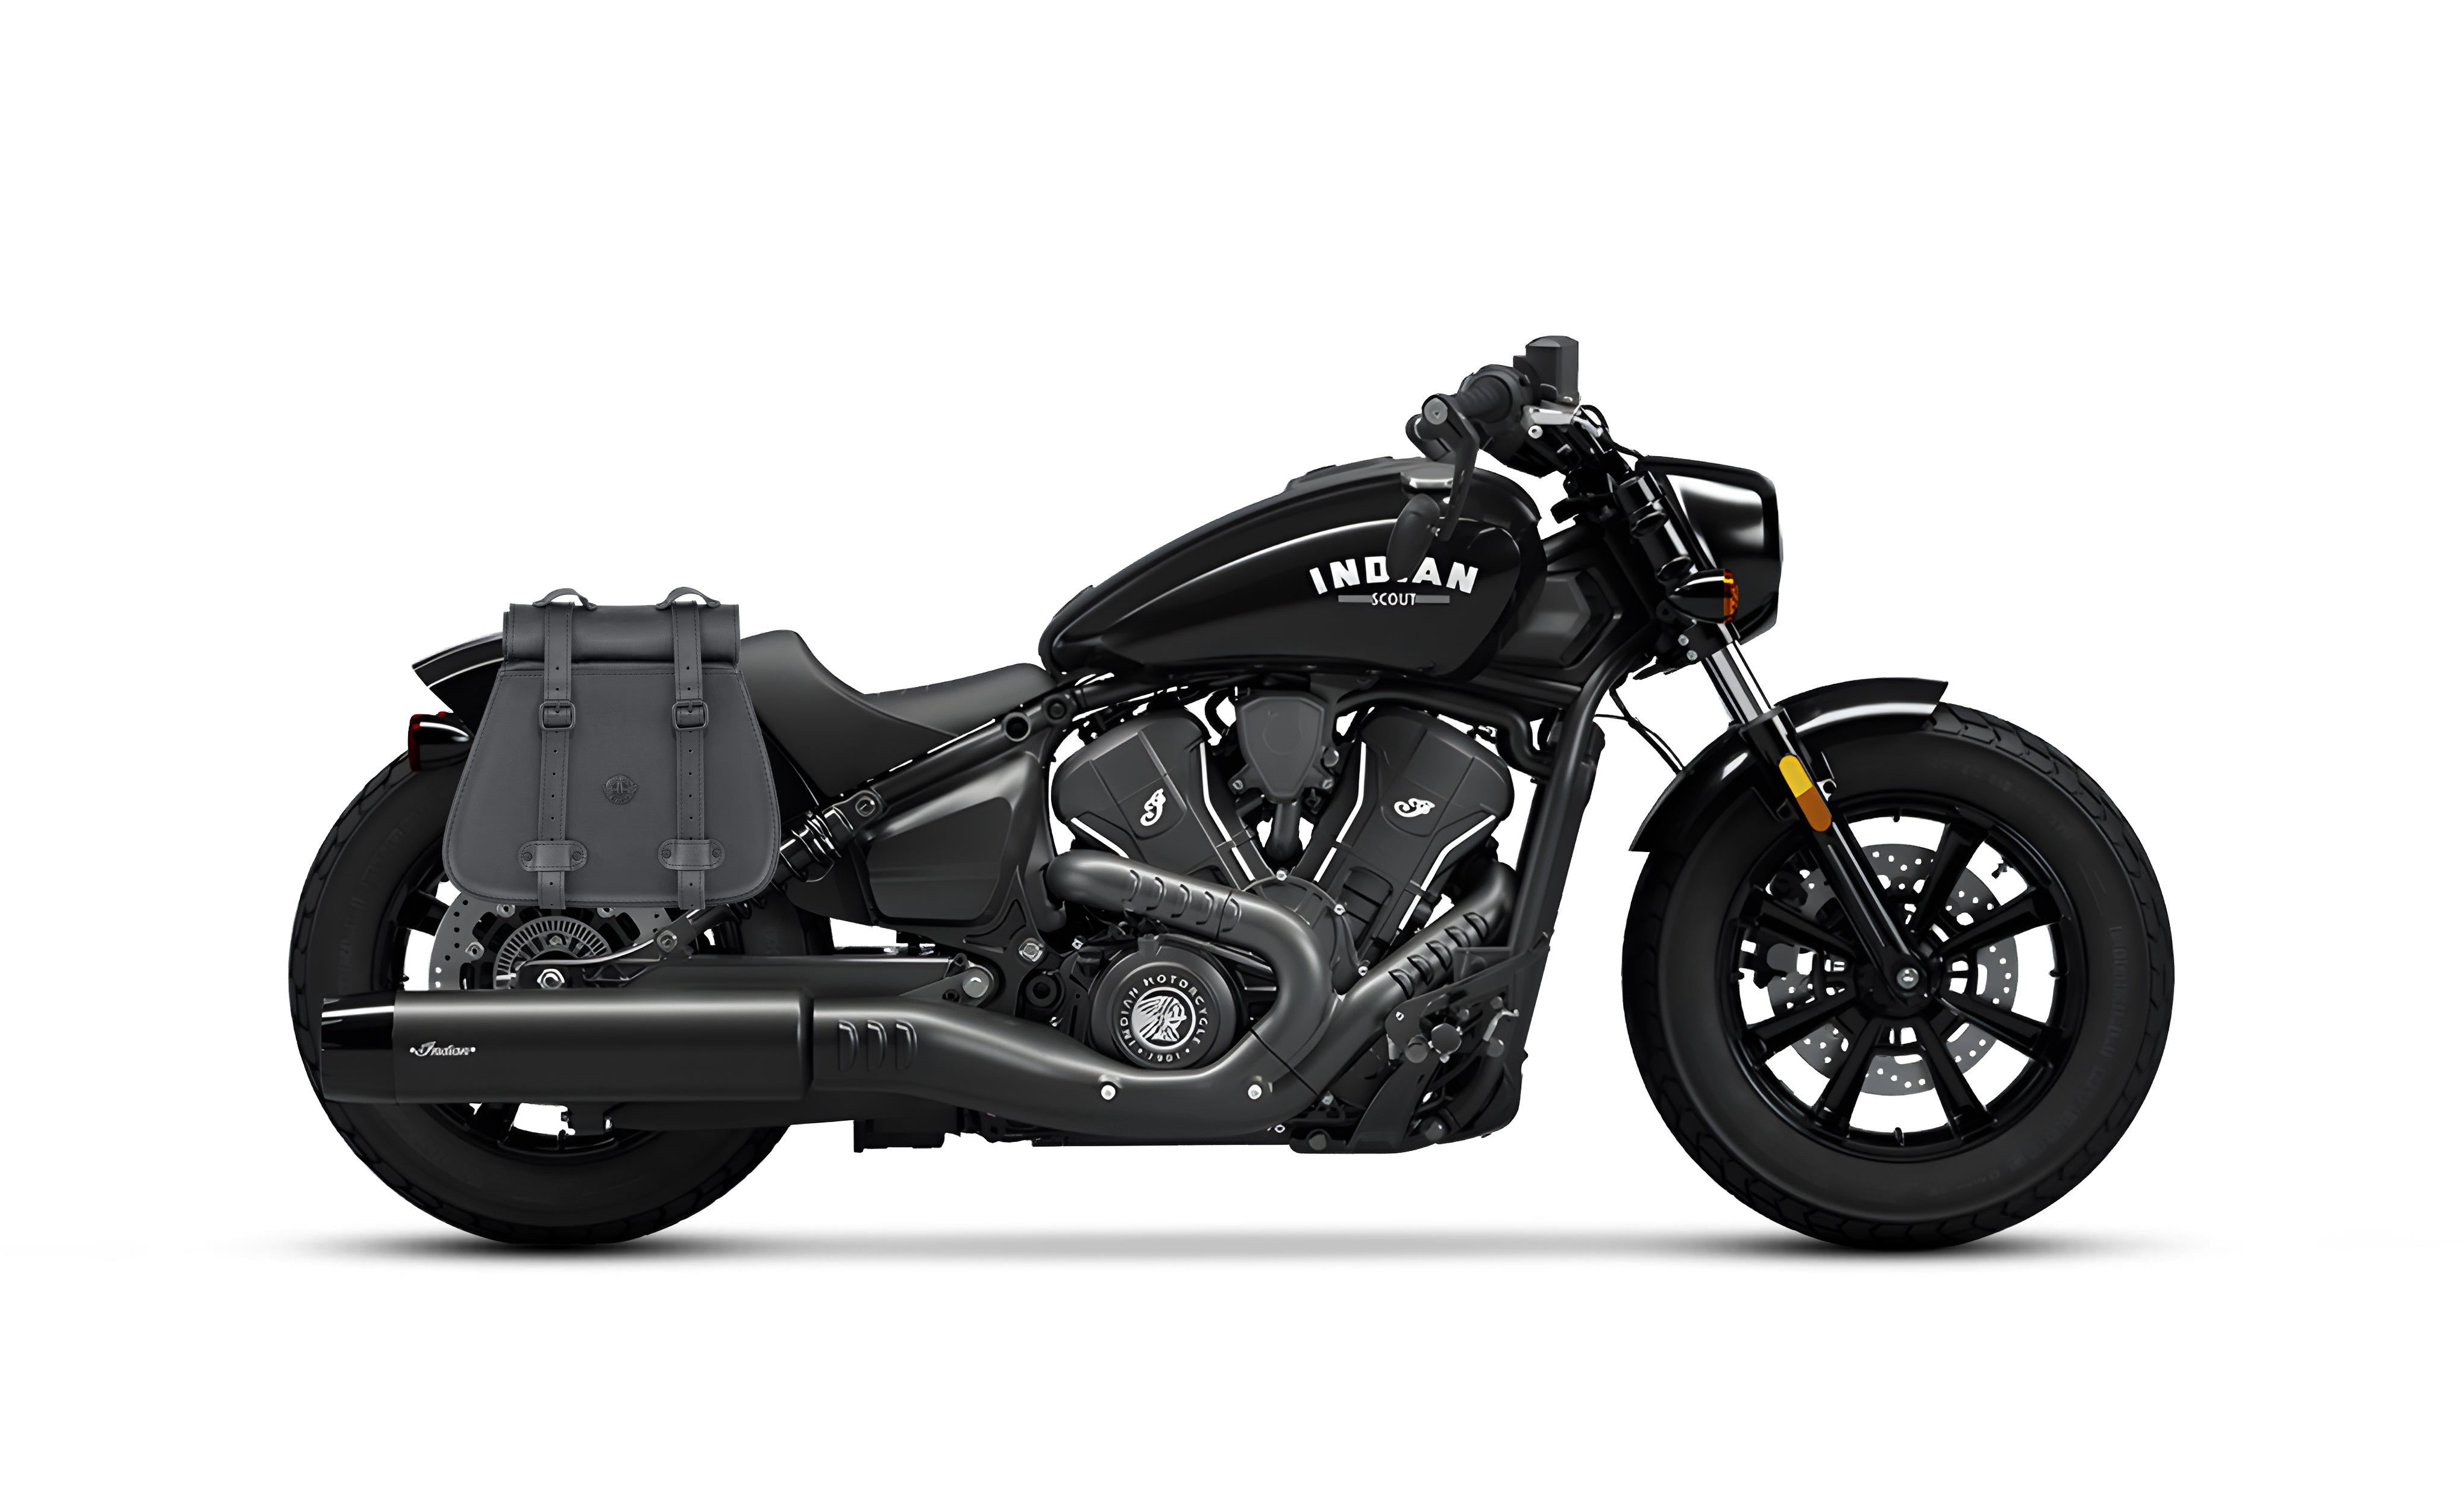
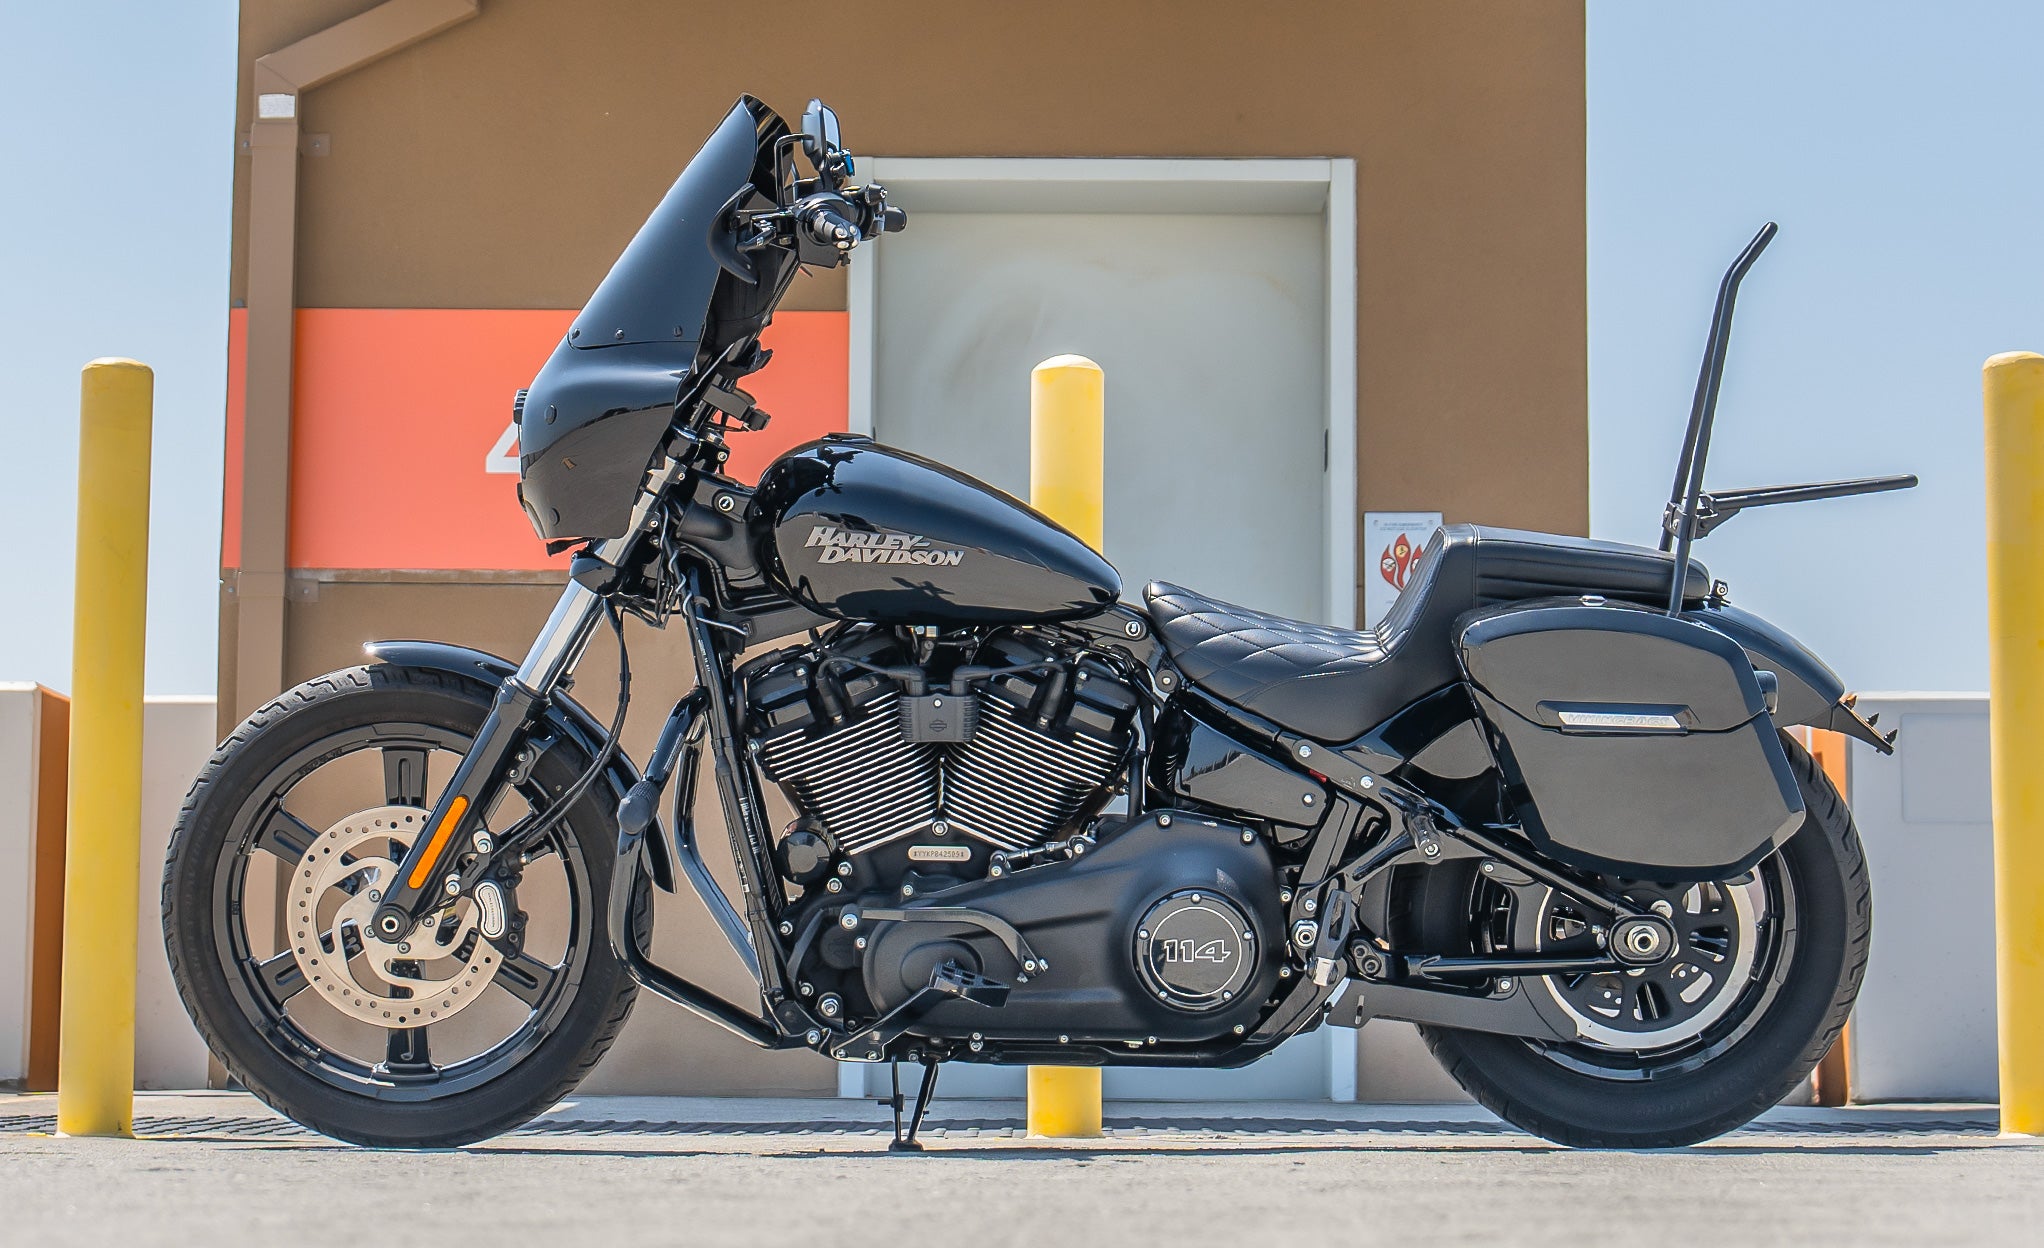
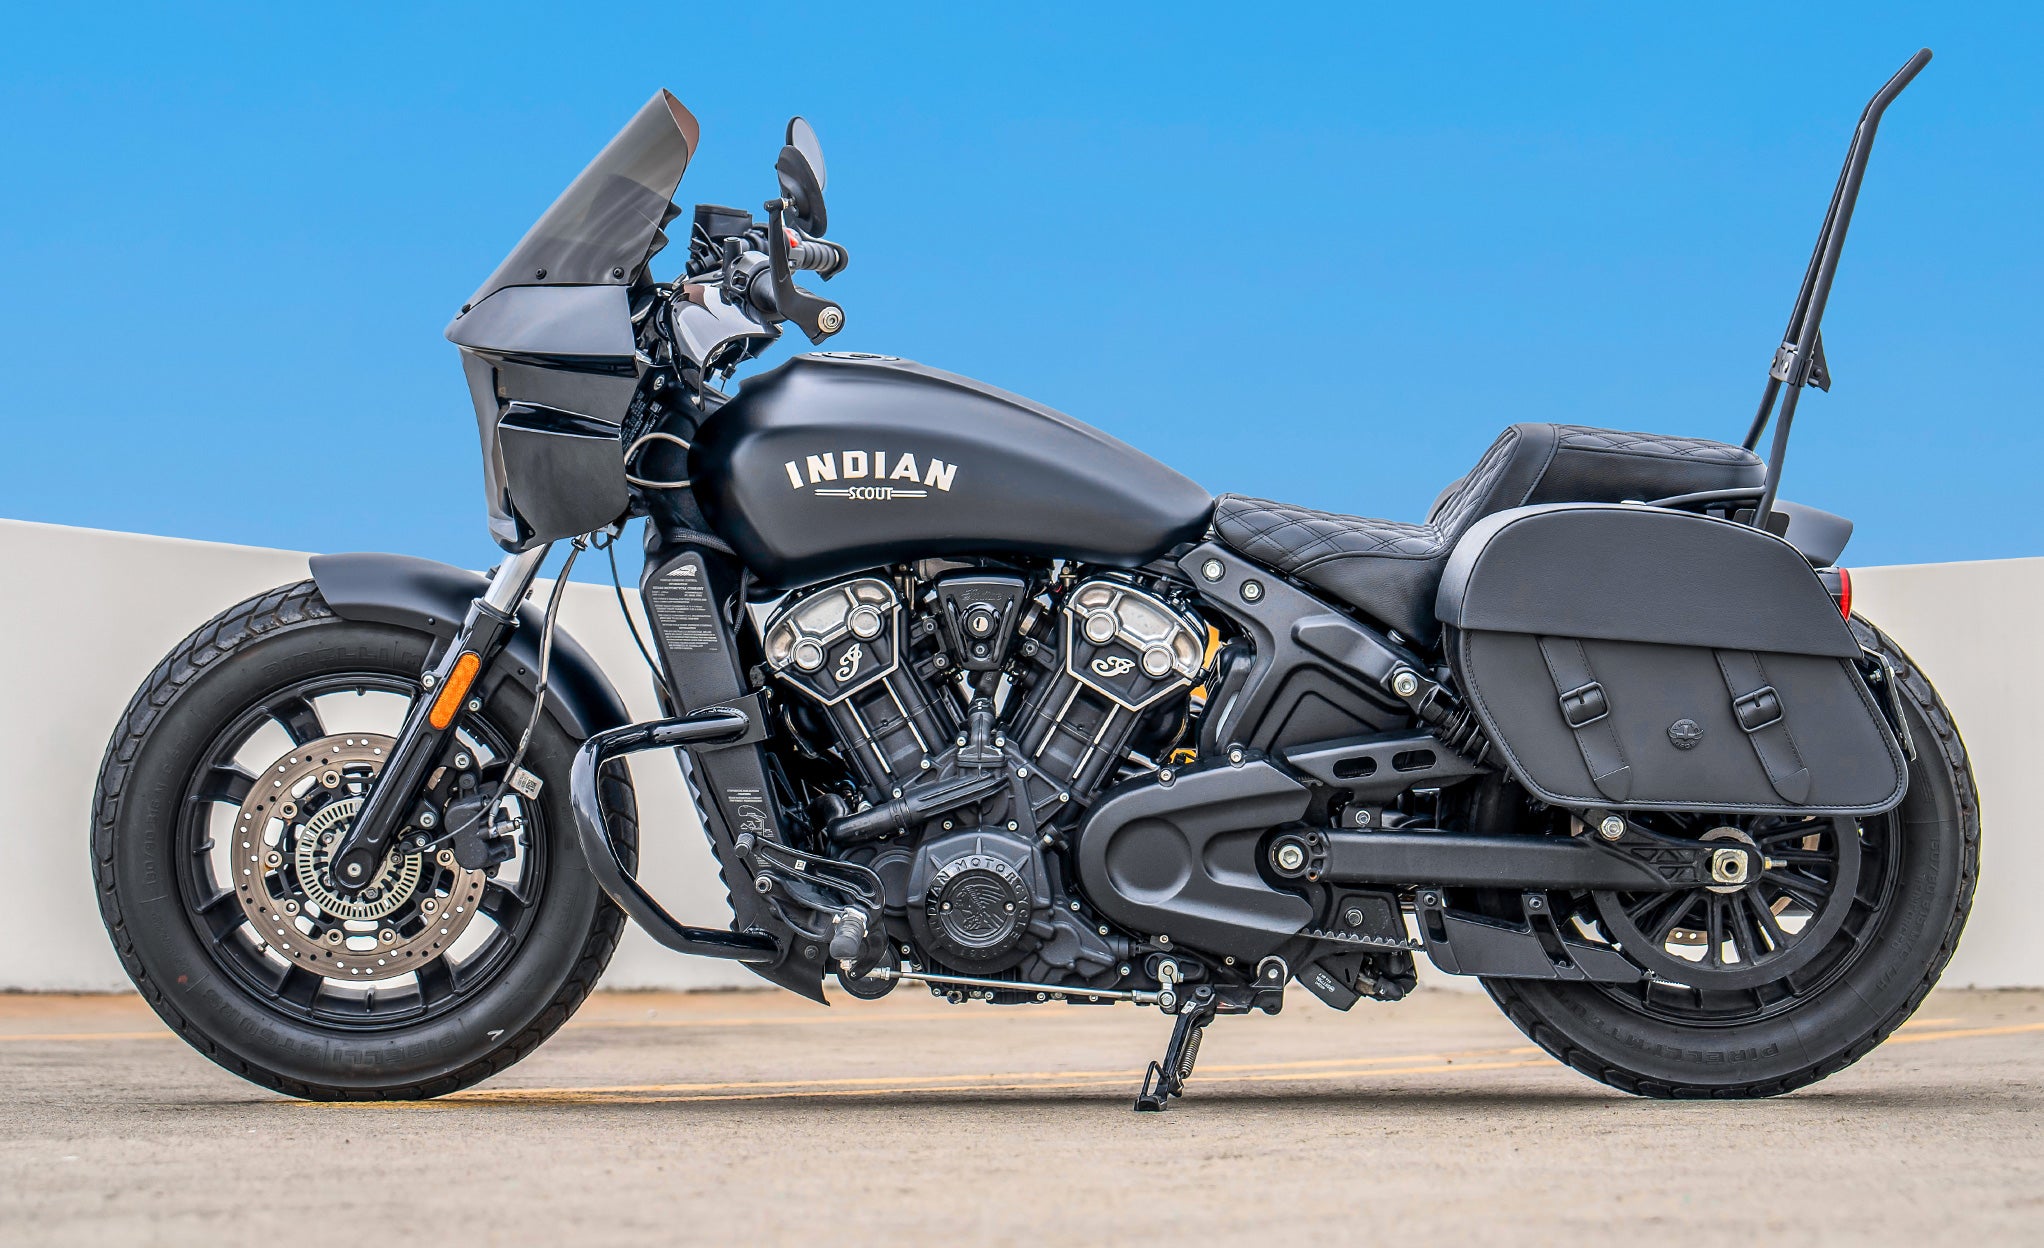
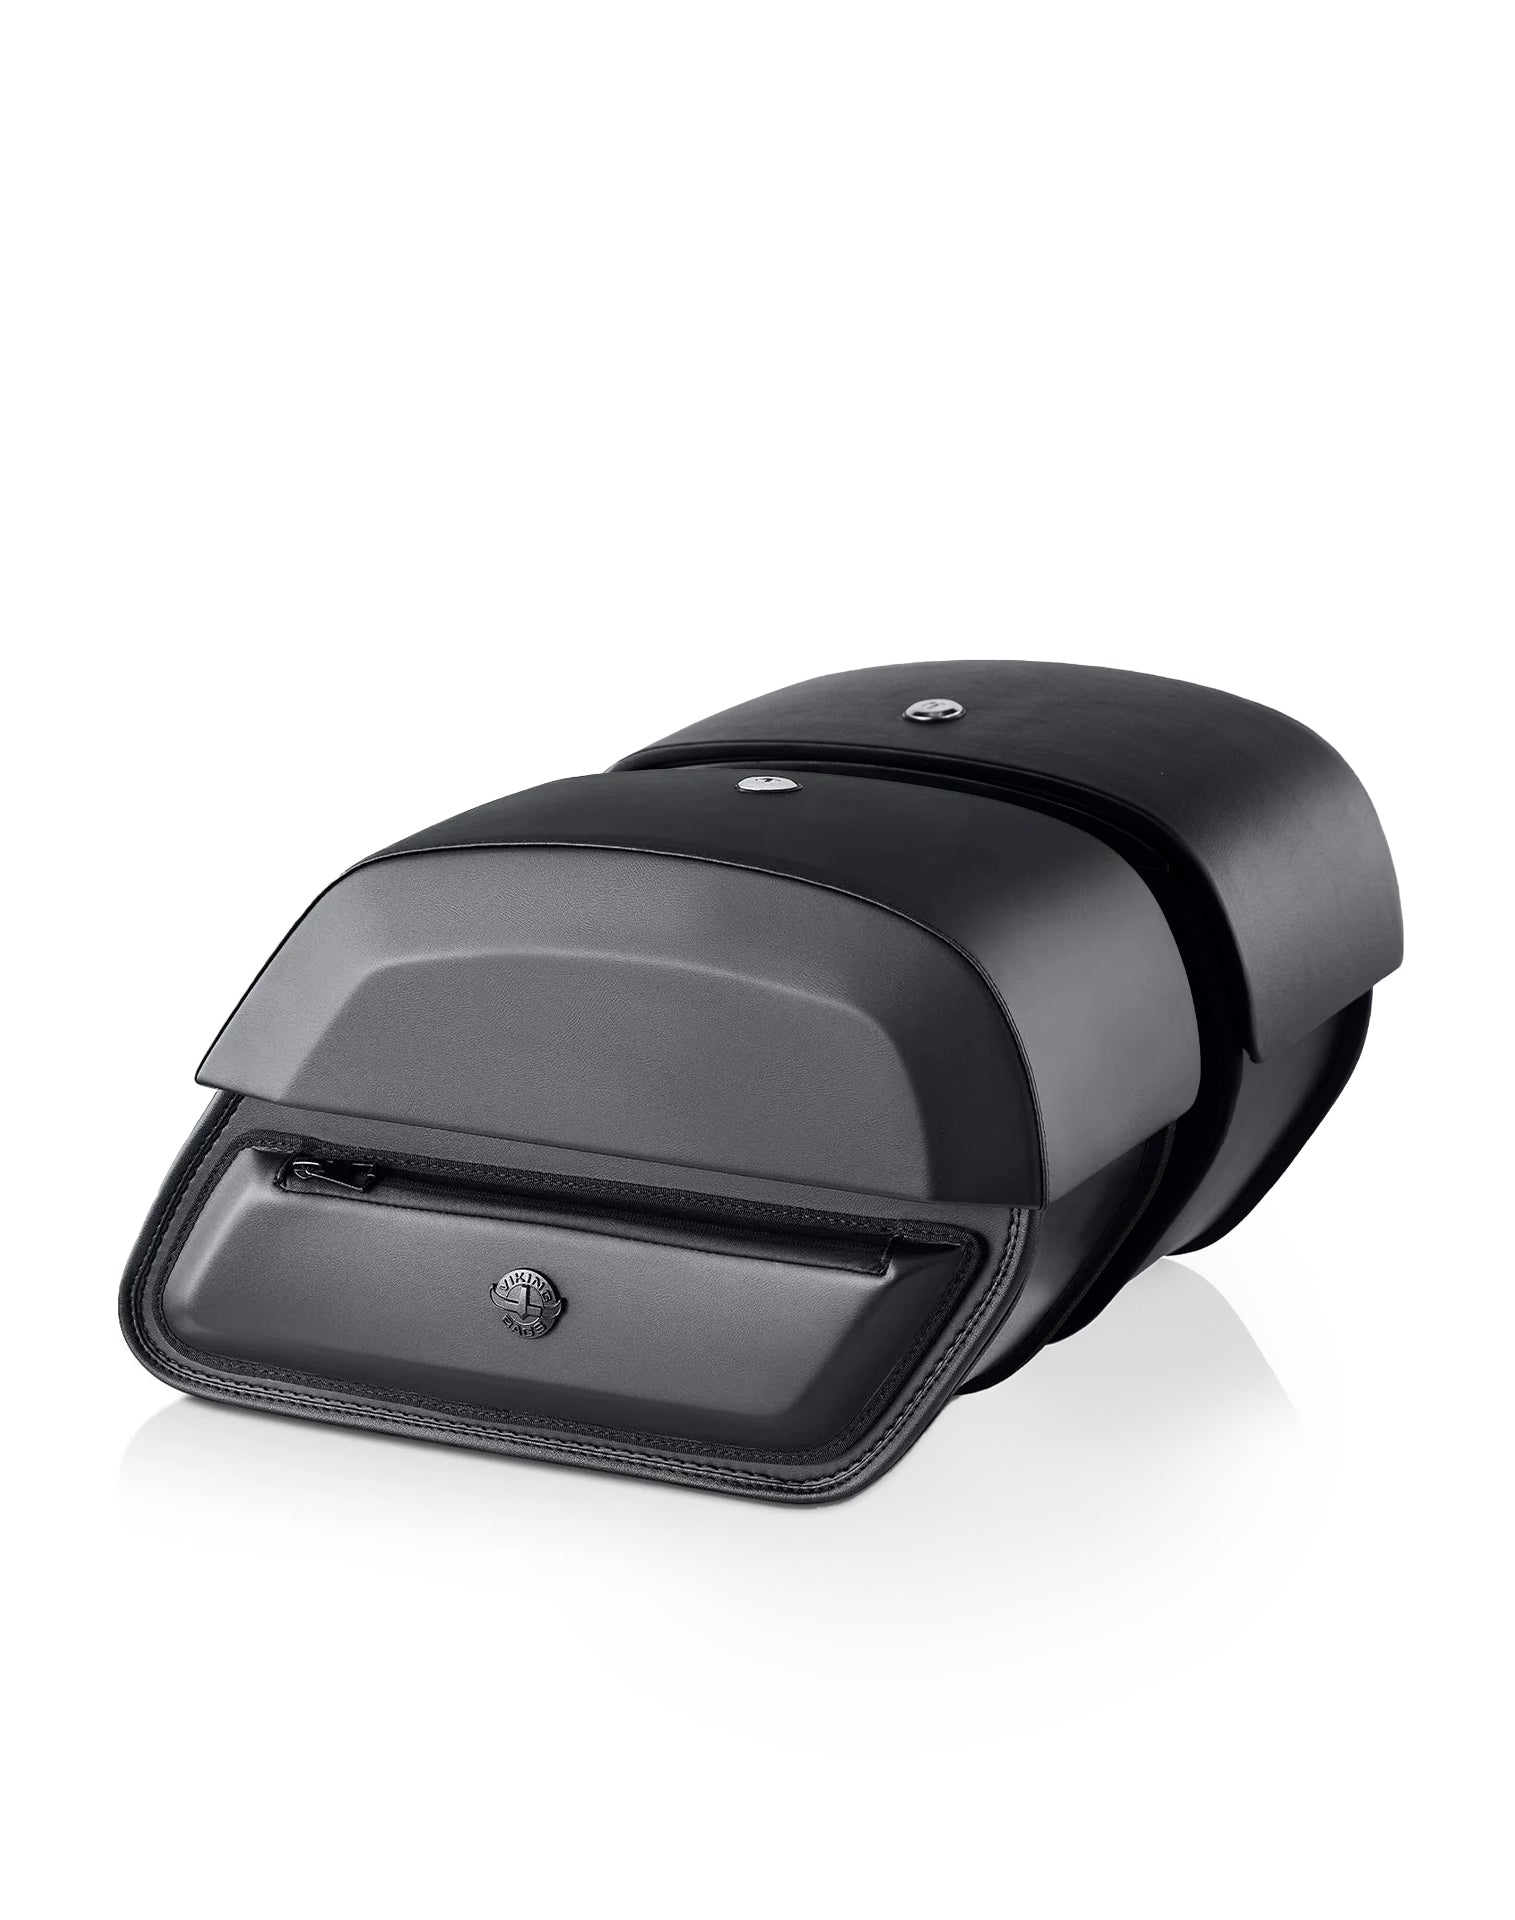
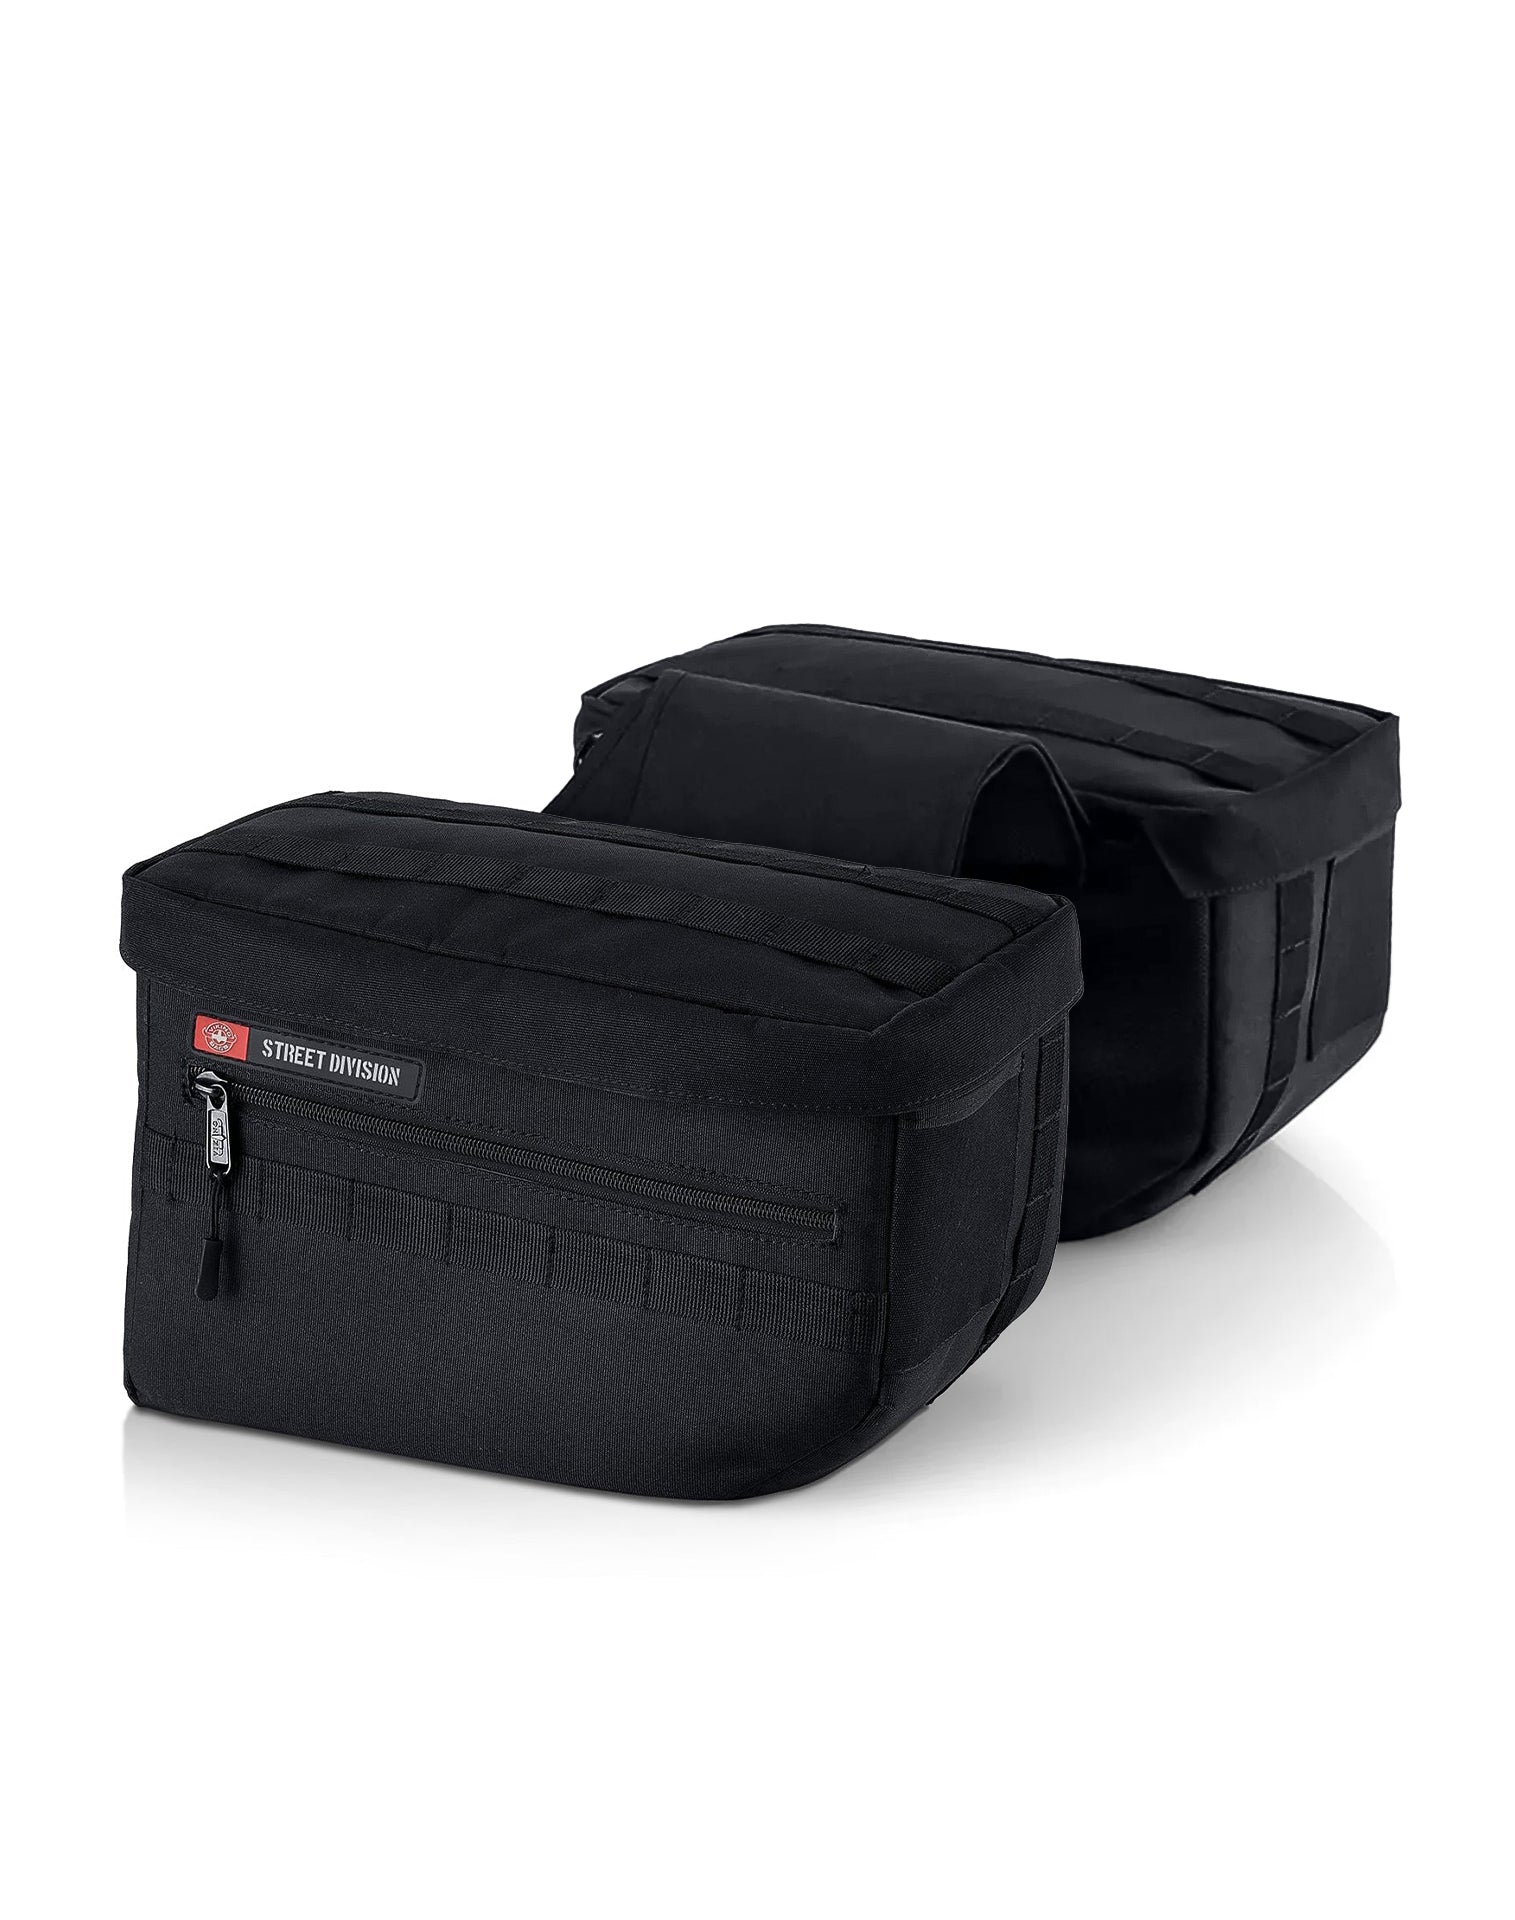
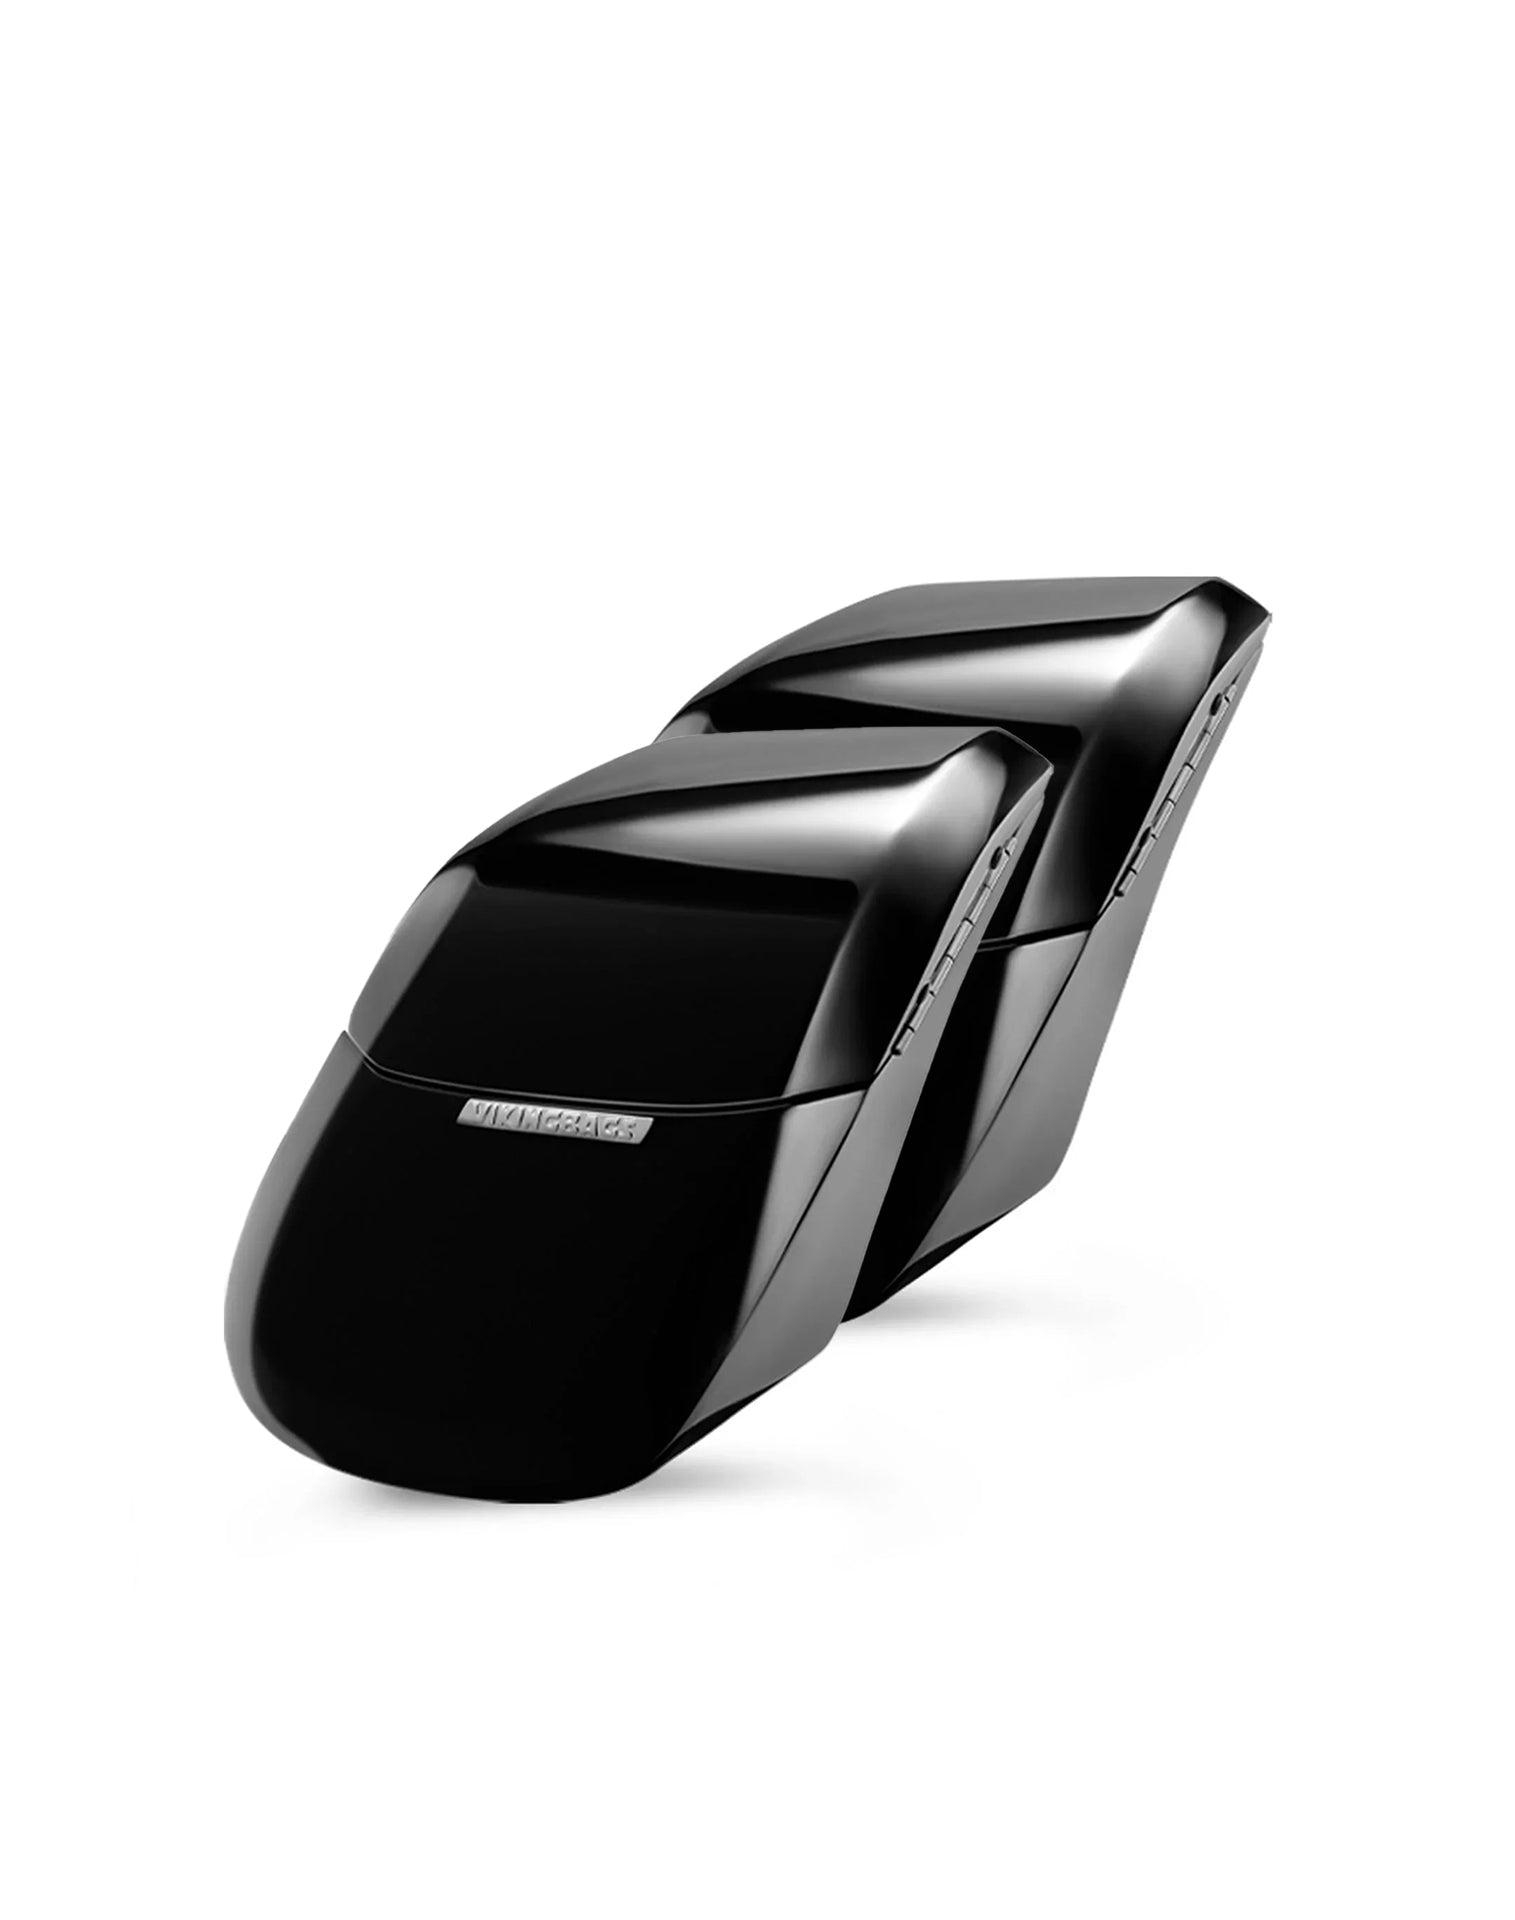
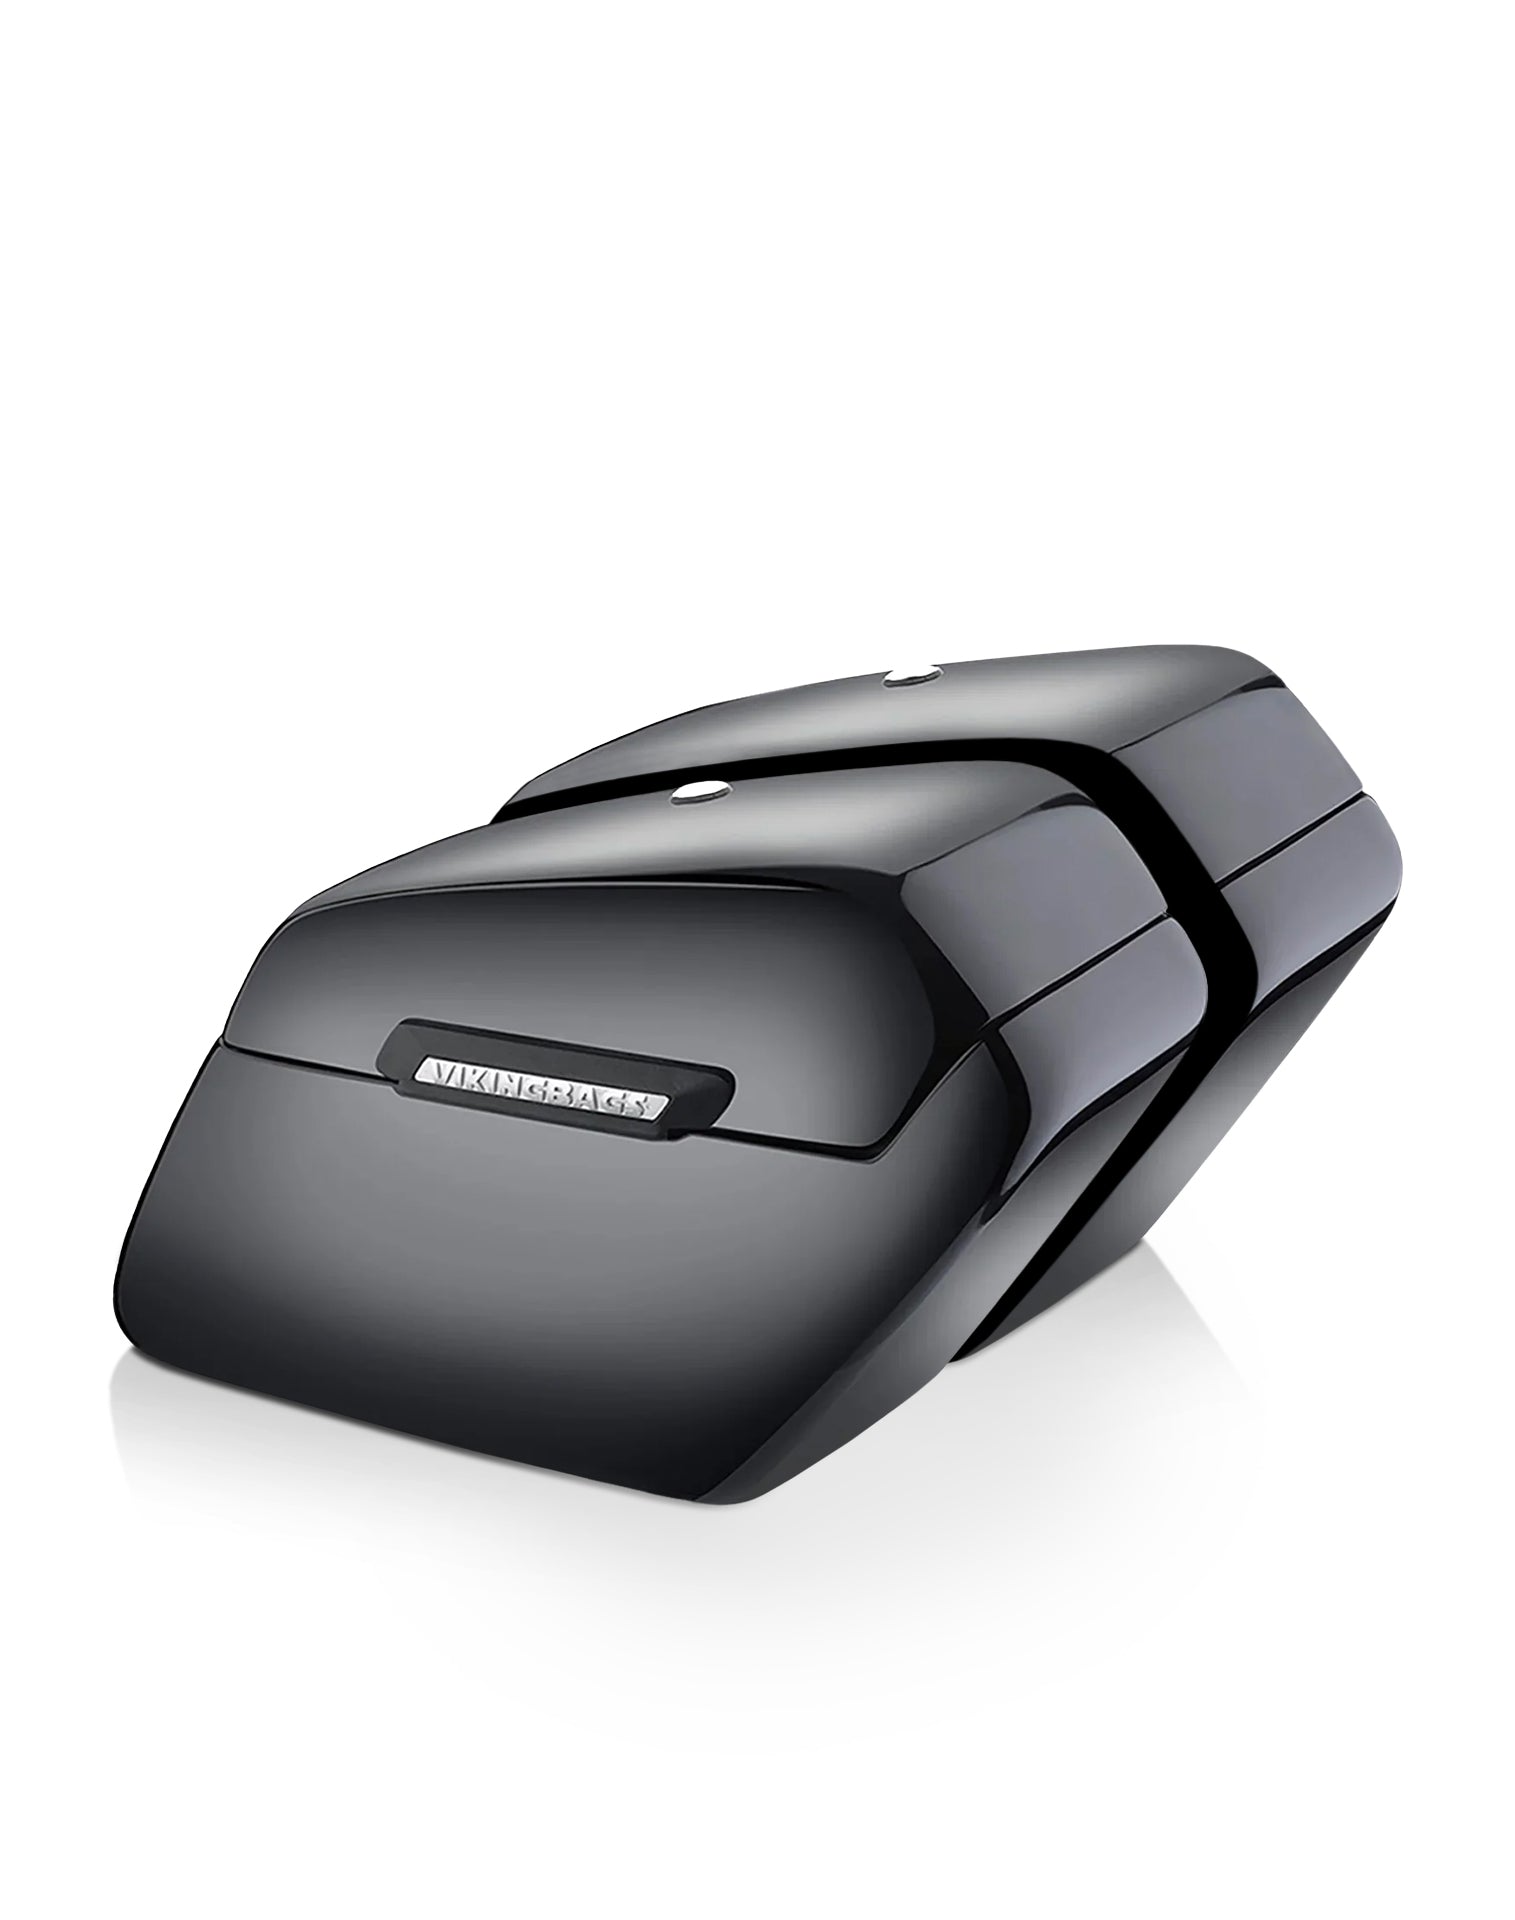
Motorcycle Saddlebags
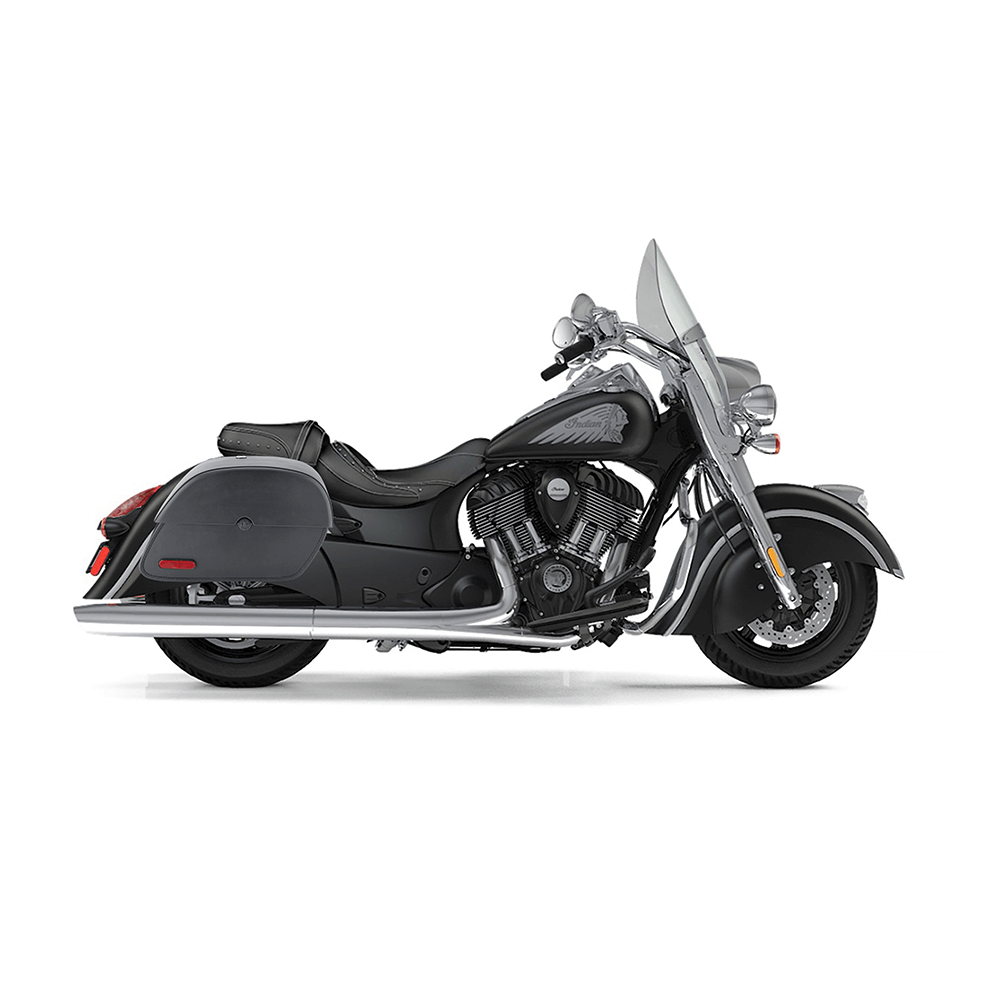
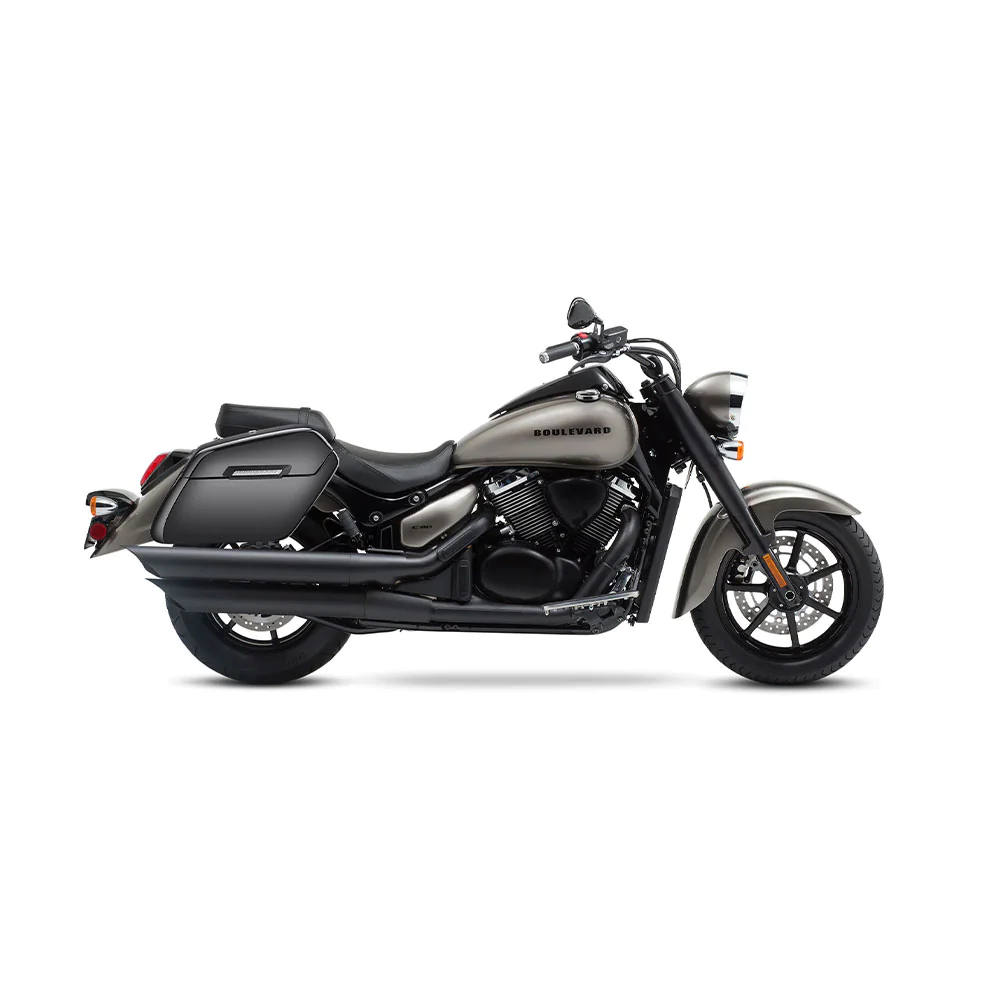
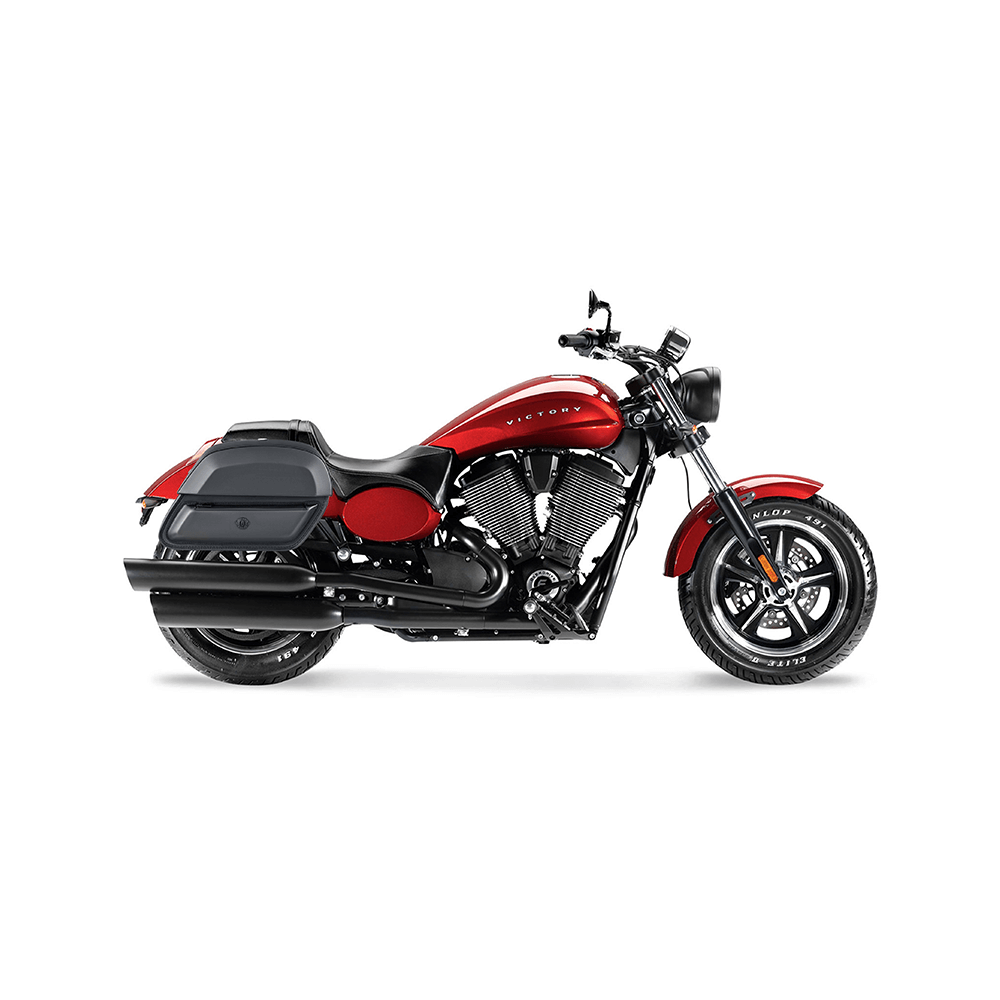
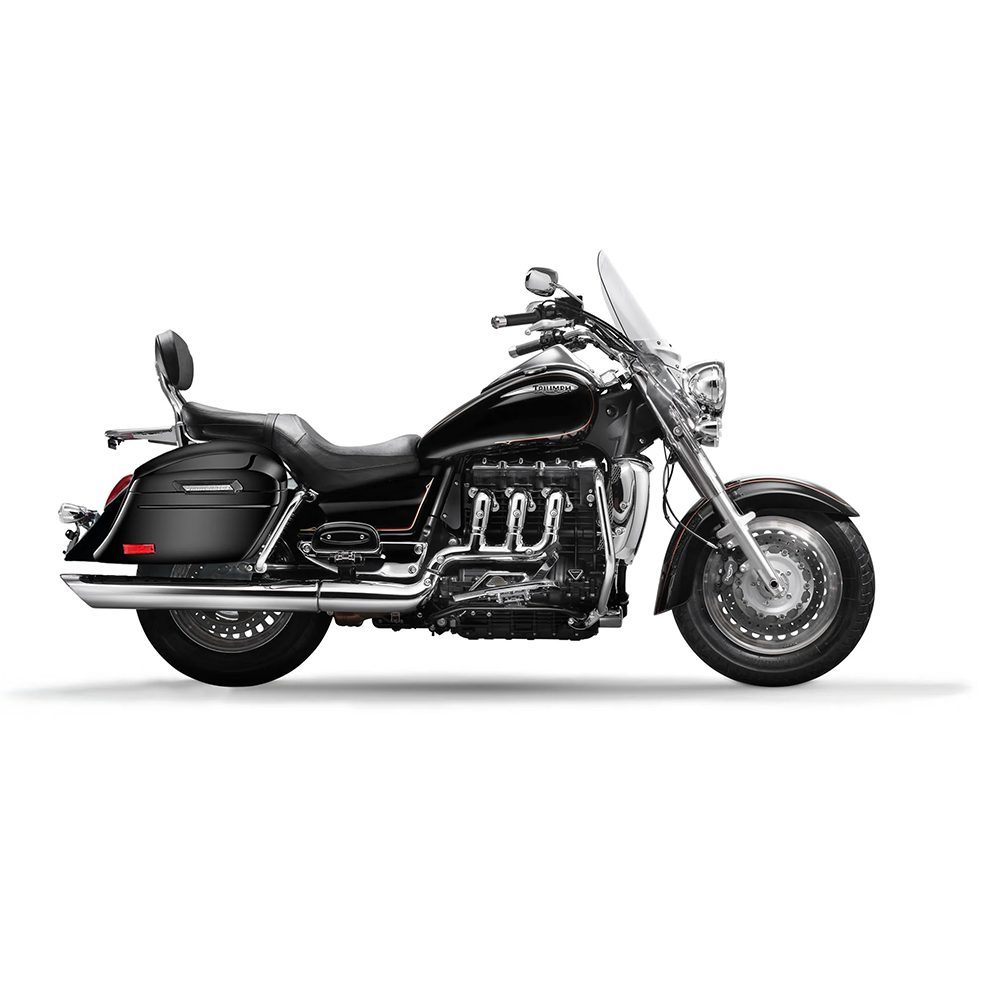
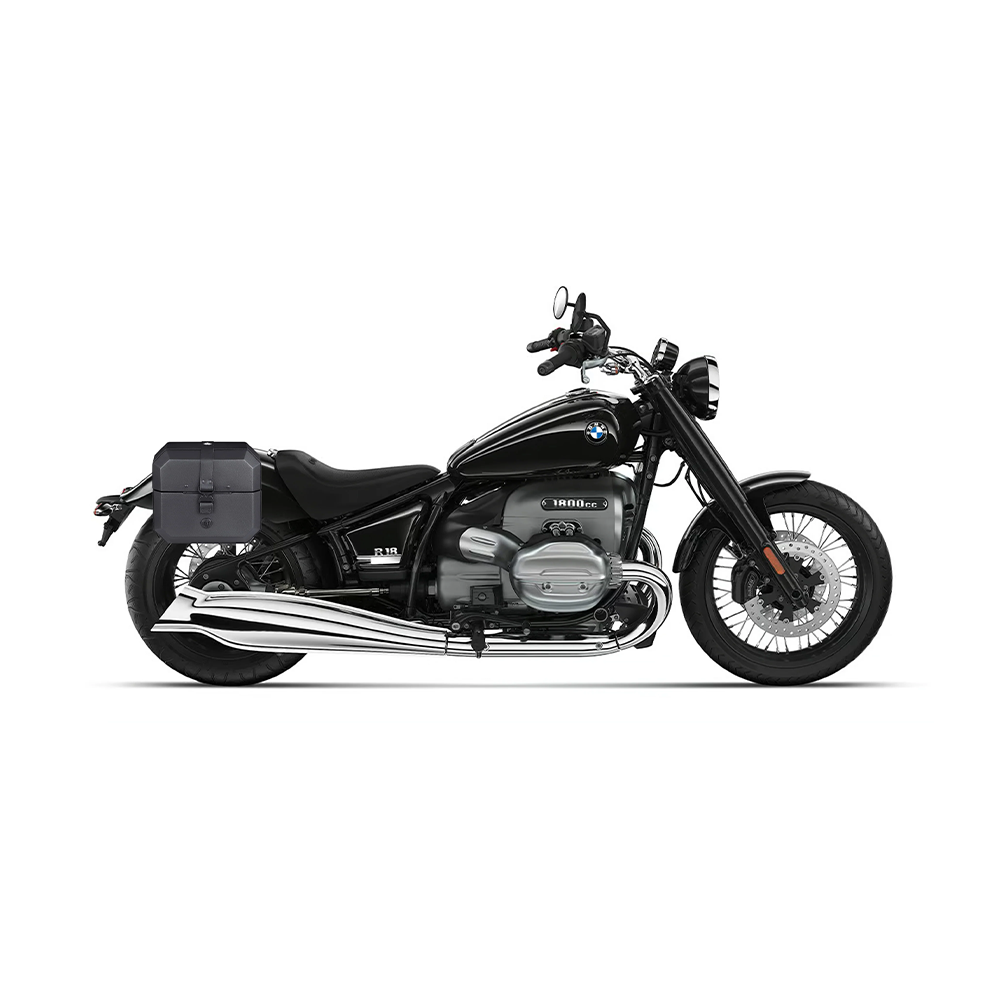
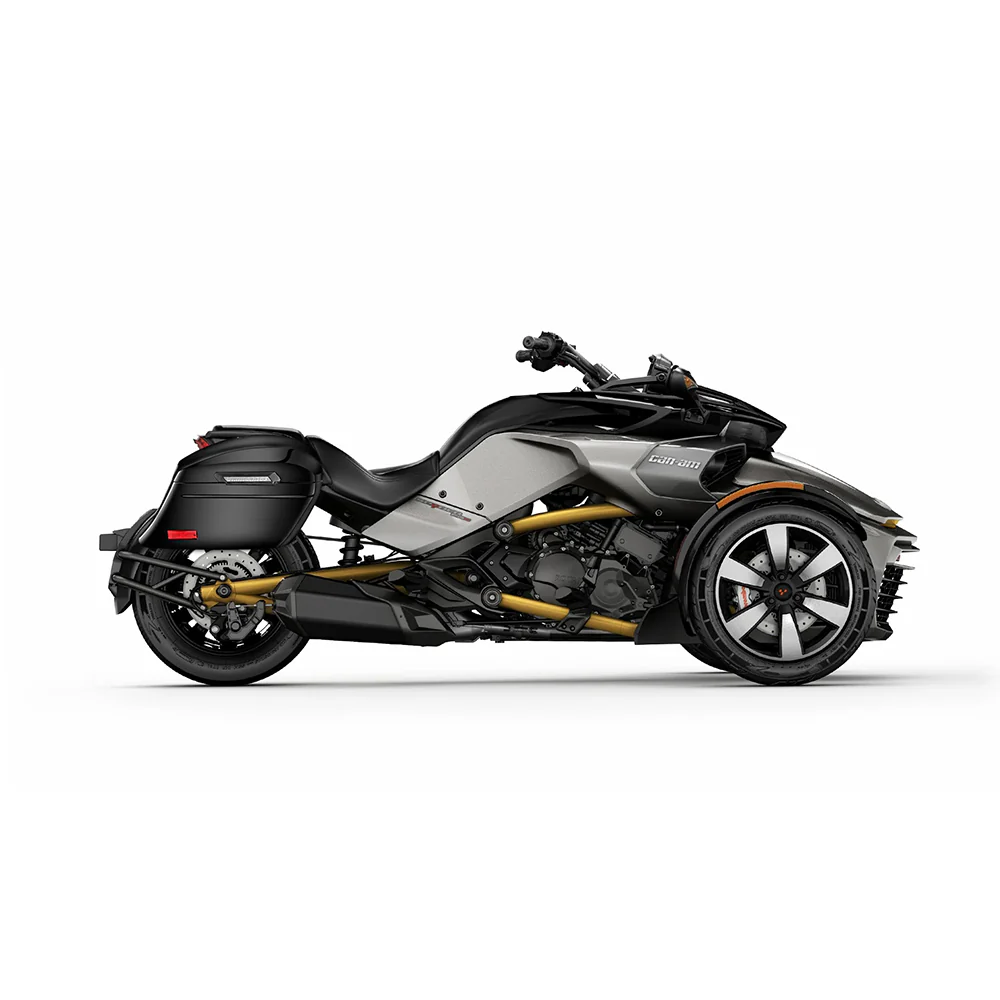
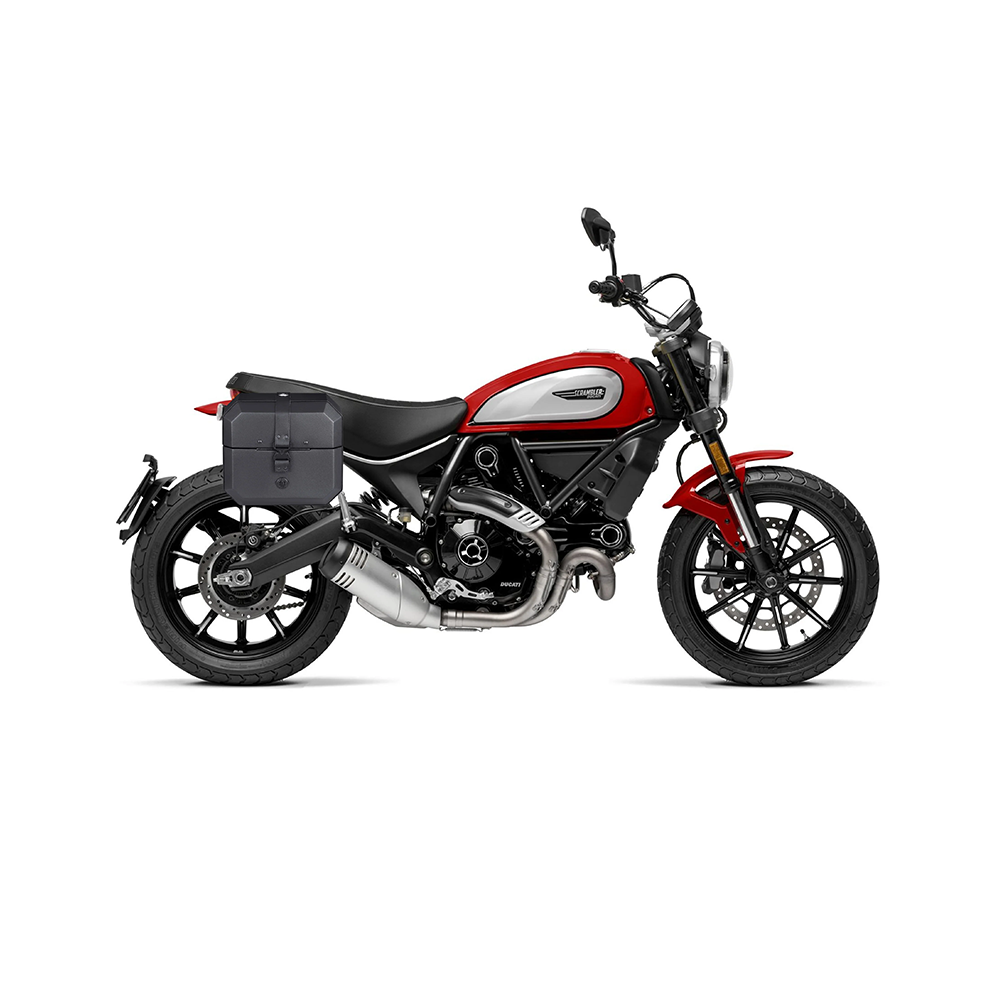
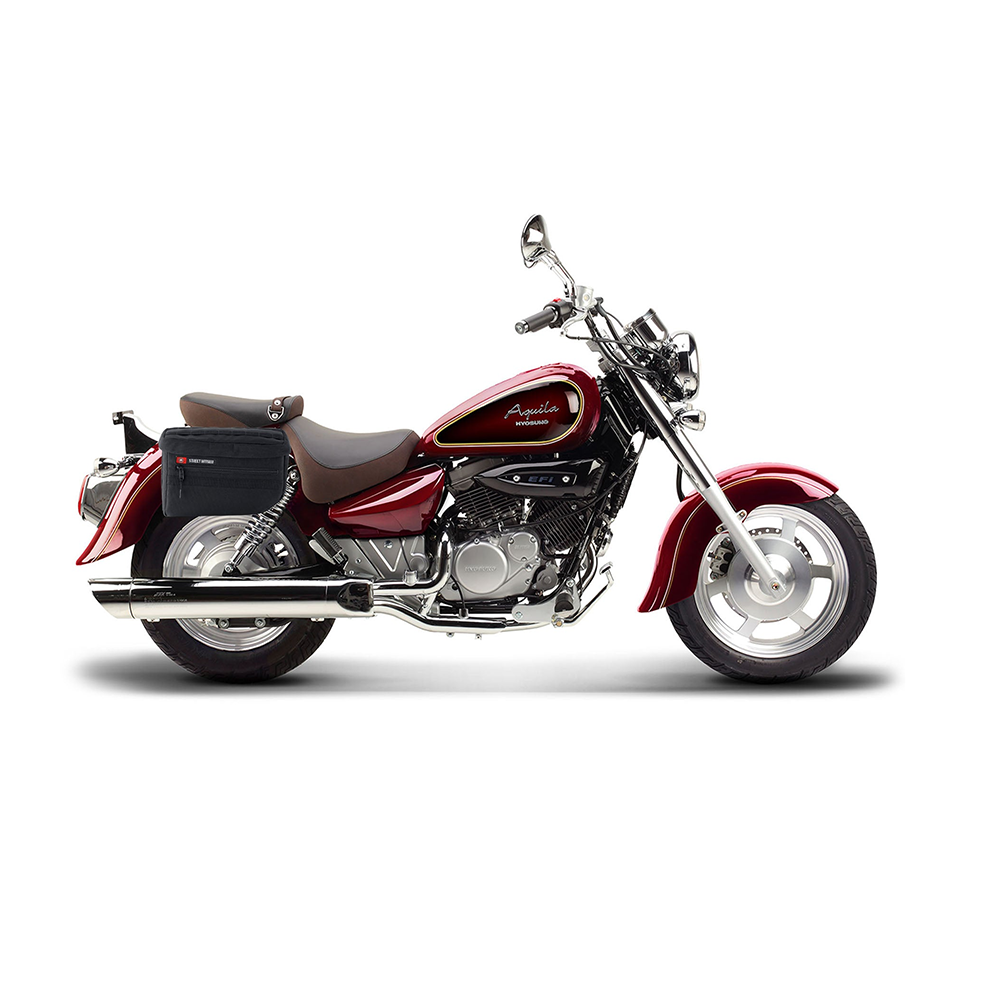
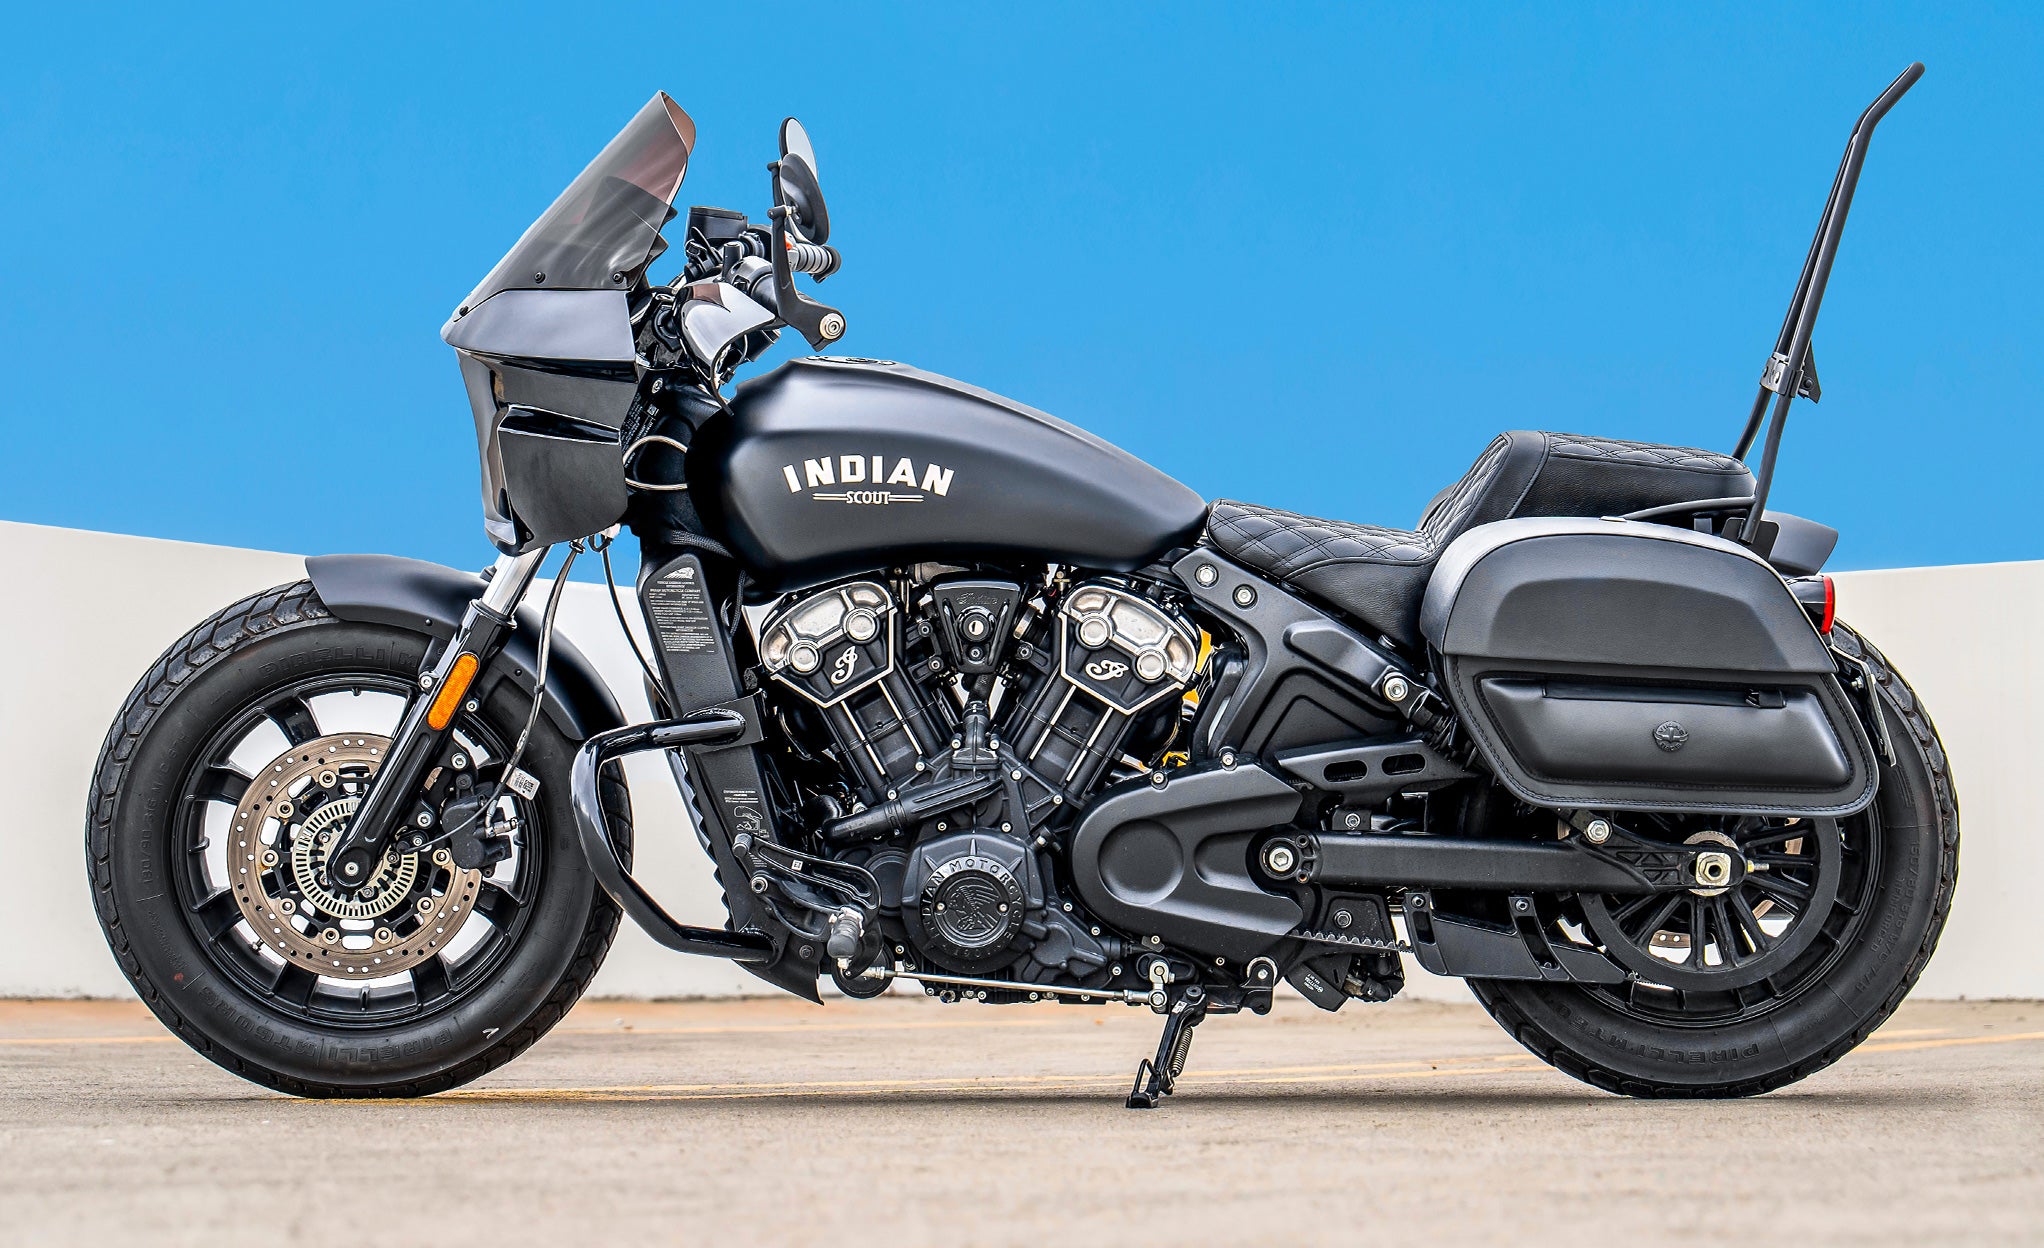
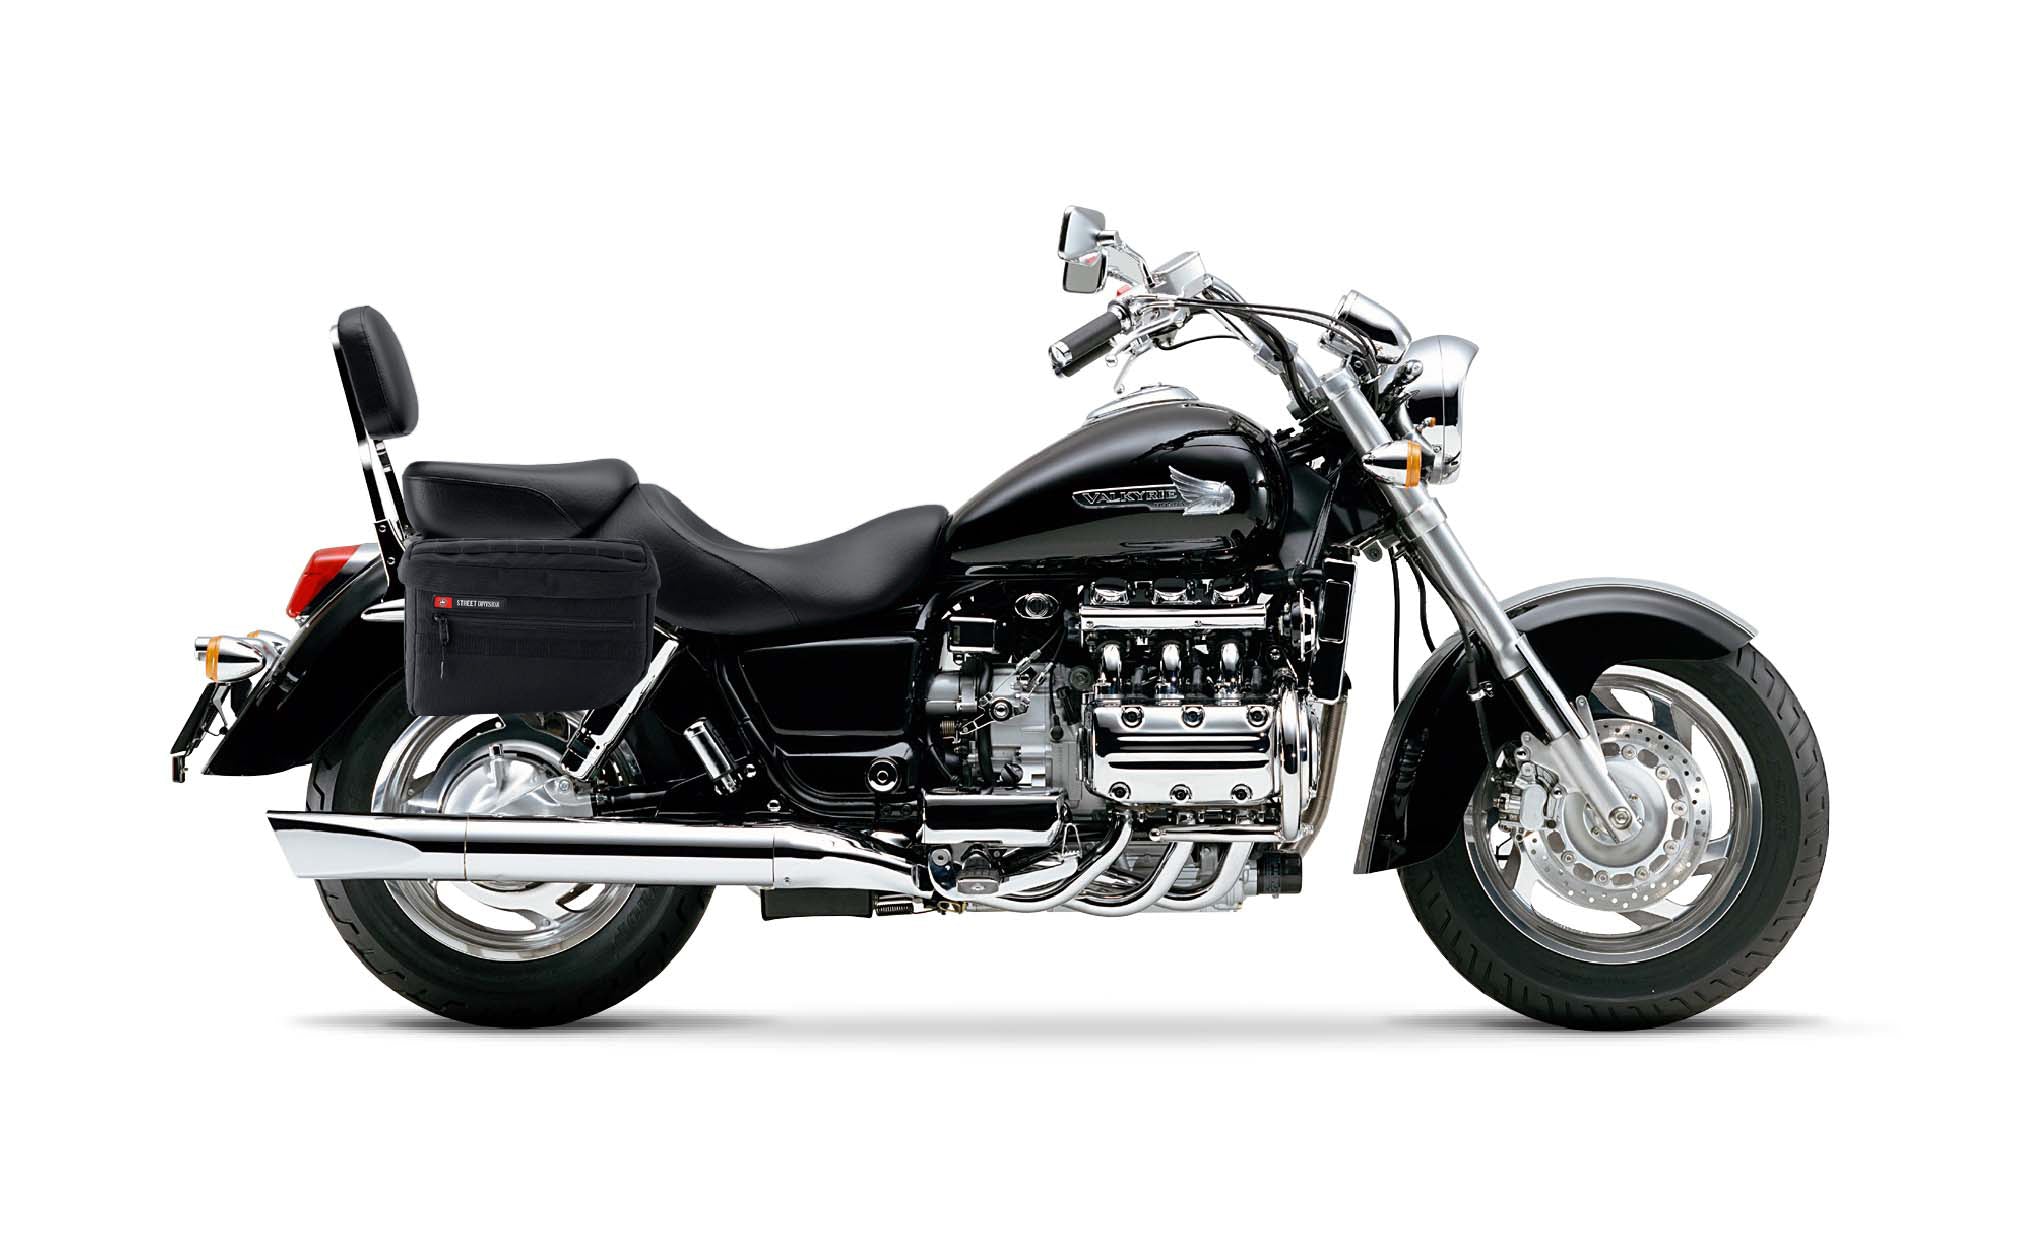
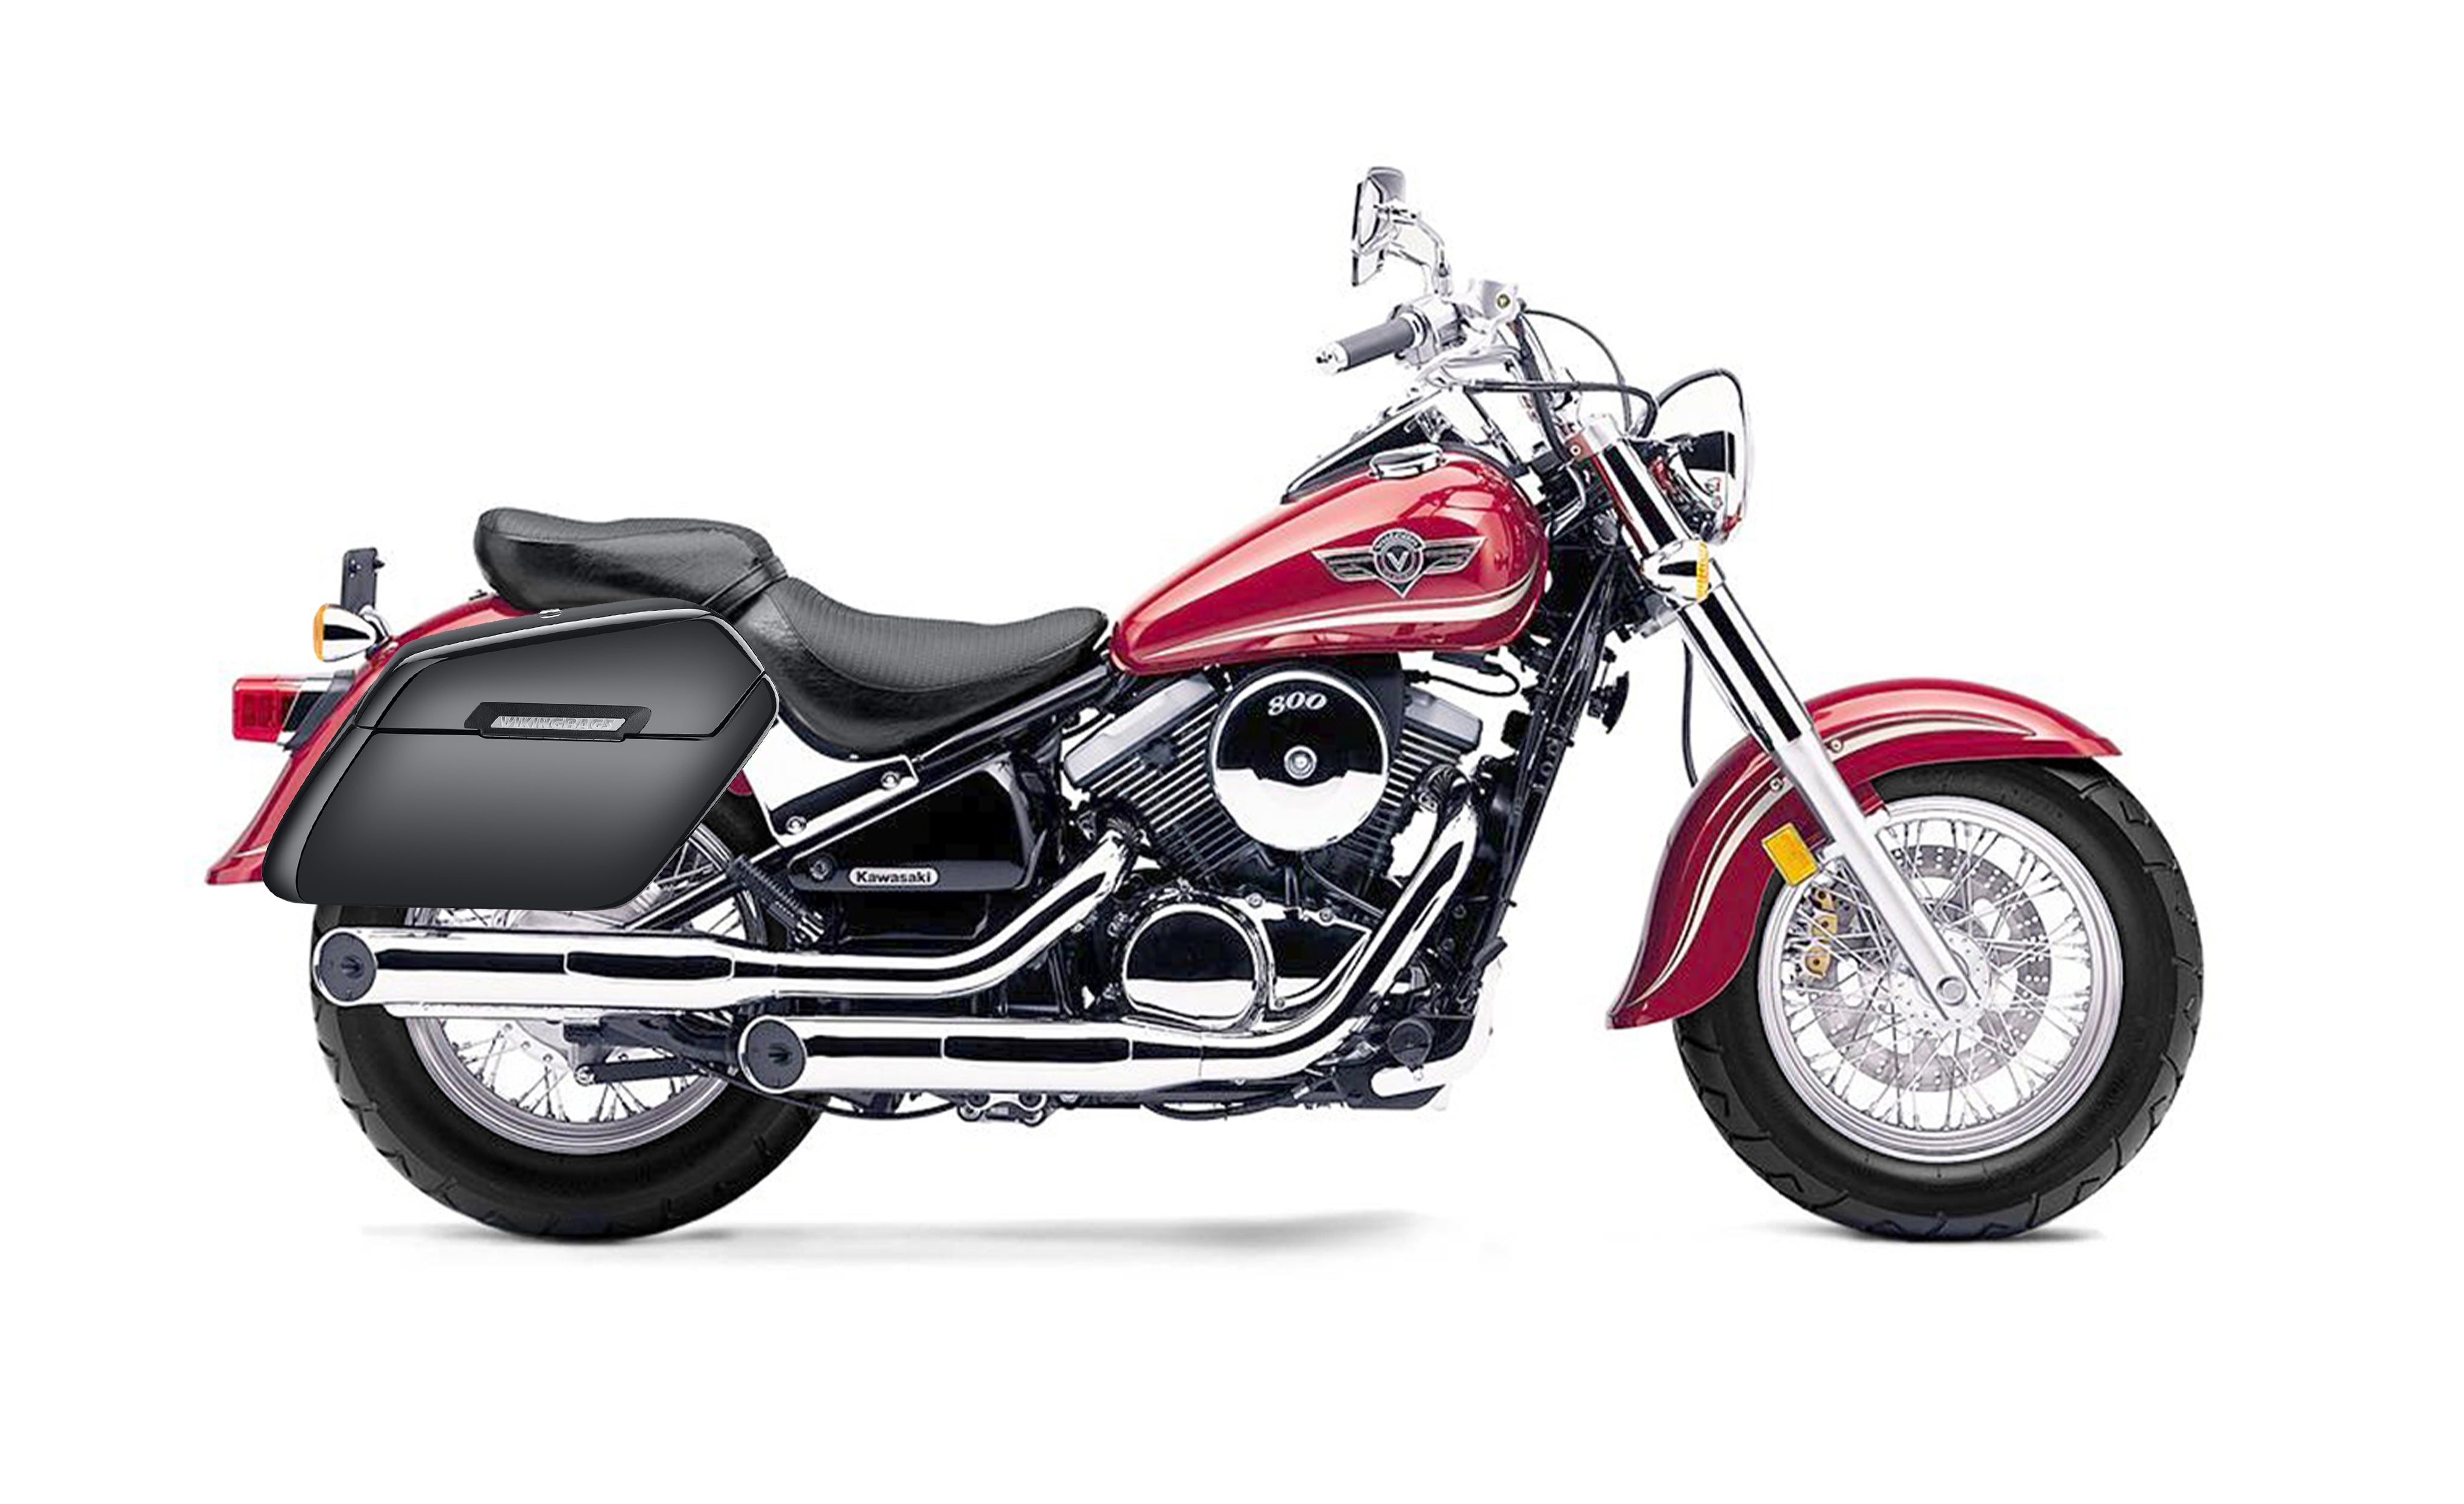
Shop By Bike
What Do You Ride?
Select your bike to see handpicked collection of products, curated just for you.
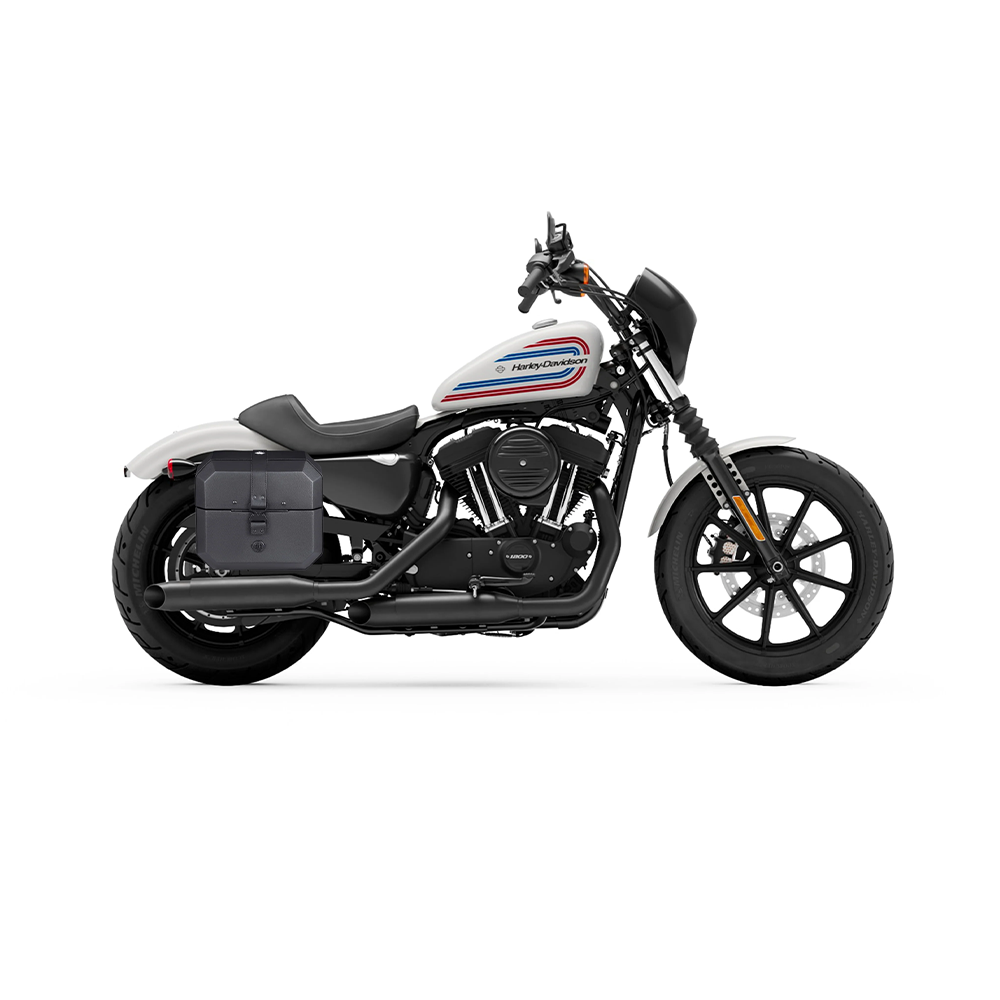
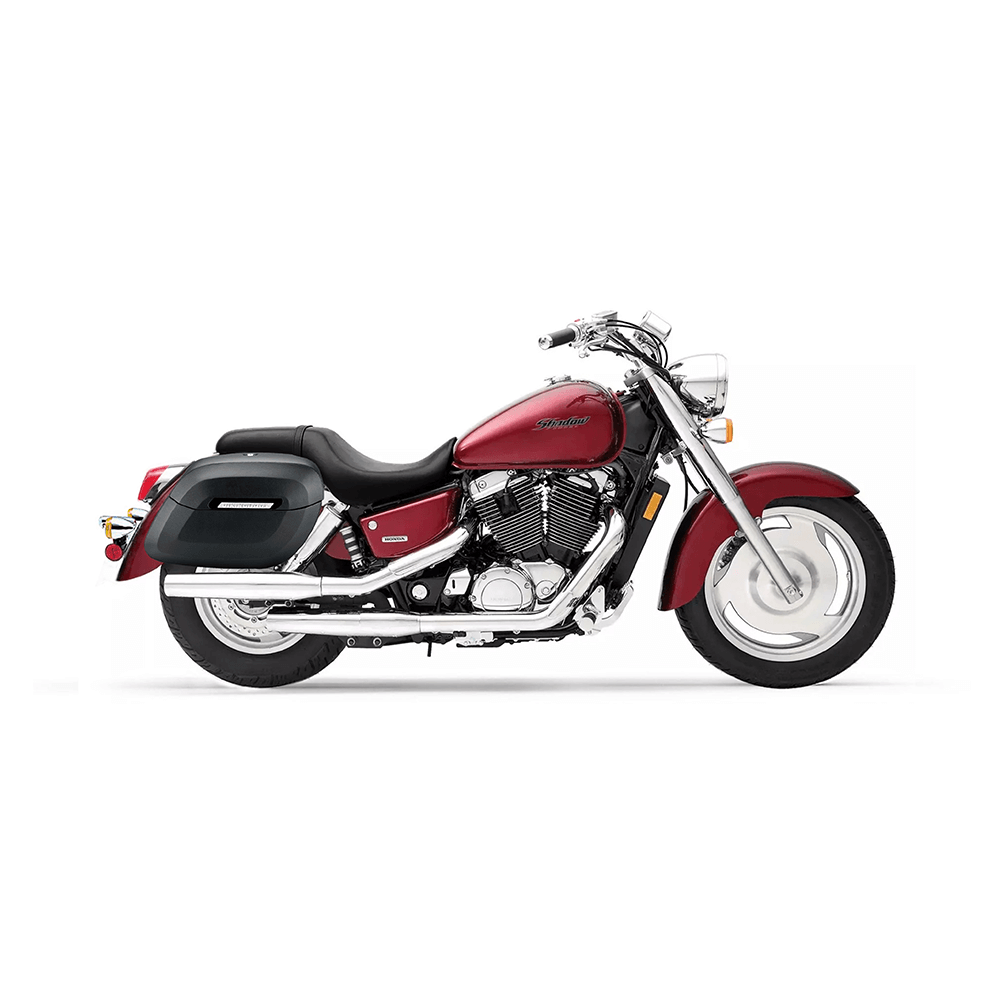
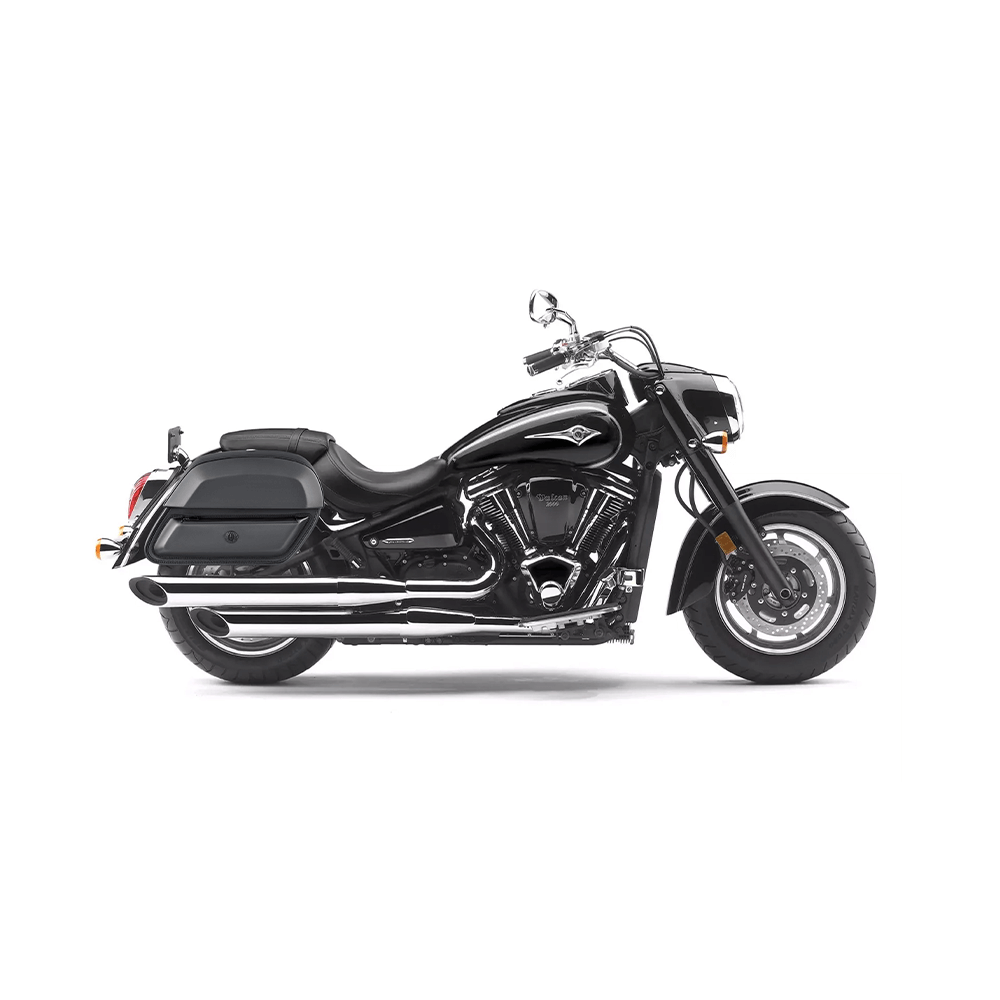
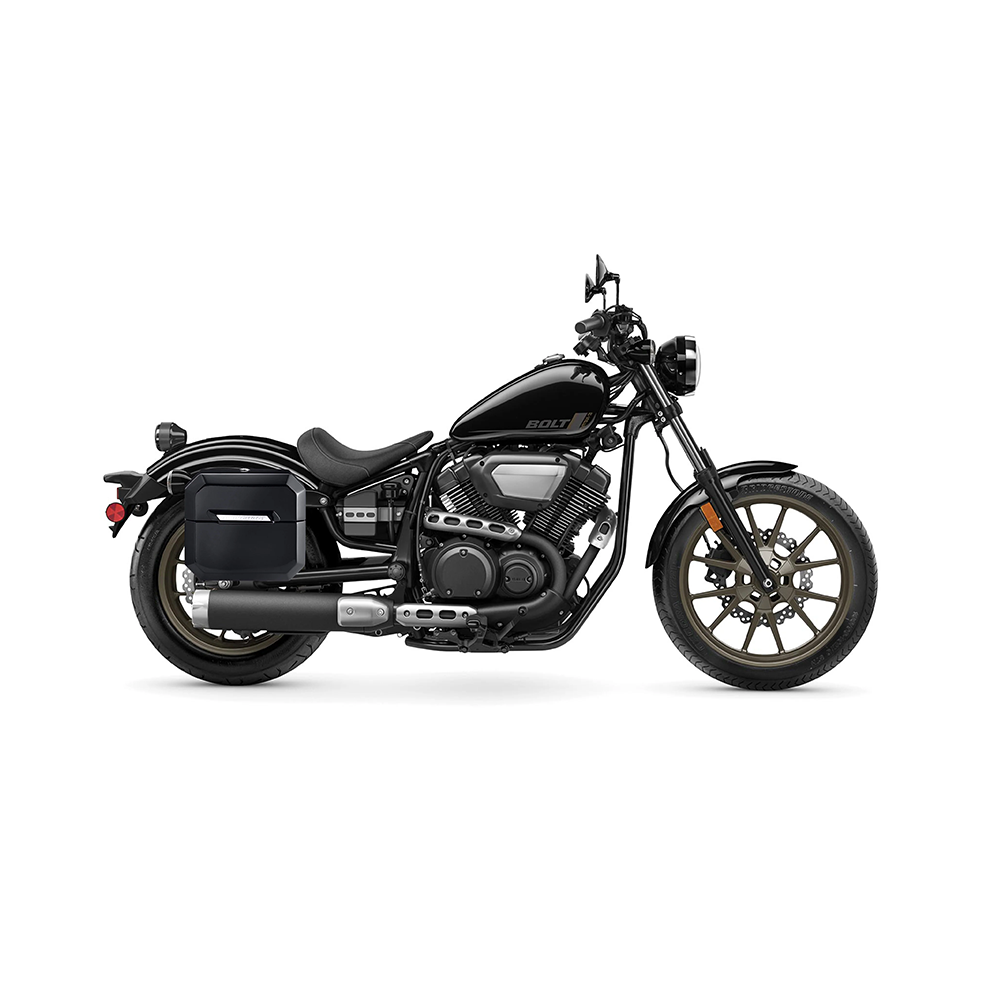

Featured Motorcycle Saddlebags
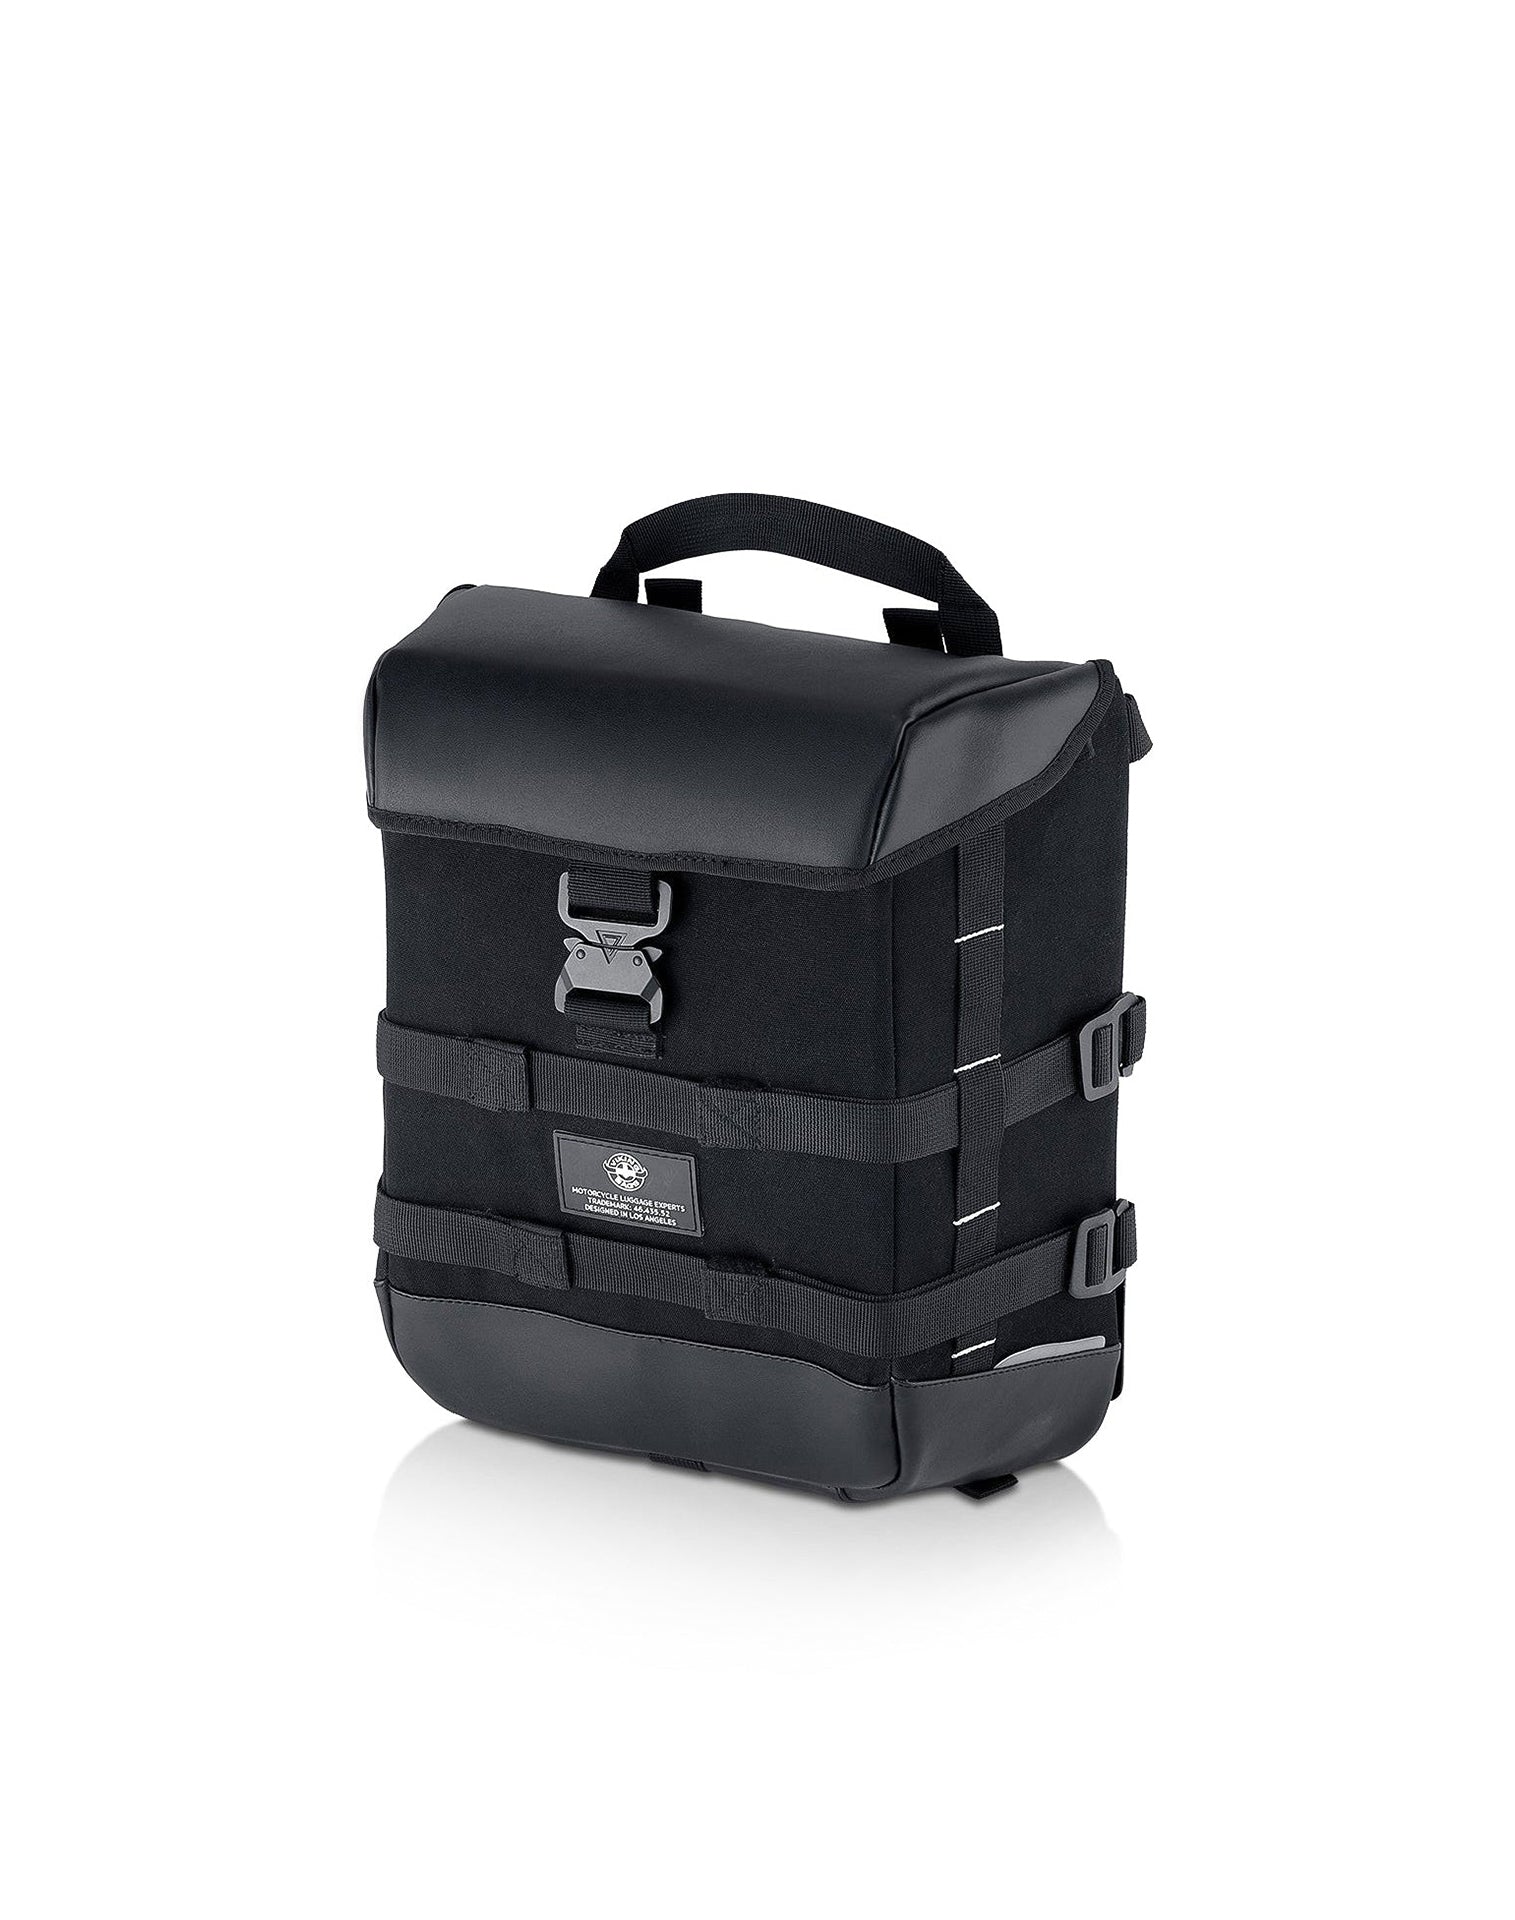
Quick Disconnect
Riders' Choice ★

Quick Disconnect
Sold out

Fixed Mount
Sold out
Quick Disconnect
Riders' Choice ★
Sold out

Fixed Mount

Fixed Mount
Riders' Choice ★
Sold out

Fixed Mount


Quick Disconnect
Sold out

Quick Disconnect


Fixed Mount

Quick Disconnect
Quick Disconnect


Fixed Mount
Riders' Choice ★
Sold out


Fixed Mount
Sold out
Quick Disconnect
Sold out
Quick Disconnect

Quick Disconnect
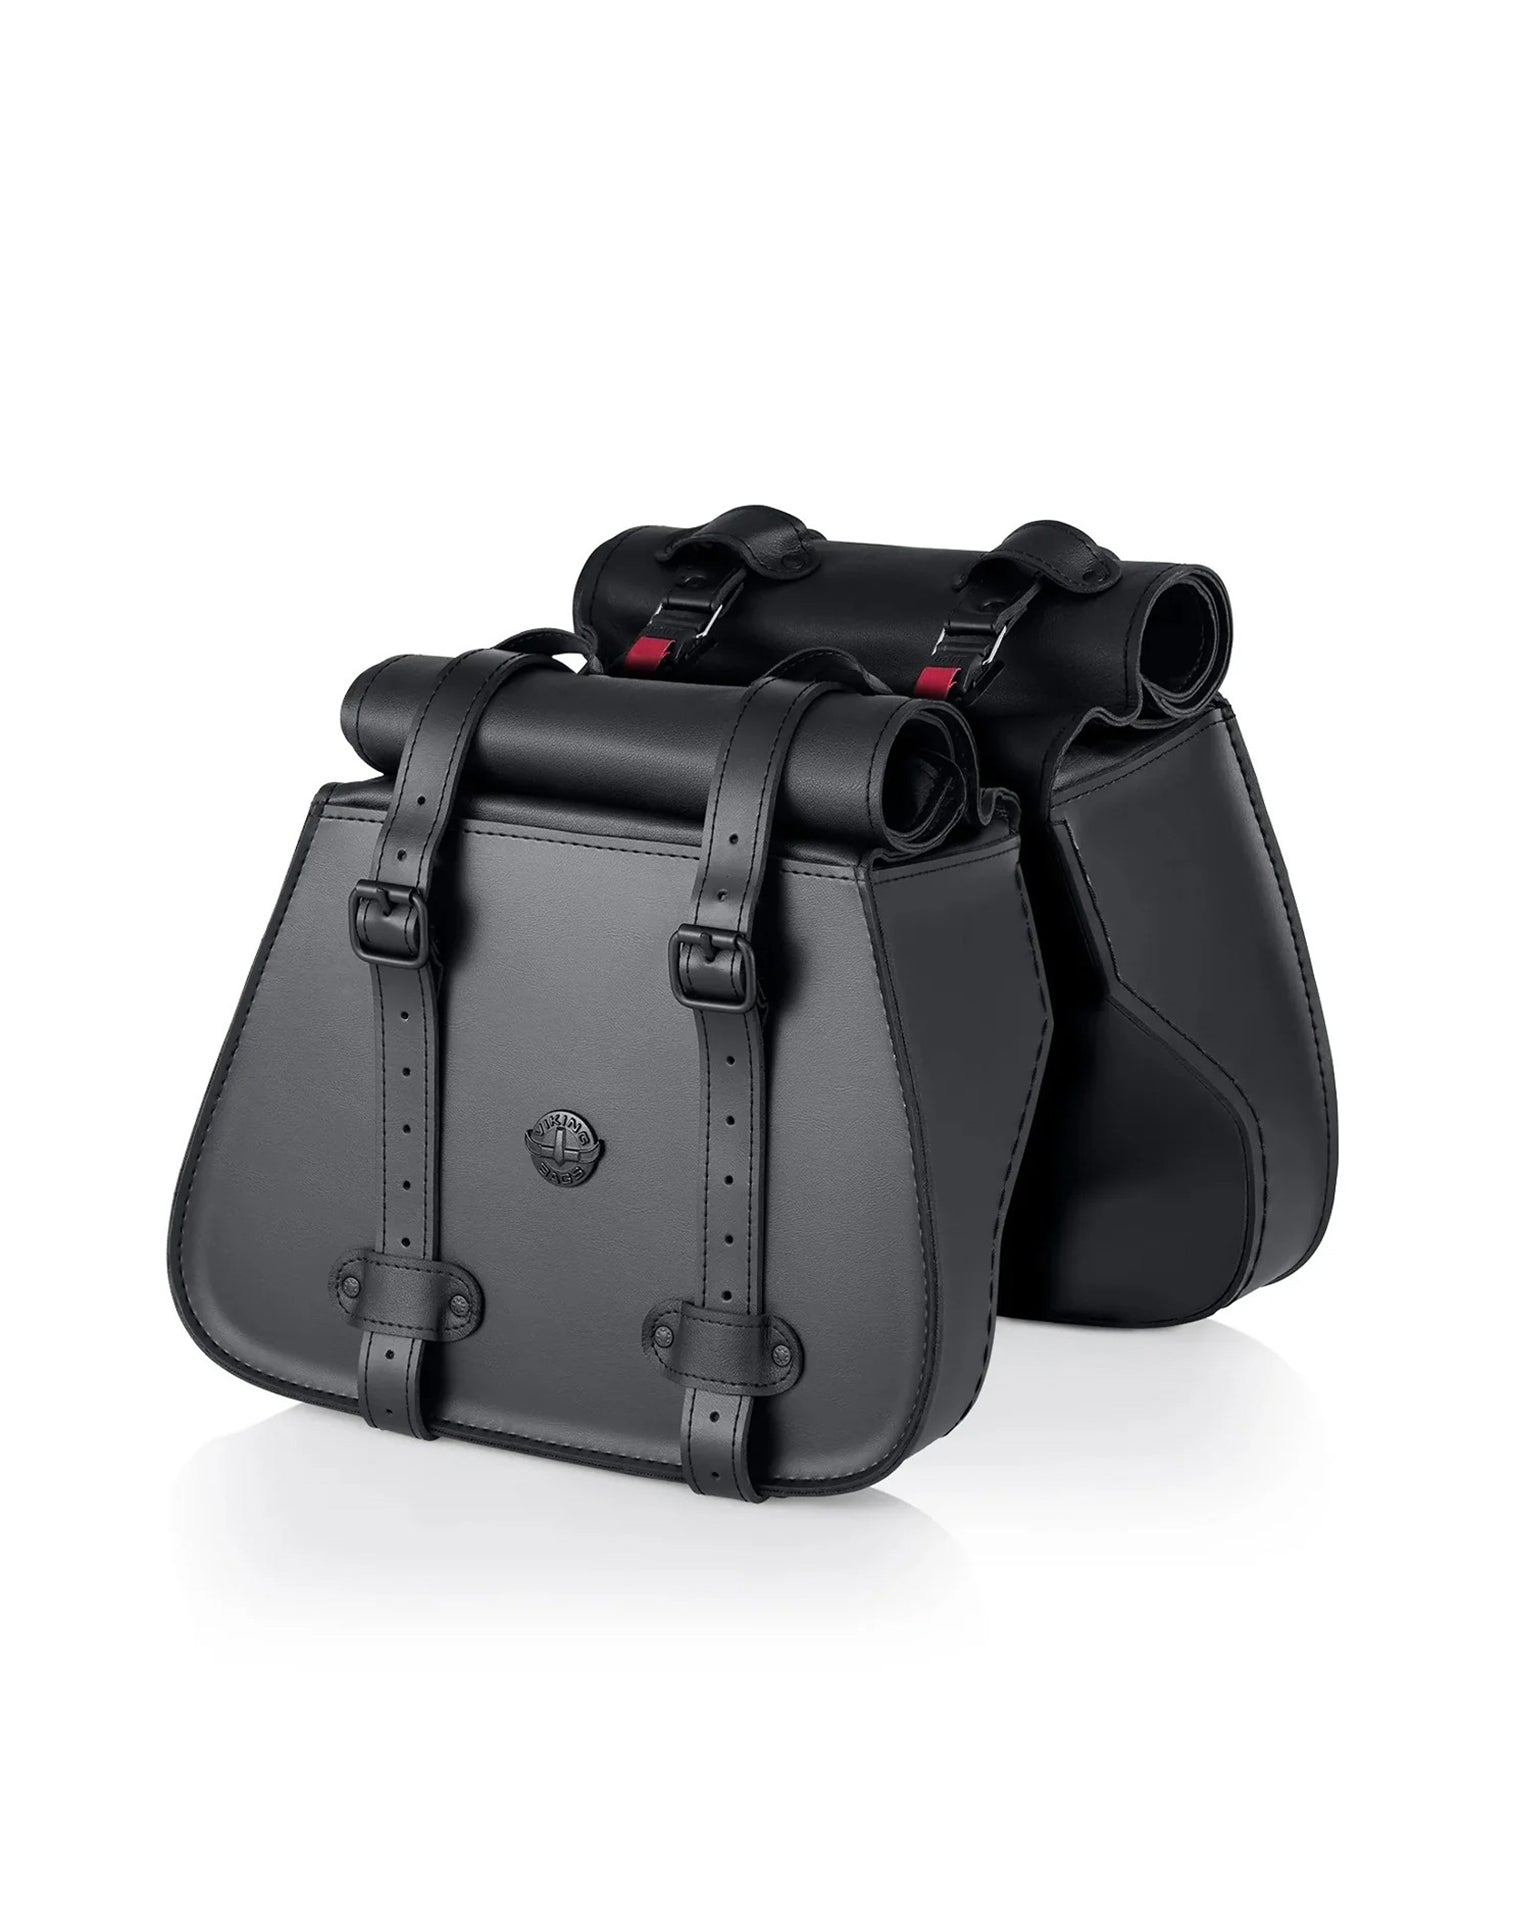
Throw Over
Fixed Mount

Fixed Mount
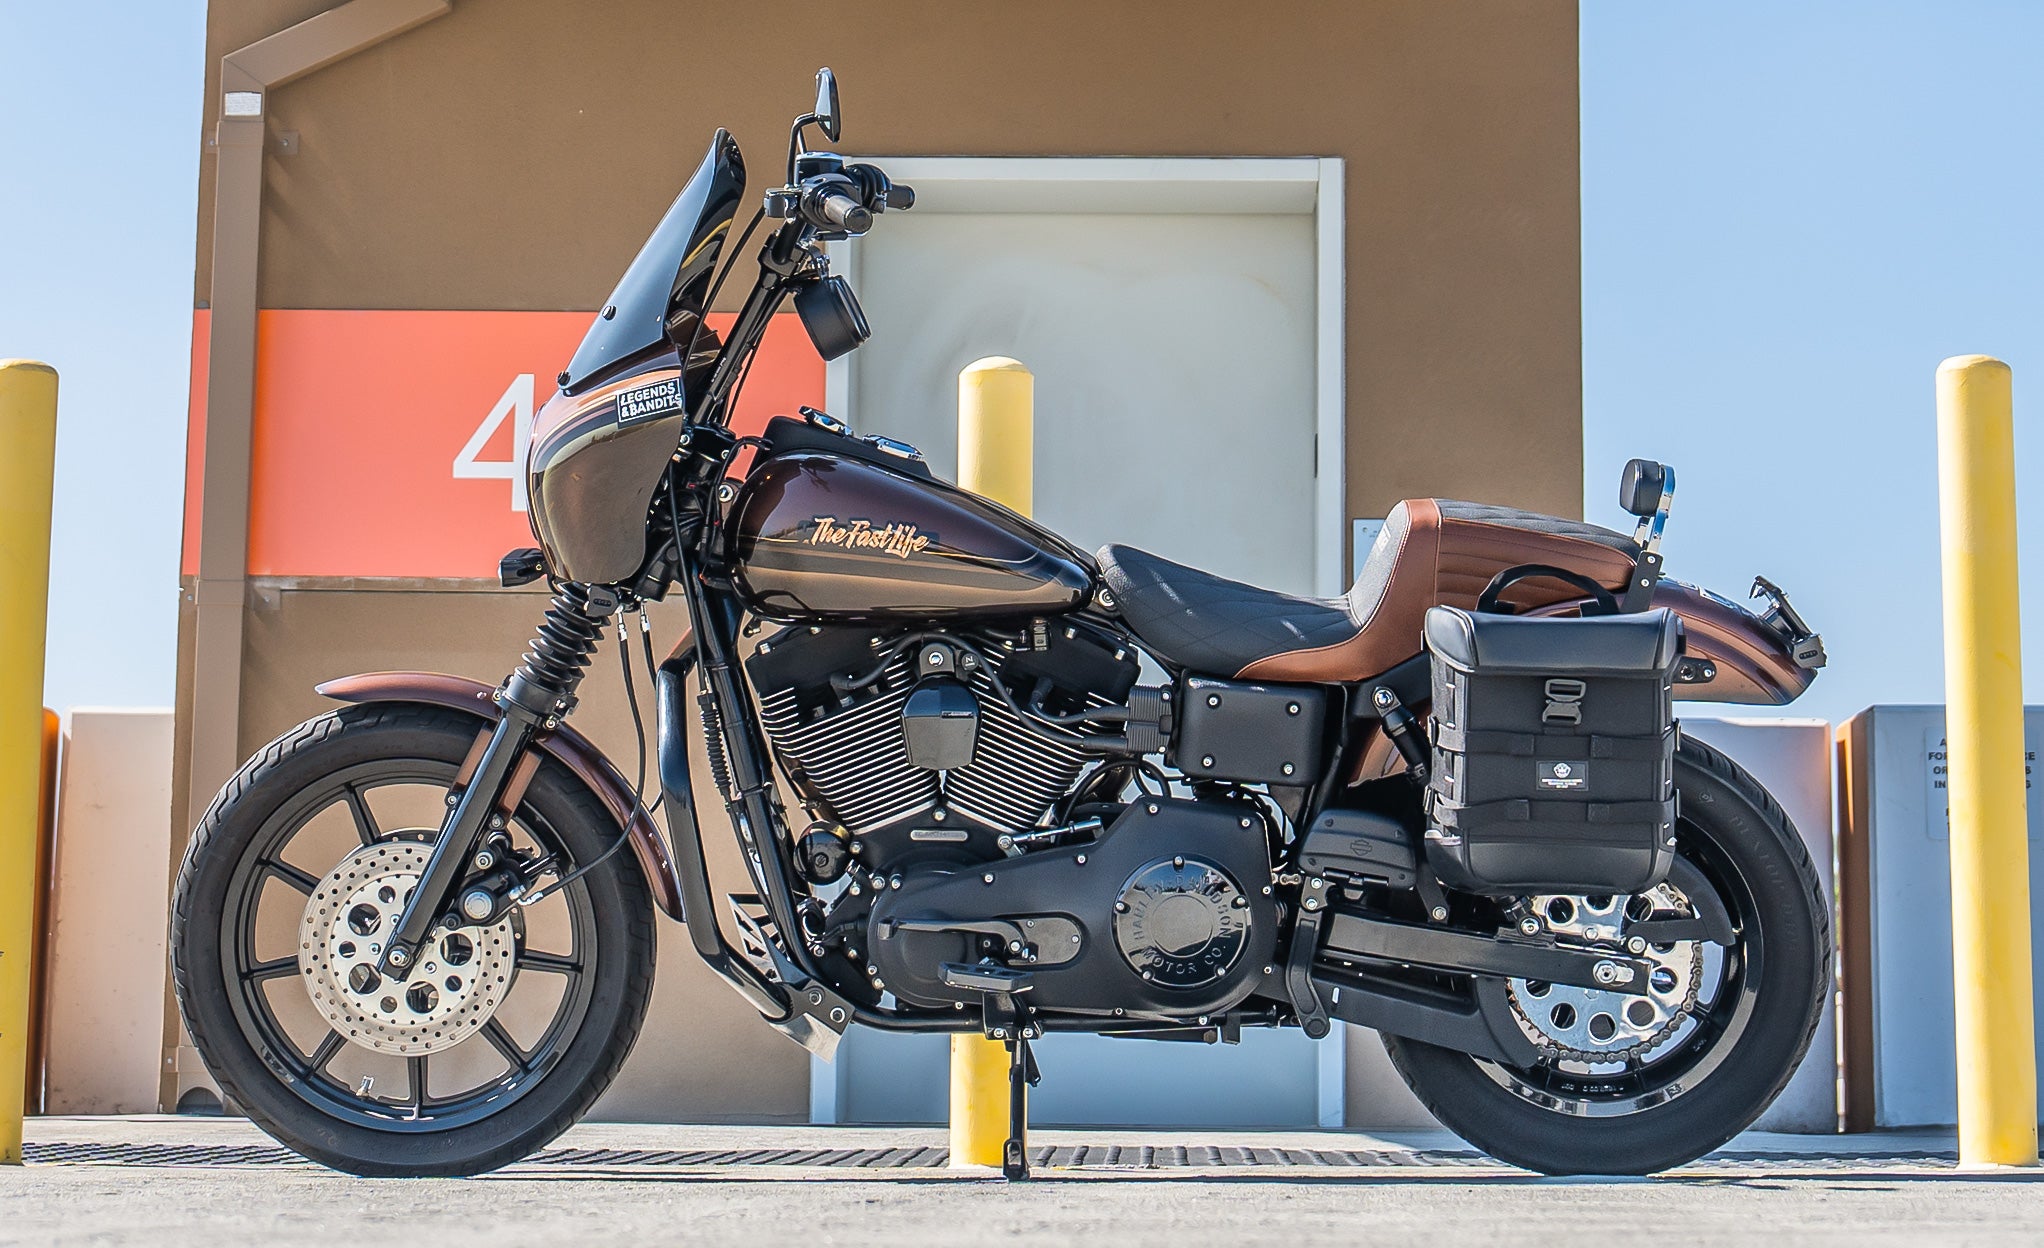
Engineered For Freedom
Key-Lockable
All our leather saddlebags and hard bags are lockable and come included with a pair of keys.

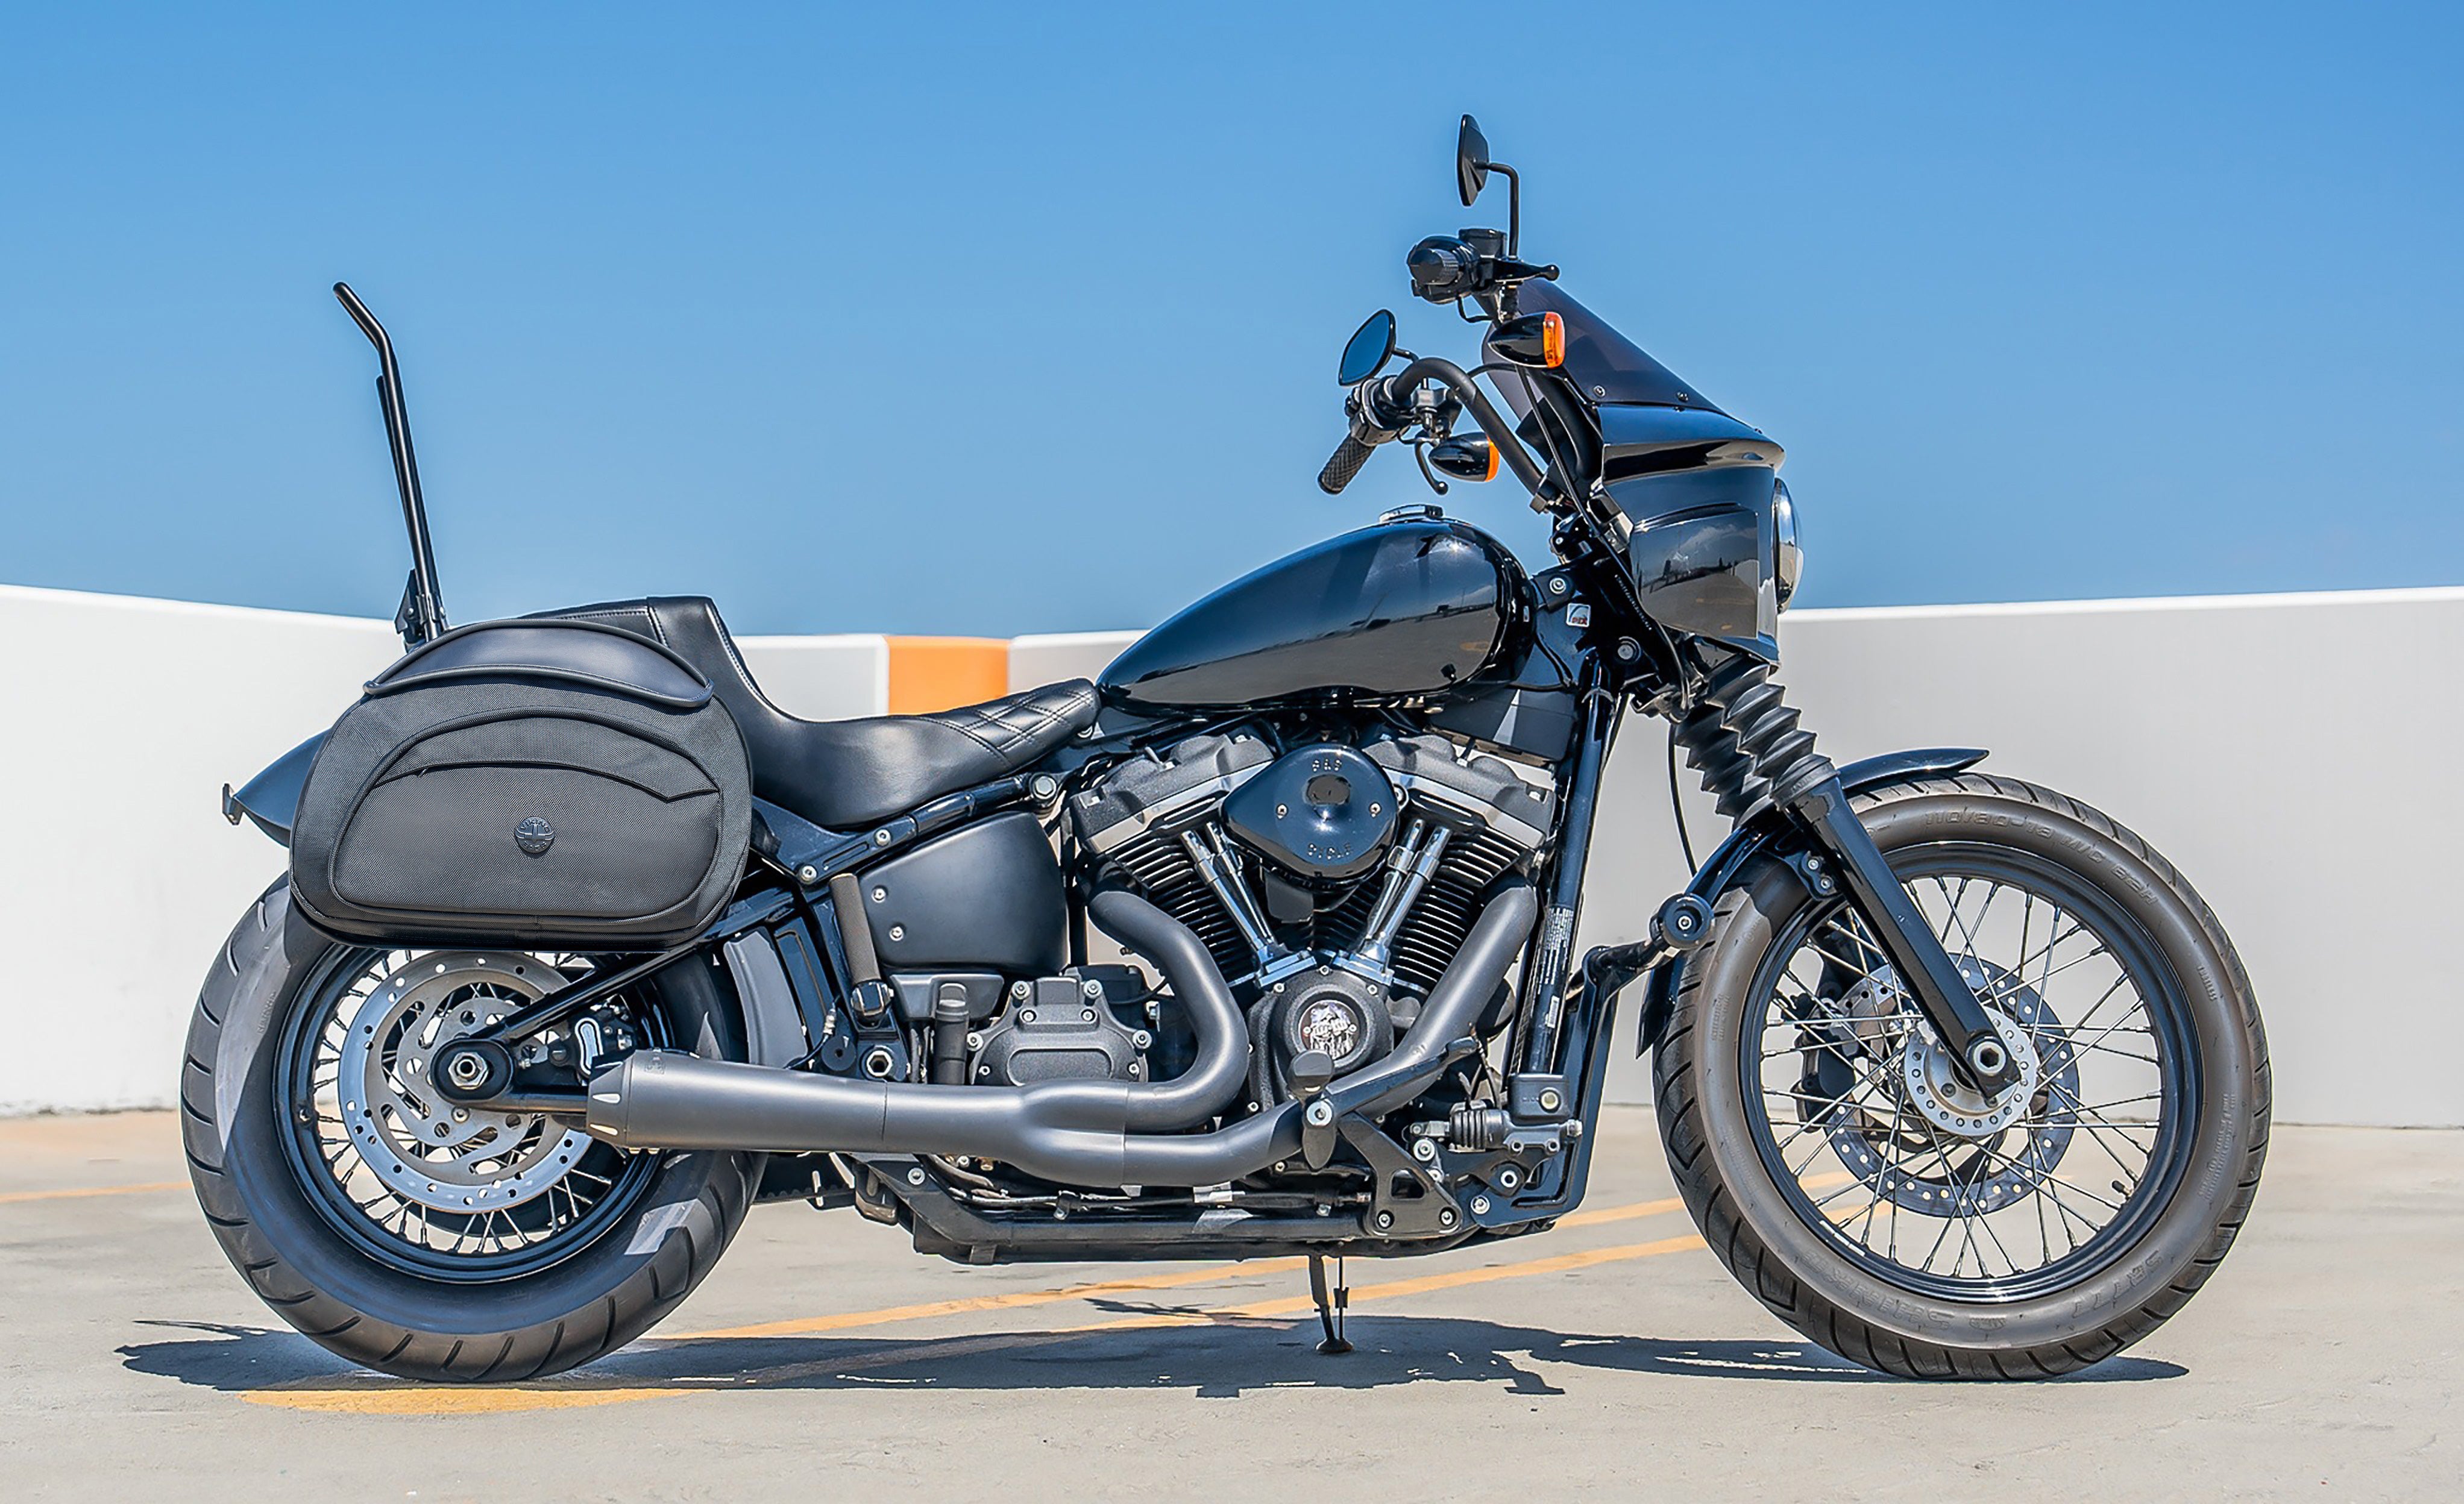
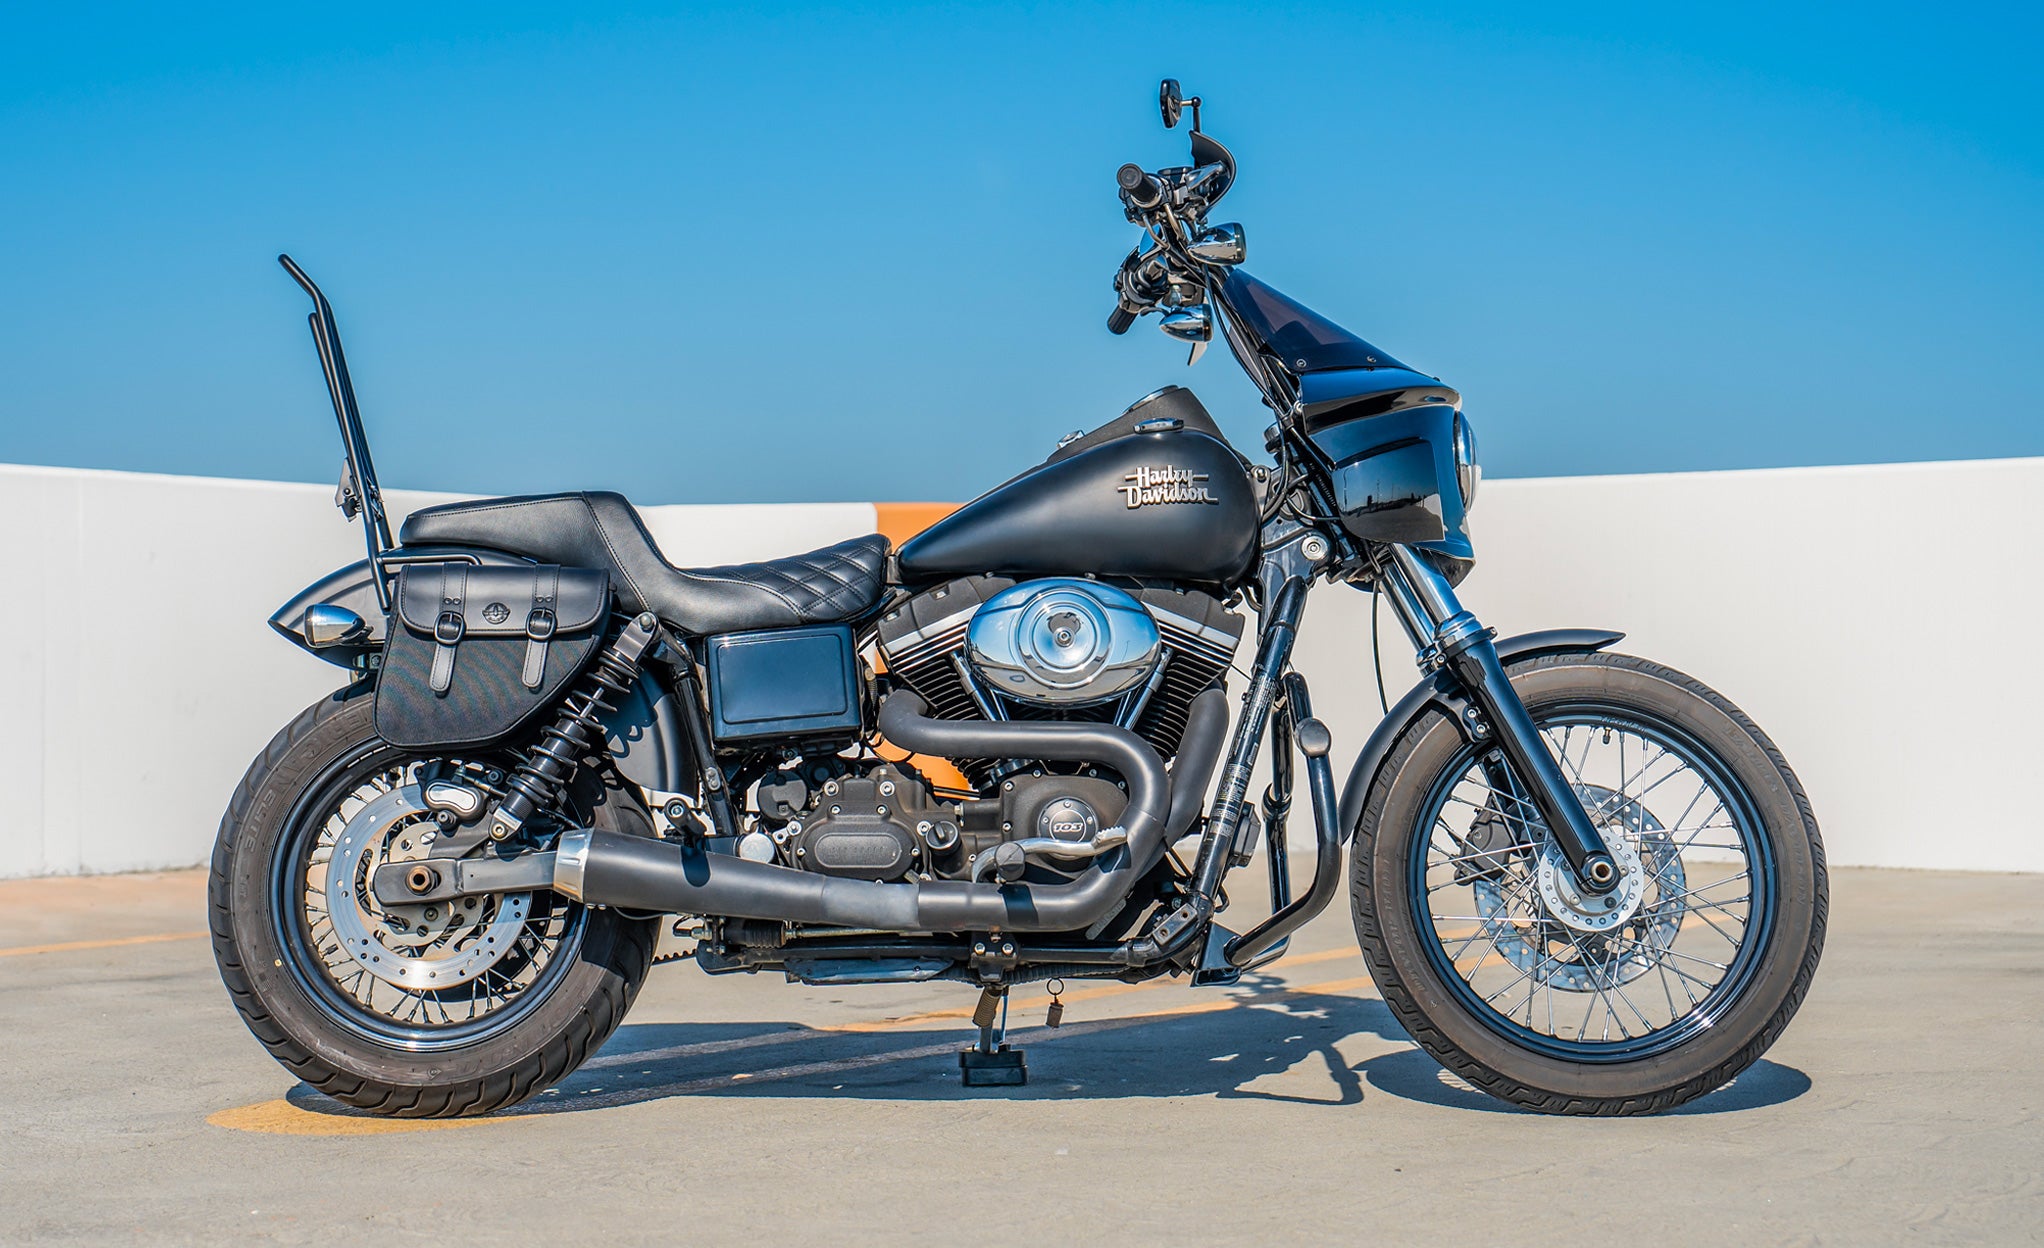
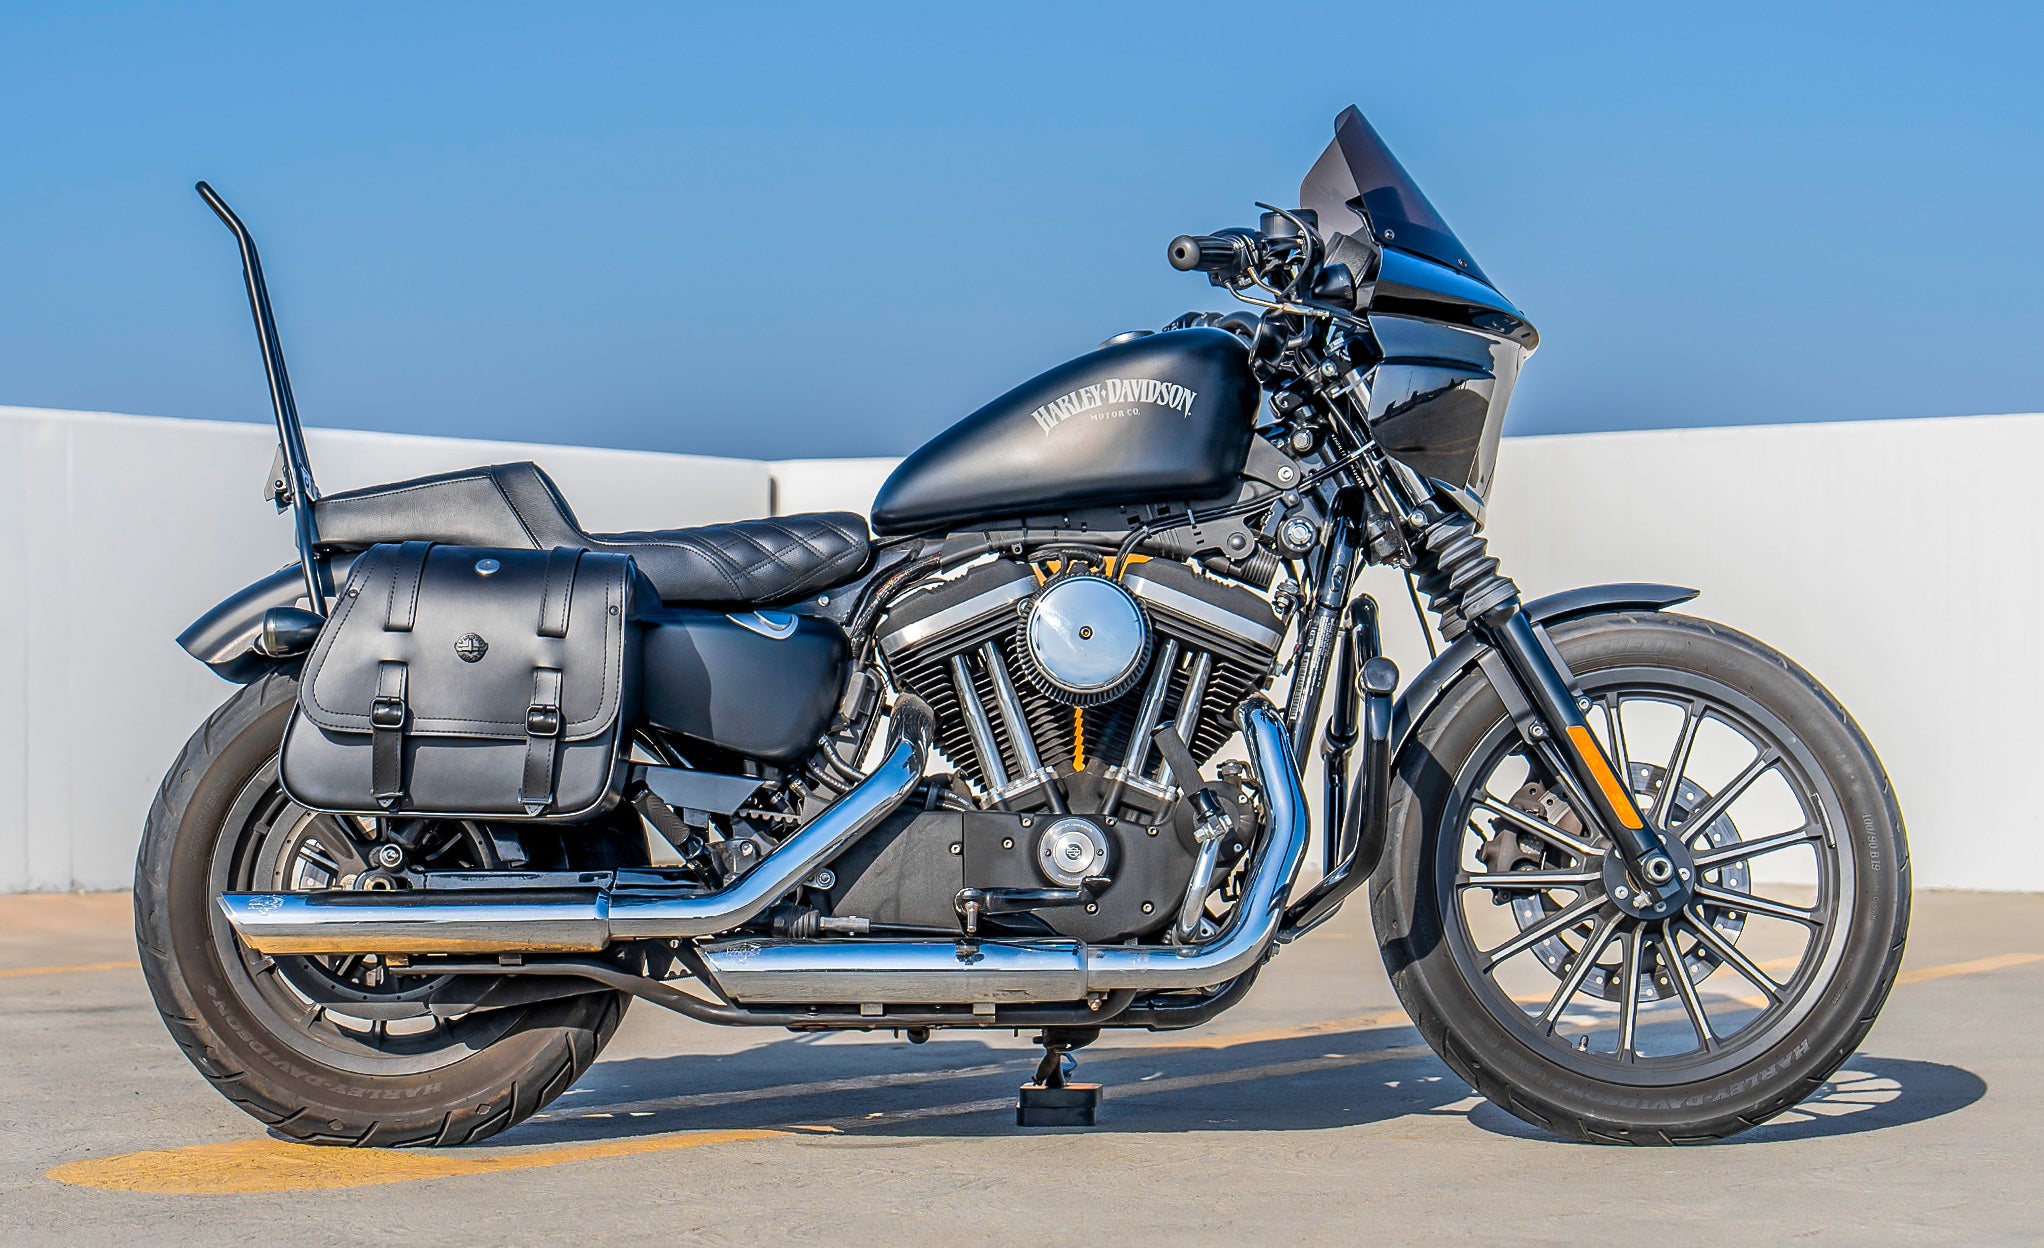
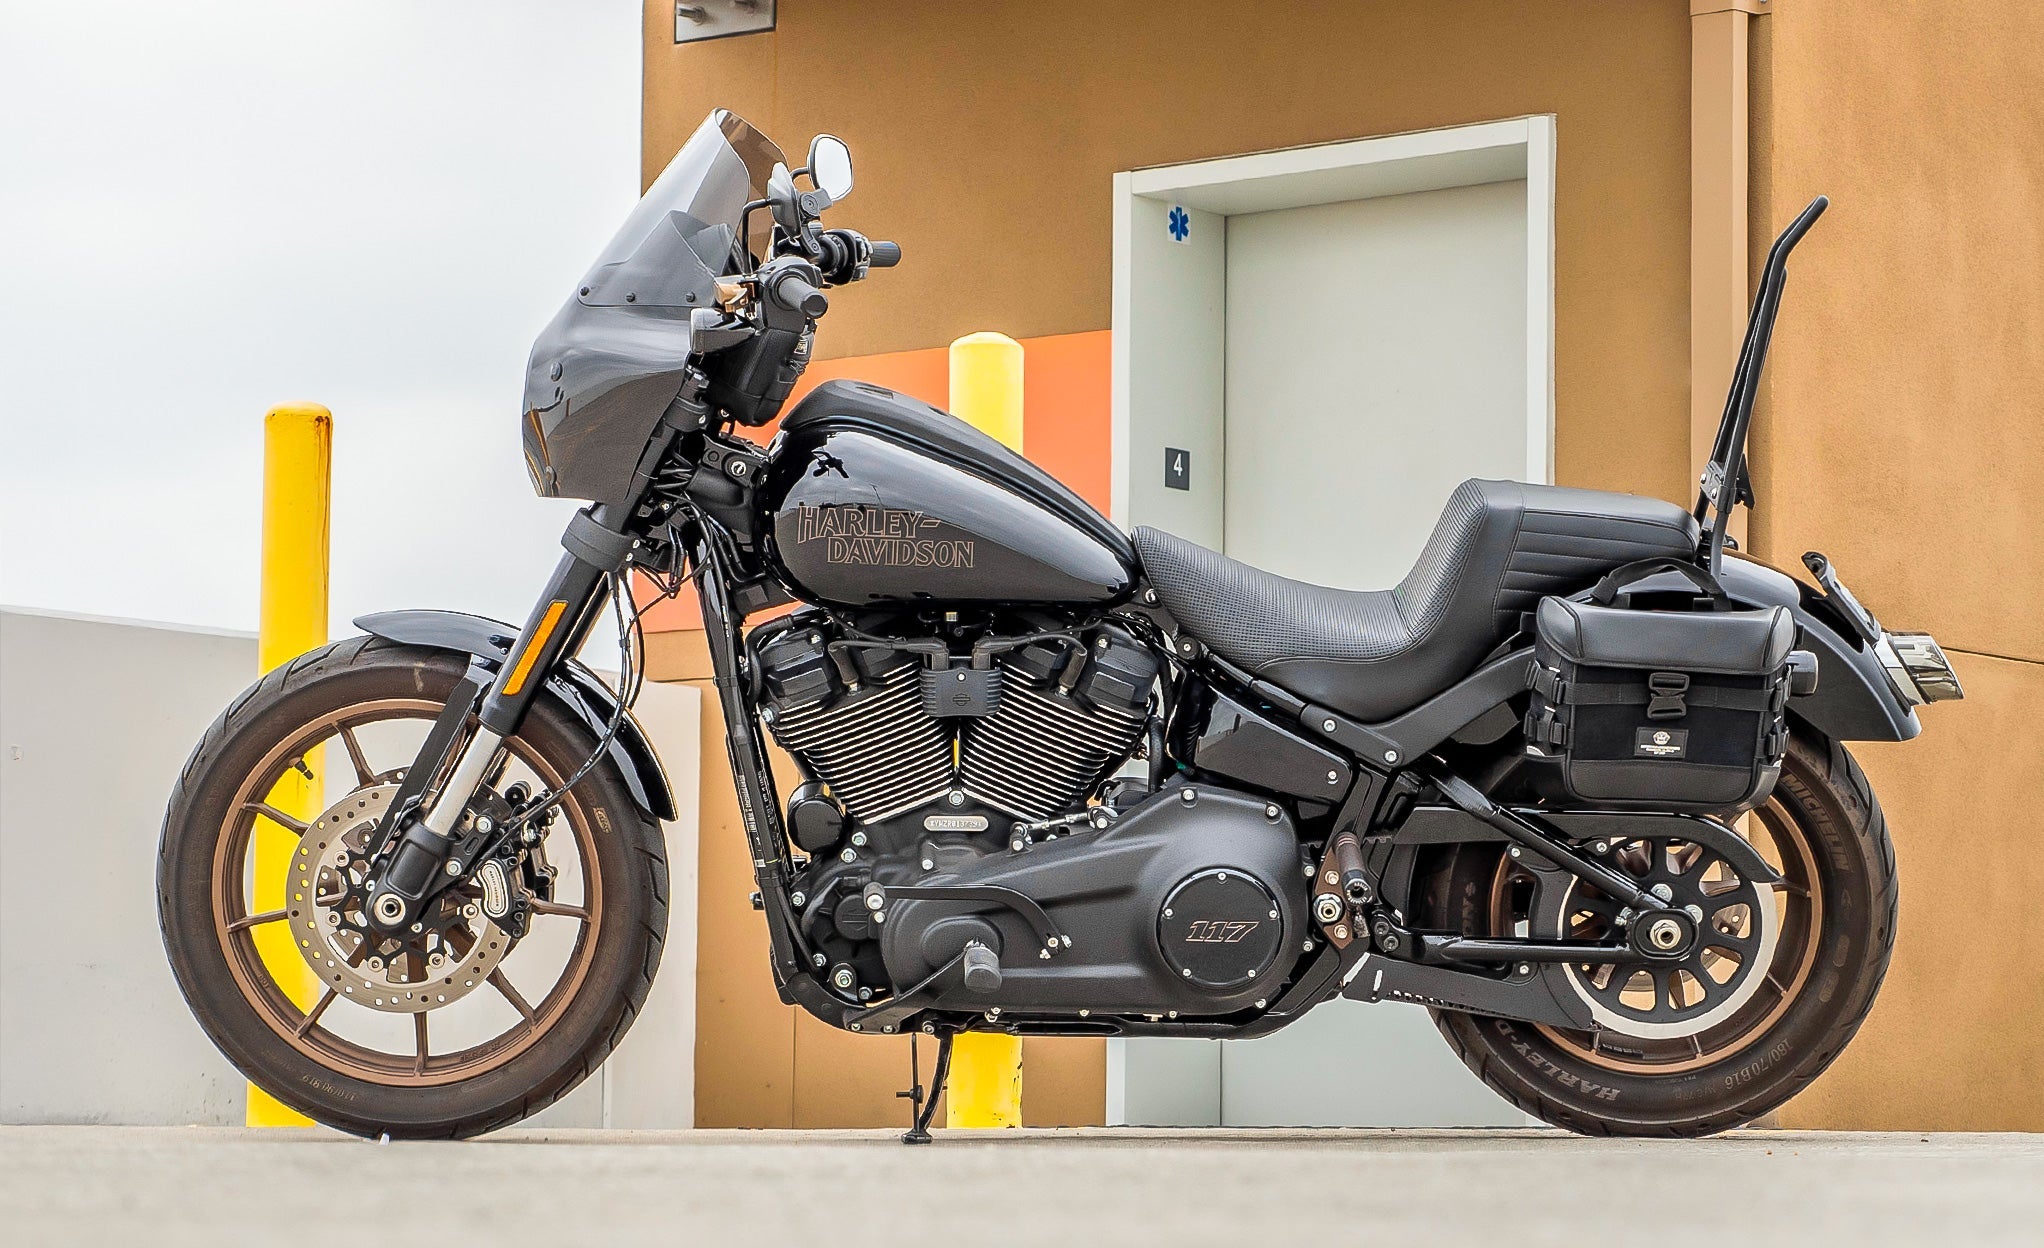
Bike-Specific
We offer saddlebags for each kind of rider. From our 2024 quick-disconnect series to time-tested hard bags, choose the one that fits your riding style.
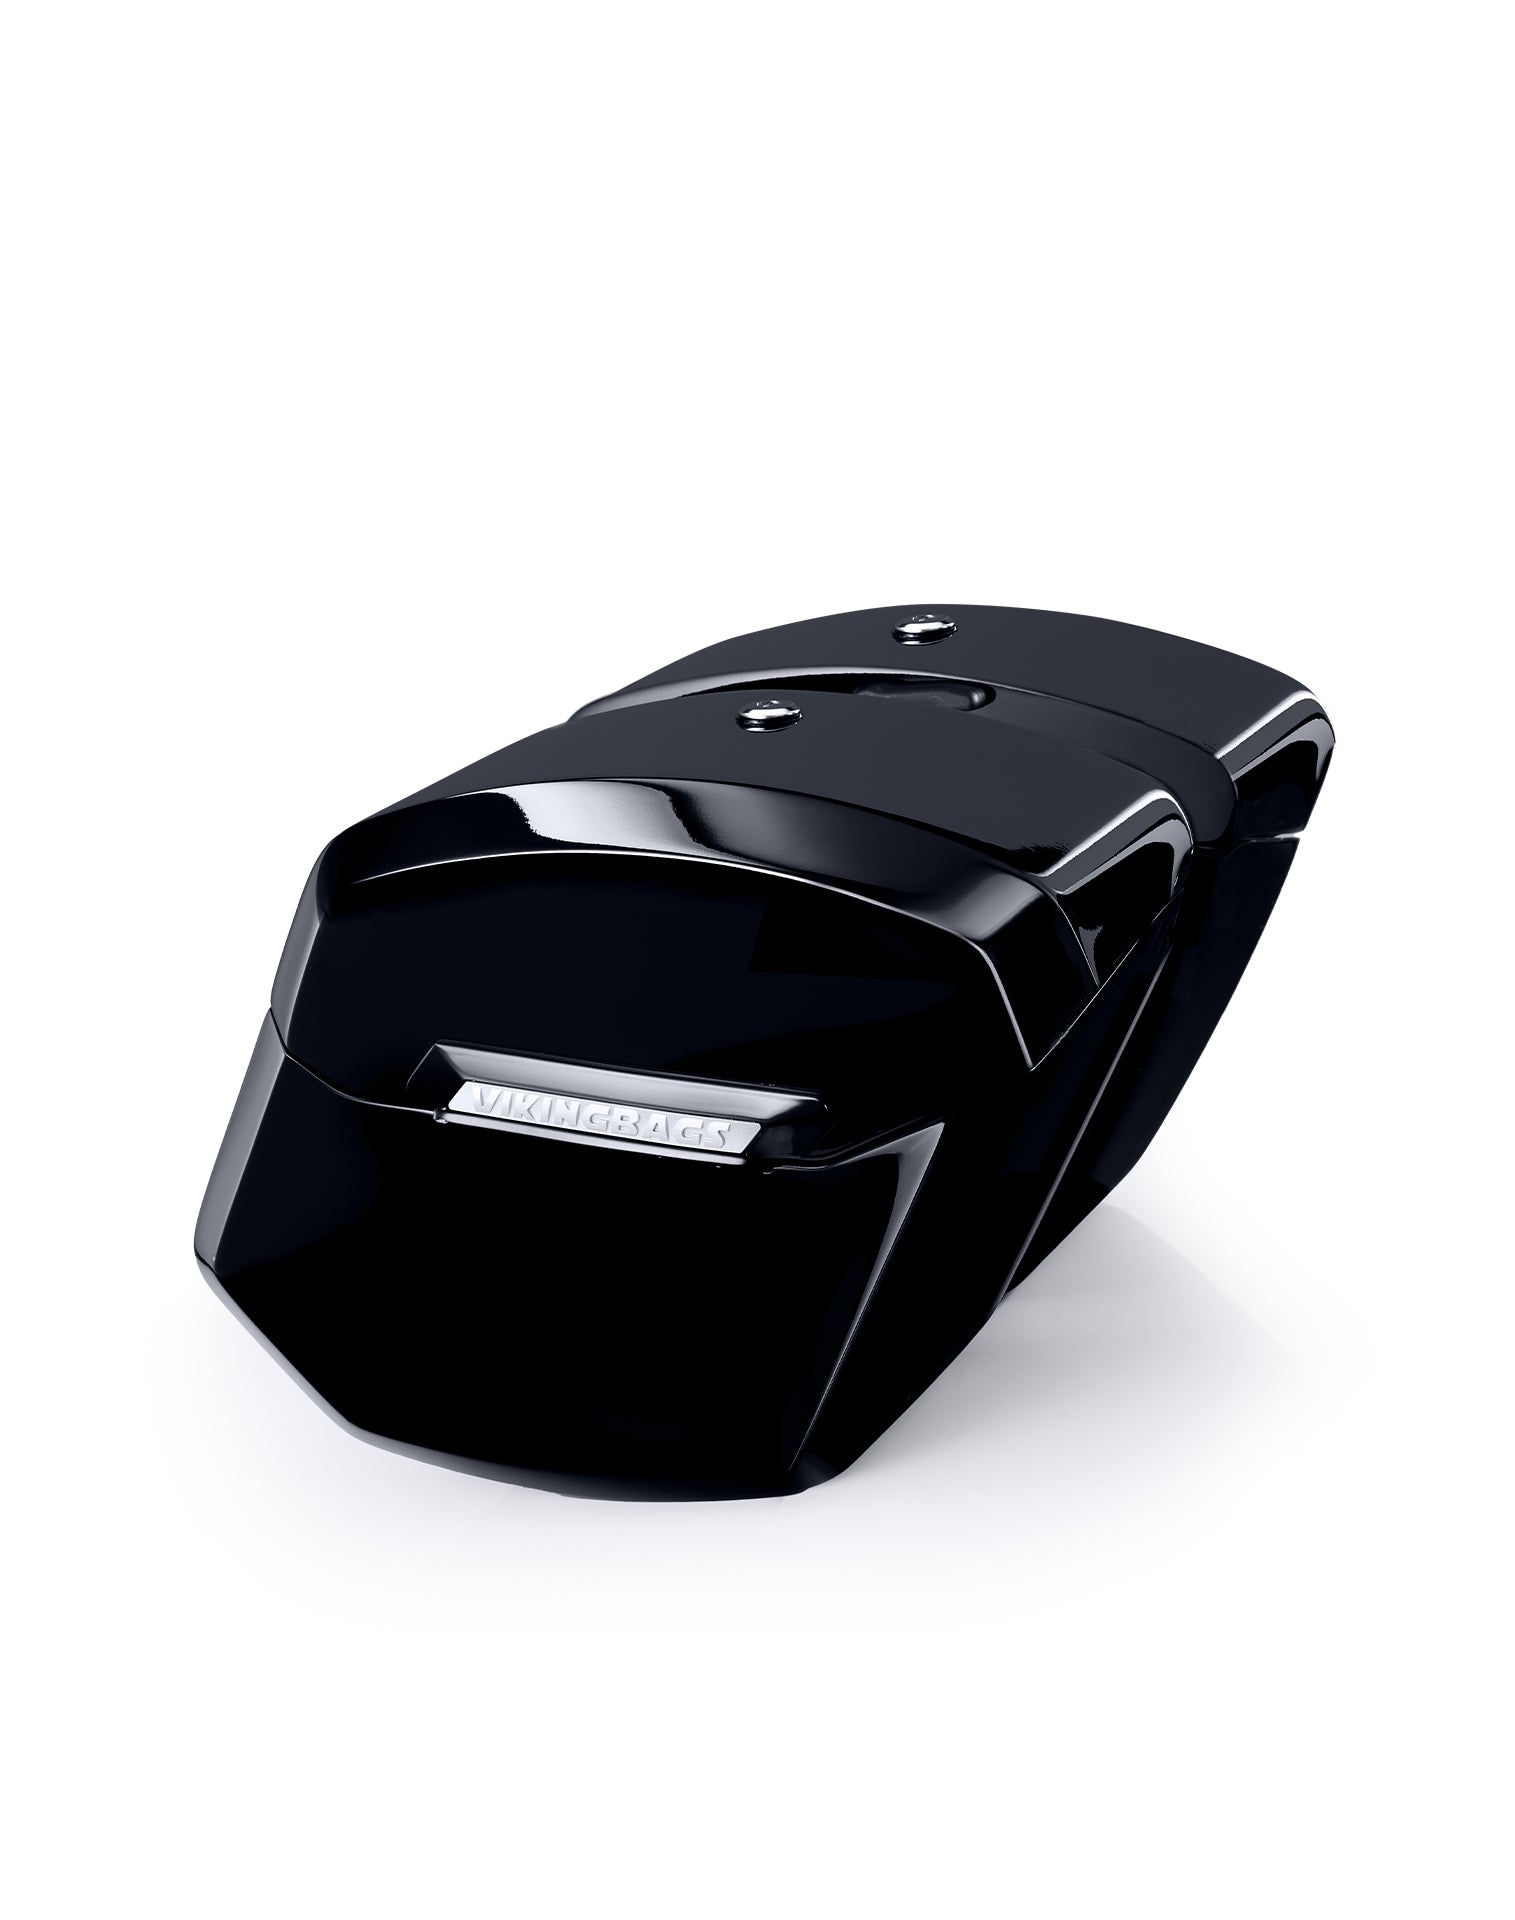
Hard-Shelled
Our Hard bags are made from durable composite materials and our saddlebags have internal hard shells to stand the test of time.
Popular Collections


We Carry Over 300 Styles of Motorcycle Leather Saddlebags & Motorcycle Panniers
Viking Leather Saddlebags Style Alone